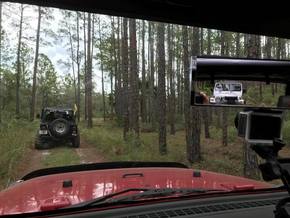
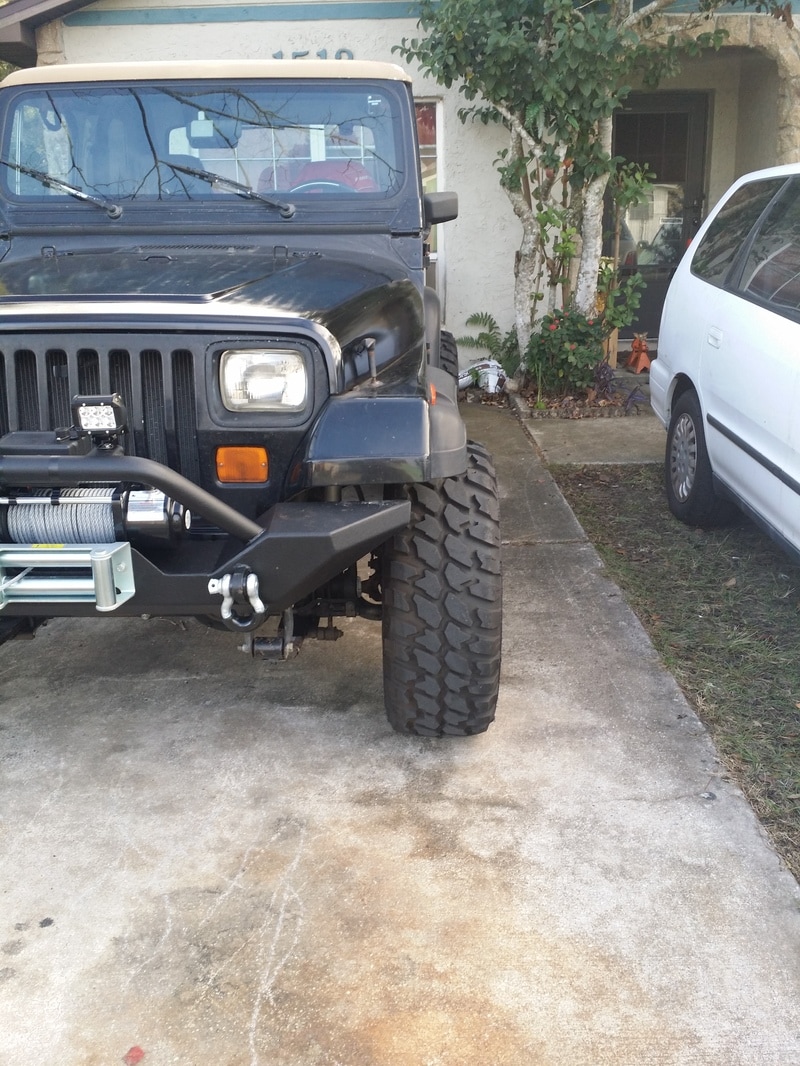
 TRAIL RIDE THROUGH OCALA. ONF How long have you been Jeeping? For me it has been a long time. I had the opportunity to drive off road as a kid and that gave me a chance to try stuff, you know that kind of stuff you do before you have enough sense to follow that gut feeling that tells you NOT to do it. Like when you drive down a 50 foot wide ditch and treat it like a skateboard ramp. Or drive through tall grass not knowing there is a stump that will bring you to a complete stop. I had my learners on my 15th birthday and my first car on my 16th. It was 11 years till I had my first Jeep. There were plenty of places to drive off road and hang out with friends as a teenager. So let’s just say I cut my teeth off road. In the mid 90s I did the SOUTHERN OFF ROAD CHALLENGE in Ocala. The event was sponsored by Southern off road. It started in Deland and was composed of 140 mile of trails to ride. It was a three day event that included 10 miles of canoeing and a round of skeet shooting. No GPS back then, you just followed directions. Drive down this trail at 15mph for ten minutes and turn right. Mess up and your off course. Points were accumulated based on each event area and how well you followed directions. I rode with a friend, David Essig, in his CJ5. It was a lifted bright blue Jeep with a hot pink fade on the hood. “Ticked Pink” Rocking 44” swampers made for easy work of most trails. There were blindfolded driving courses, hill climbs, mud holes, and clay pits. Good times. It is events like this that are made possible by Jeep clubs. Jeeptoberfest by Ocala Jeep club. Jeepin with Judd with the Orlando Jeep club. Krawlin for the Fallen in November. All great events, but if you want to spend some time actually riding trails then a Jeep club would be a good rout. We just joined the ORLANDO JEEP CLUB and went on the first trail ride through Ocala. It was a good ride with diverse environments. There were different levels of Jeeps from stock, to big builds. In Florida we have a whole new set of issues to deal with then the rock crawlers and desert riders do. Not too many rocks in Florida, some lime rock and broken up man made concrete courses. But what we lack in rocks and hills we make up for with mud, sand, and water covered trails. Oh let’s not forget ample opportunities for some custom pen striping by Florida’s brush. You have to make a choice, have fun with your Jeep, or become a mallcrawler. This Saturday we took a 40 mile trails ride with the club and it did not disappoint. We have only had the JK for 2 weeks and decided to take it out for a spin. So far the only thing done to it was a new bumper. Recovery points are a must. No winch yet, that will be here in a day or two. The tires are stock Sahara 18” rims with 31” tries… like street tires. Not too good in the way of traction in mud. It is also not lifted, yet. We followed behind Keith in his 92 YJ that had around the same lift and tire size as us. If he made it we should too. Half tire water for someone with 35s or 37s means up to the tub for us. At one point Randy asked why the camera bag as all wet. Hmmmm it looks like we took on some water at some point. Water was also getting in the engine area making some steam rise that resembled a blown radiator. At the next stop it all checked out and the temp gauge stayed where it should. Still it was a bit discomforting seeing steam coming from the front of your hood. One of the best reasons to join a club is the trails rides. We had a trail leader (Rich Hardway) who has scoped out the trails and knows what we are in for. He leads the pack and someone else is the designated tail gunner. With 26 Jeeps on this ride there were times that we had to wait for recovery of stuck people. When you are with a pack there is always help to get you out, if you fall in the ruts. It is also good to watch a person in front of you so you know what to expect. It was a dusty ride for most of the day and we finished up around 3:40 in the afternoon. It was a good day for the ride with nice temps and no rain. The Jeep did well and we did not get stuck or break anything. That’s a good day for any Jeep ride. With a quick thank you to Rich for the ride we were off to clean up for the day. Some of the group headed out for dinner at a nearby restaurant. Us we headed up through DeLand and back to Kissimmee. If you live in the Orlando Area and have a Jeep look up the club at www.orlandojeepclub.com they are welcoming and don’t judge what you drive. I have been to some clubs and pulled up in the YJ and could not get the time of day. This club is not made up of a bunch of mall crawlers, it real jeepers that know what “The Jeep” life is about. Let’s just say they get the Jeep wave thing. Watch the video of the trail ride and please remember to subscribe.
1 Comment
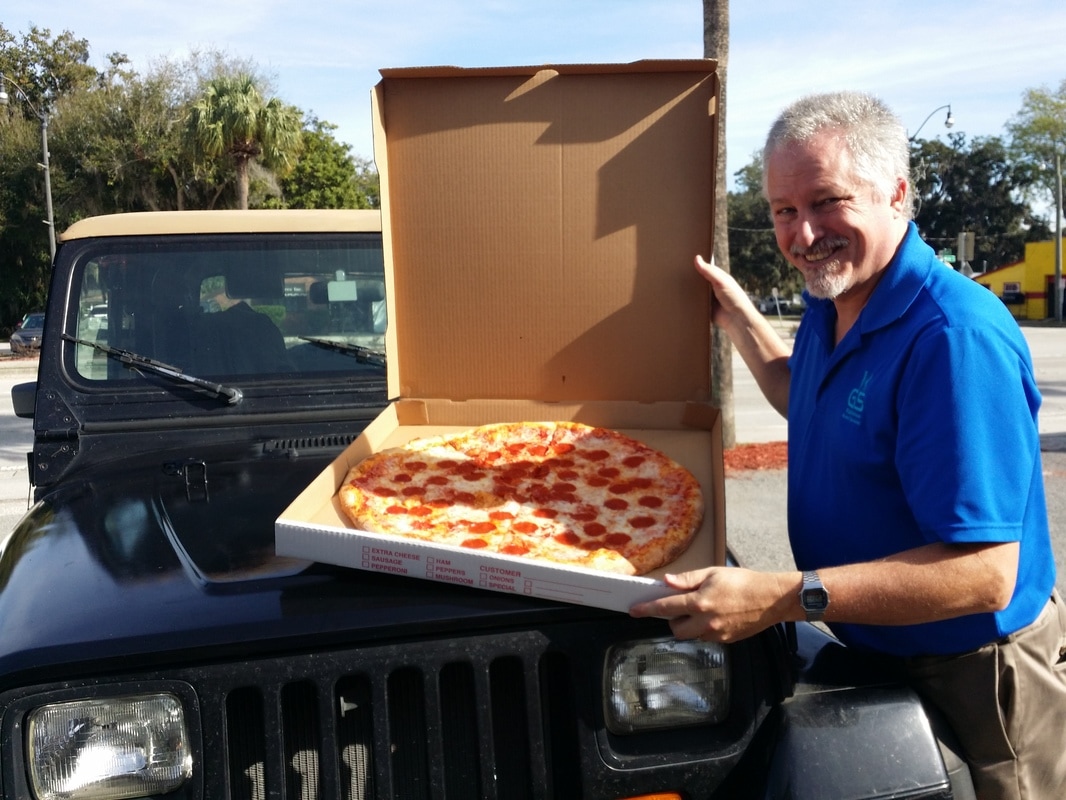
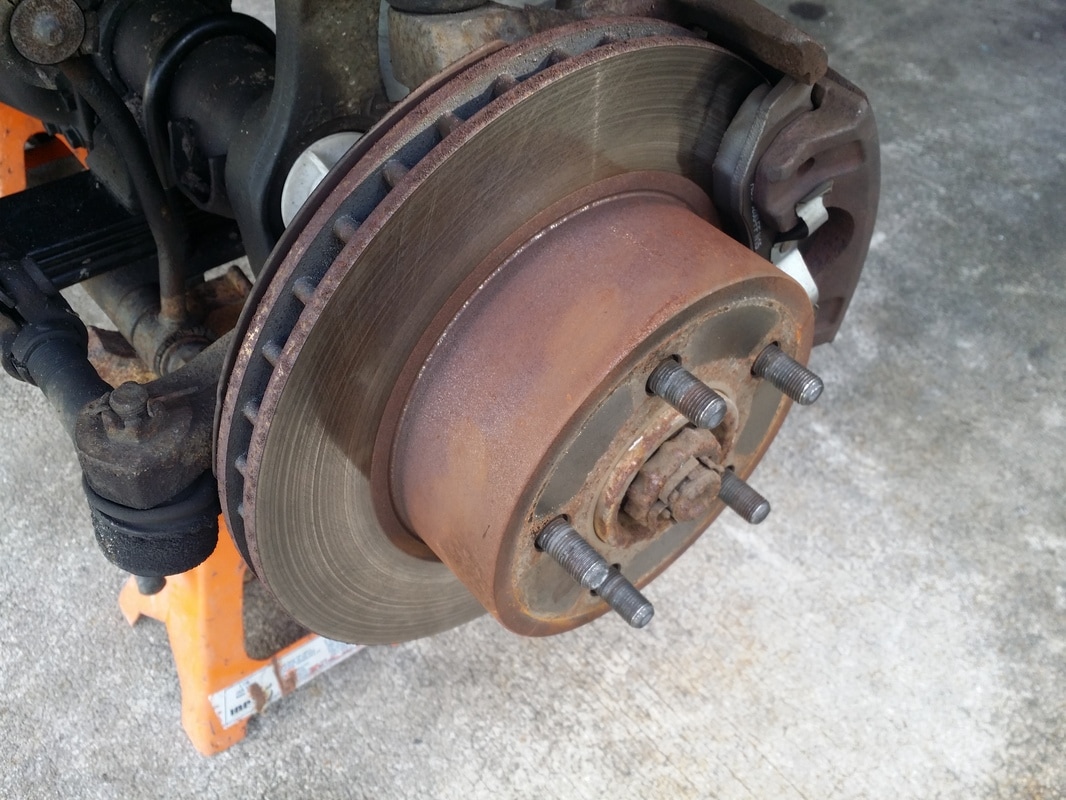
My brake calipers froze!! Nothing like driving to work and having the Jeep pull to the left when you hit the brakes and the right when you don't. Not to mention the smell is just like an electrical fire. I though "ahhh Man whats wrong now." We had a trip to Three Lakes set up with some Jeepers from the Tampa area. Friday I changed the brake line and cleaned the caliper, that did not work for long. We took a trip to visit my family on Saturday morning and most of the afternoon we had rain. Sunday morning. A quick Pizza for lunch and I started the 1 hour job of changing the front calipers...... 4 hours later I finished. The new calipers had some burrs in the banjo threads causing issues with the fitting. O'Reilly's help me out with some thread cleaners and we are now good to go. This is a how to video and not meant to be a definitive guide to caliper replacement. The MightyVac made bleeding the brakes a breeze.
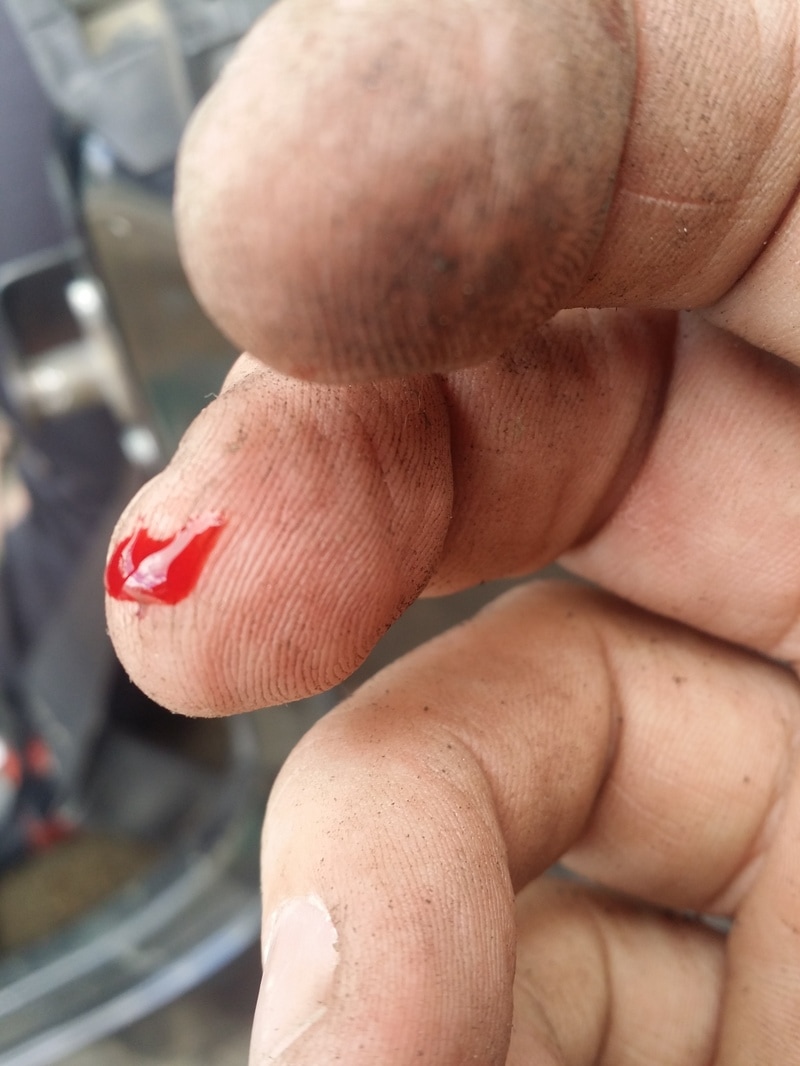
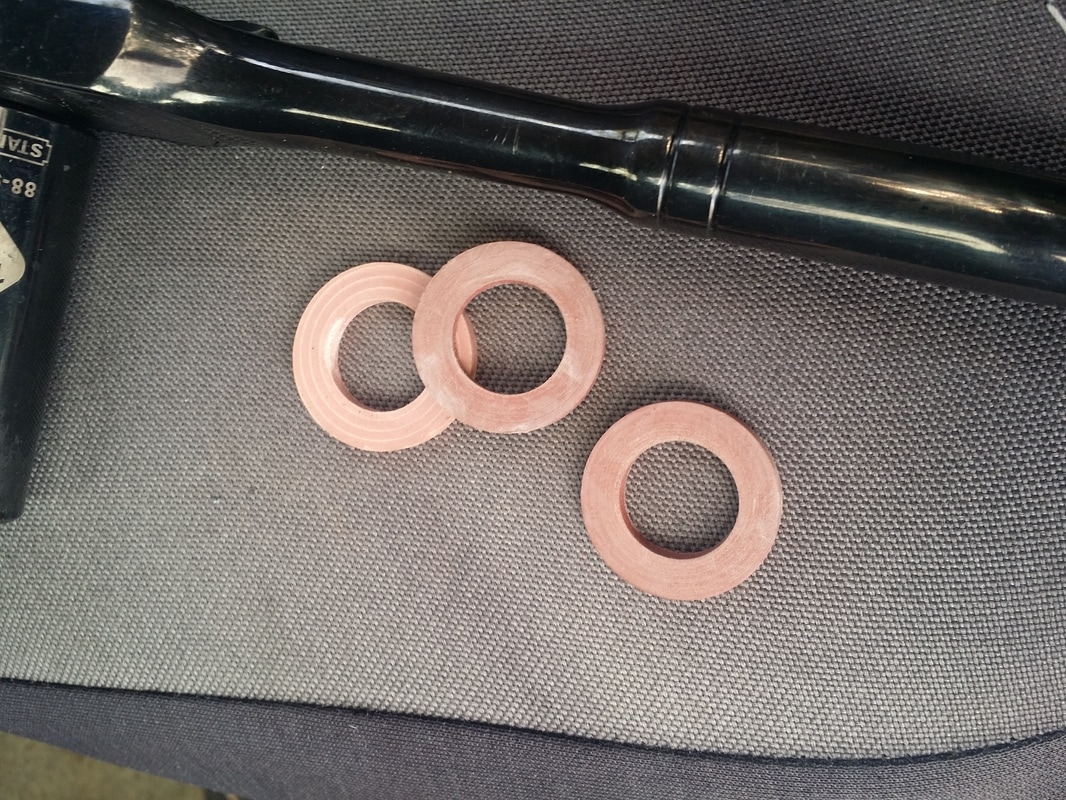
Tools needed: 9/16 , 1/2 3/8 inch sockets & Wrenches Brake bleeder. Jack stand and Jack. Clean rags. Brake fluid. DOT3 Parts: 18-4340S and 18-4339S O'Reilly www.oreillyauto.com 1. Lift and secure Jeep. 2. Remove tire. 3. Loosen calipers slide bolts. 4. Loosen and snug brake hose on caliper. 5. Remove slide bolts and leave brake hose on. 6. Prep the new caliper. Make sure the banjo bolt hole threads are clean and free of burrs. Some remanufactured calipers may need a good thread cleaning before the banjo bolt goes in. Don’t let debris go into caliper. 7. Remove Banjo bolt and place NEW copper washers on each side of brake hose before placing on new caliper. Make sure the area is clean. Make sure ridge and notch are aligned properly. Snug the bolt enough to stop fluid from leaking. 8. Put brake shoes on and place caliper into place, tighten slide bolts. 9. Tighten Banjo bolt. 22 fpds. DON’T over or under tighten, or you will have leaks. 10. Push brake pedal to compress caliper. 11. Bleed brakes. 12. Put the tire back and go for a test drive. Brakes are important to do correctly, failure is not an option. If your net getting a good pedal then re-bleed the brakes. Bigger tire may require bigger brakes. Look into better rotors and calipers if needed. Any questions feel free to ask. 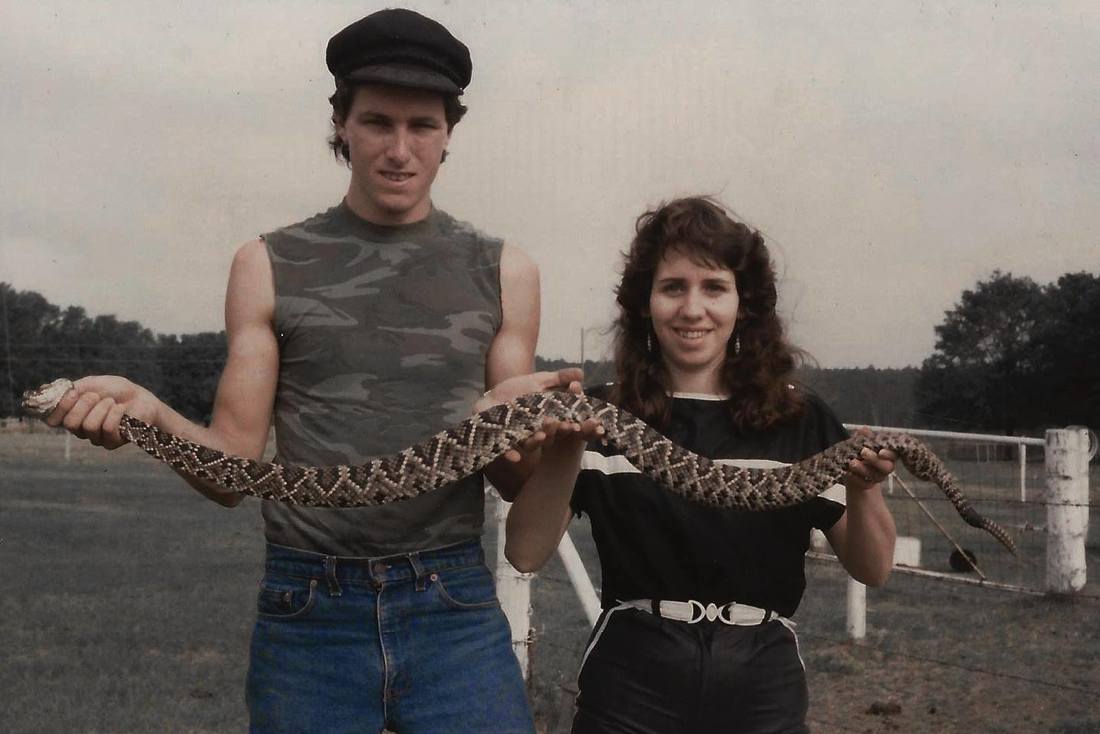 It was late spring 1974, Tallahassee Florida. I was a ruddy, skinny kid they called smiley, always grubbing about looking for whatever trouble I could get into. I was in middle school when my mother came home to tell me I would be going to summer school, I responded like any kid who gets told that right before the most glorious time of year. Uuuugggg! Who wants to go to summer school? Then she informed me that it would be SNAKE SCHOOL… Snake school? Yep, my summer would be spent at FSU learning about reptiles and amphibians. How cool is that? We spent Monday, Wednesday, and Friday in the field collecting snakes for the university and getting hands on lessons, on Tuesday and Thursday we were in class rooms learning the biology aspects of reptiles, amphibians, and birds. The final exam was around 200 preserved snakes on a table and a blank sheet to write the names down. This was in the mid 70s and it was a different era. We were all over the Tallahassee area turning over boards, walking along ditches, and wading in rivers up to our necks catching snakes off branches. Back then alligators were on the endangered species list and not too frequent. Jumping into the water to catch a fleeing water snake was no big deal. Today I would think twice before jumping into any body of water in Florida, we have gators in almost every pond. In the class we were taught not only how to identify all the diverse species found in Florida but where to find them and how to catch them. Over the next 4 summers we took trips to Saint Marks, Saint George Island, South Texas, and the Everglades. Saint Marks is just South of Tallahassee and provided ample areas to find snakes. Two people were bit that year by venomous snakes. One was a pigmy Rattle snake through someone’s boat shoes (that’s why I wear snake boots.) They flipped a board and saw the snake, then they stepped on it to prevent escape. The snake reached around and bit the person’s toe. The other was a mistaken identification. As we walked down a dirt road we found some tracks from a snake crossing in the sand. When the person found the snake in a small bush next to the road he quickly grabbed the snake by the head… it was a cotton mouth. As he grabbed the head the snake opened its mouth to show warning and the guy smashed a fang into his finger. We waited 45 min to get picked up by our ride and it was an hour to the hospital. He had no ill effects, a hard lesson learned. Look twice and ID what you are picking up. Treat the end with teeth with respect. I have been catching snakes and wildlife most of my life and have a fond appreciation for wild life. So when you see me in videos out catching snakes know that I have been doing this for over 40 years. Back in the 80s and 90s we would often sell or donate the venomous snakes to Gatorland or the serpentarium. I have caught most every type of venomous snake in Florida, but as of yet I have not been bitten… except by non venomous snakes. I always get a kick out of peoples stories who tell of snakes crossing the road and being 8 feet long. The Eastern diamond back is the largest rattlesnake species and is the heaviest known type of venomous snake, with one specimen shot in 1946 measuring 7.8 ft (2.4 m) in length and weighing 15.4 kg (34 lb) Not 8 feet long, but the skin could stretch beyond that after its cured. Specimens over 7 ft (2.1 m) are rare, but well documented. The average size is much less. Specimens are rarely found under 1 foot in length. More often 3.5 to 5.5 ft. This is a beautiful snake with a long strike range so stay clear, when threatened, they raise the anterior half of their bodies off the ground in an S-shaped coil, and can strike to a distance of at least a third of their body length. Big rattle snakes are rare, but today sadly there are evasive species of snakes in the Everglades that can reach great lengths. There has been a huge 16-foot, 10-inch python caught in the Florida Everglades by a snake hunter. So stories of snakes stretching from one side of the road to the other can now be true in Florida. Stay safe my friends and threat nature with respect, sometimes you life may depend on it. MY FIRST BRAKE DOWN IN A YEAR AND A HALF:
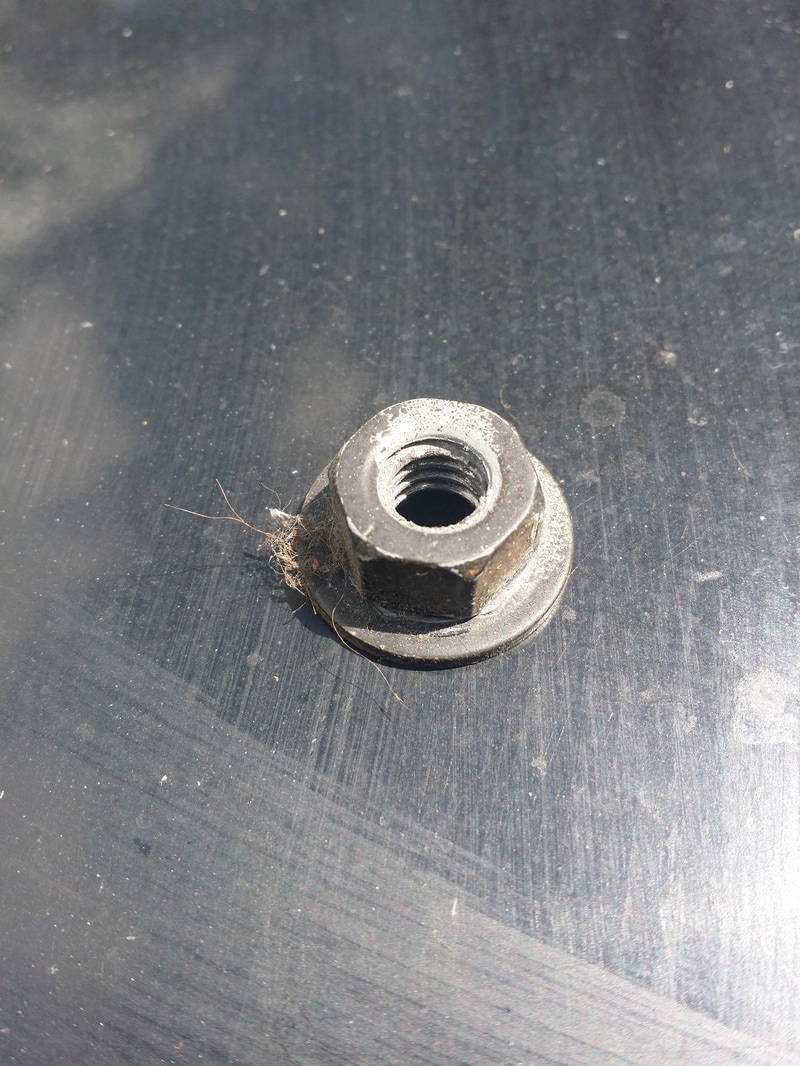
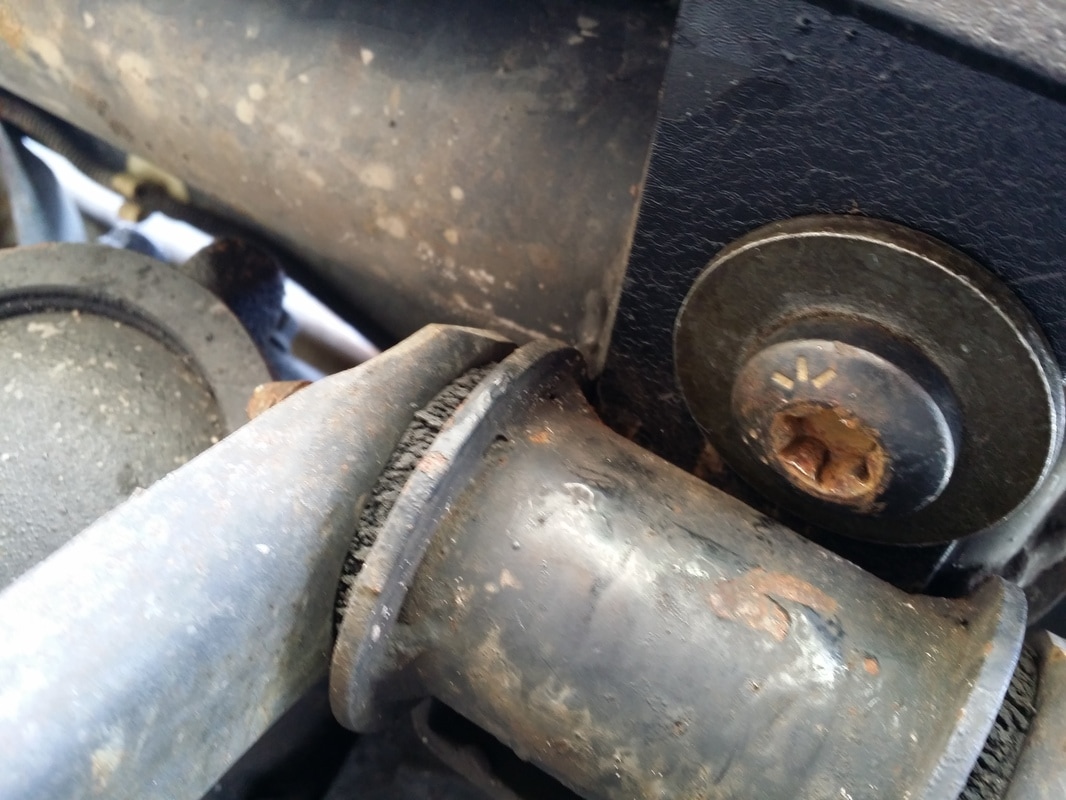
So today started off GREAT! We got an early start and picked up a cypress table on the way to Deland. The guy's room mate had a Jeep in the driveway. We arrived early to Tiger Bay and Randy walked down the trail to take some flower photos. I set about the task of mounting up the cameras on the Jeep. A few camera fails at first, (I forgot to un-load the last trips footage, so the cards were full.) Once they were all mounted, we were down the Woody track road. We found a good muddy back trail that was not marked closed and we went as far back as you can go. The trail was a narrow peninsula with a swamp to the right and a ditch on the left. That made for a good 5 point turn. I was talking talking to the camera about playing it safe while wheeling alone, when a small log jumped up on the trail and hit my clutch cylinder fluid line. The clutch pedal flopped to the floor. Playing it safe on a trail deep in the woods and no clutch. "JEEP LIFE" I spent a short time attempting to do a field repair. No such luck. I could not get the line back on the rear of the slave cylinder. The hose was made from a hard plastic and needed to be heated to get it back on the zert. I turned the engine off and put it in first, turned the key and off we went. Shifting with out a clutch can be done, but putting into gear from a dead stop proved to be impossible. The solution was to put it in 1st and turn the starter. Not a good thing for your battery or your starter. But it could get you off the trails and to a place to do repairs. I have a sister in Deland so off we limped down 92 around the corner and up 19-92 to her house. We worked on trying to splice some of the hose with clamps and tubing. Still no clutch. We did a full bleed of the system even removing the slave cylinder. Still no clutch. At 4pm or so the grand adventure continued through Deland, getting stuck at almost every light, down I-4 to 417 and then the Turnpike, we limped home defeated by a cheep 2 foot hose. Now the clutch is fixed and new parts are installed. I tried the New Generation PS0115 Premium Hydraulic Jeep Pre-Filled, Pre-Bled Hydraulic System. It was not packed too good, but came pre bled and was easy to install. Two bolts below, two nuts on top and a hair pin on the pedal. #Jeeplife #1995Wrangler
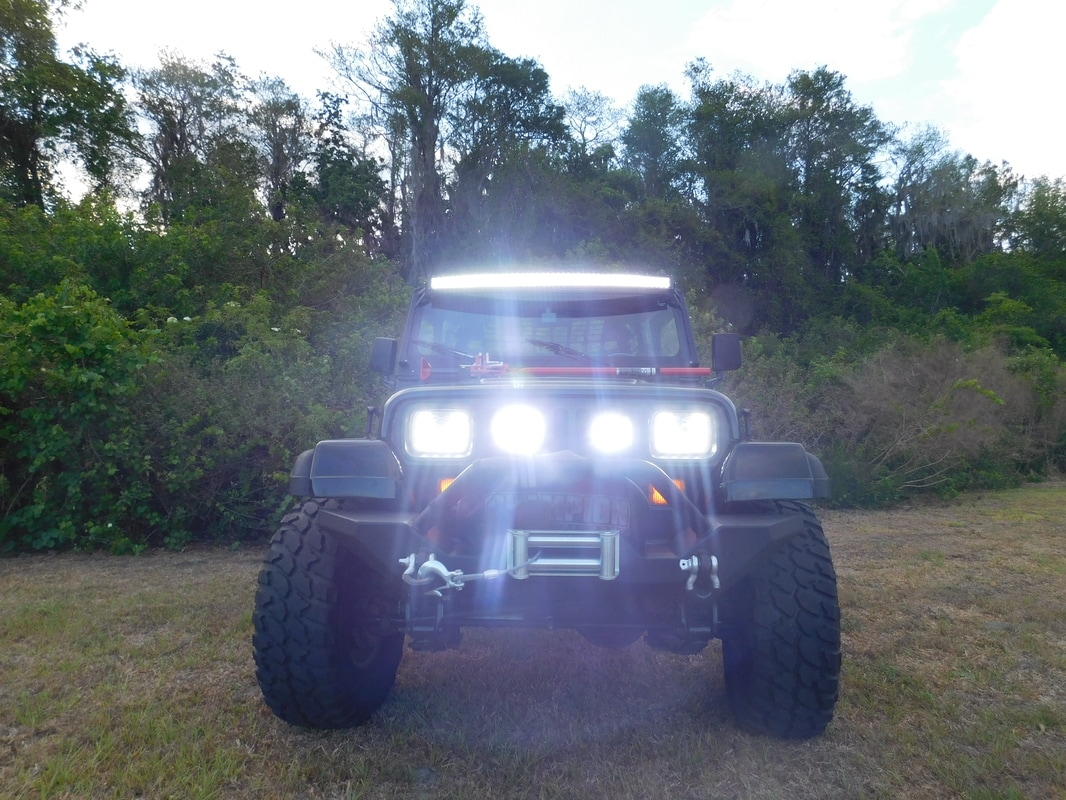
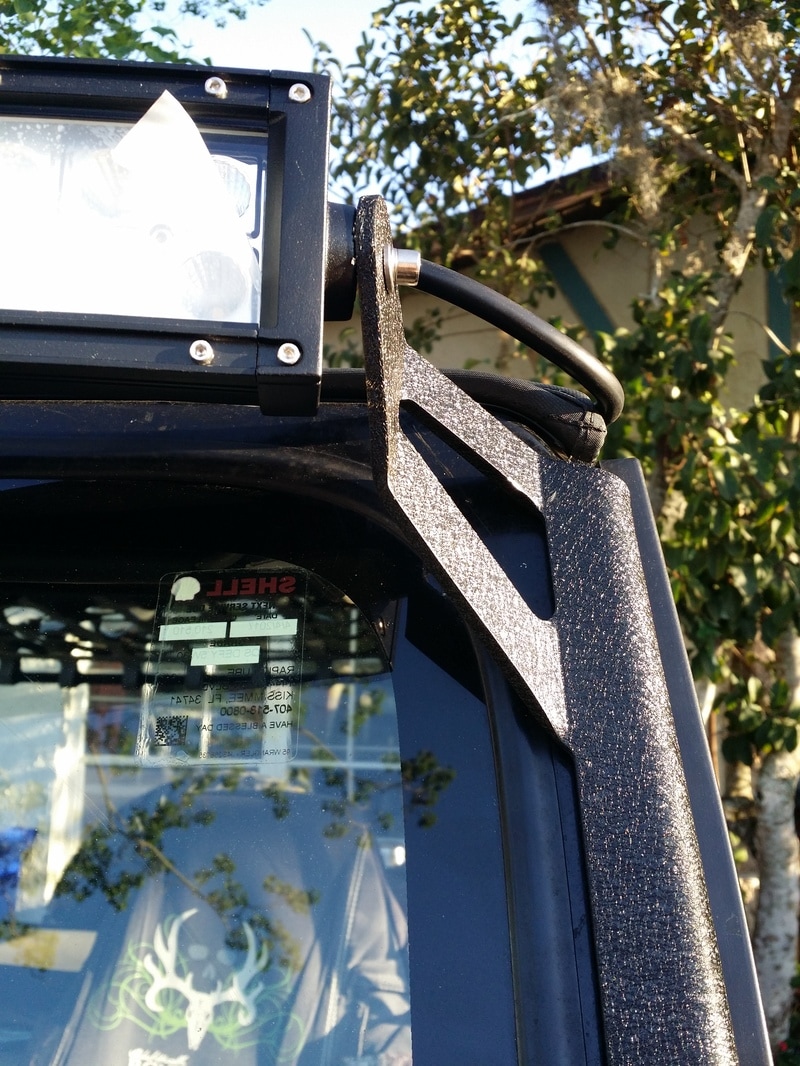
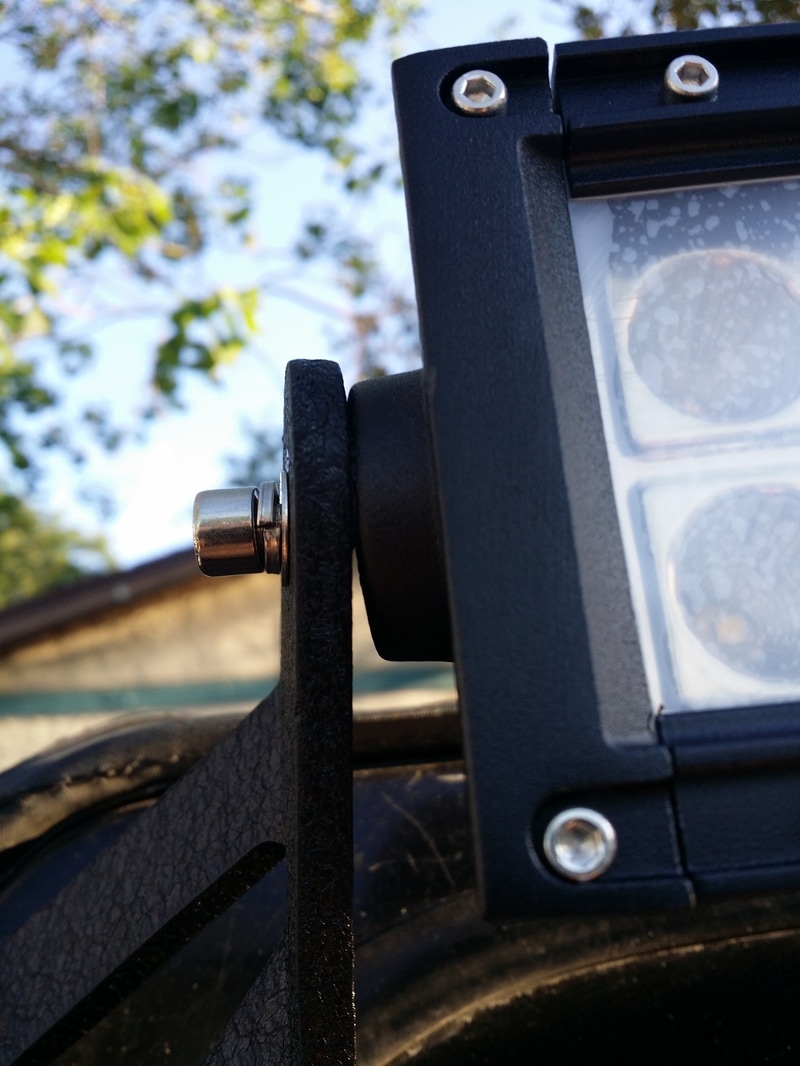
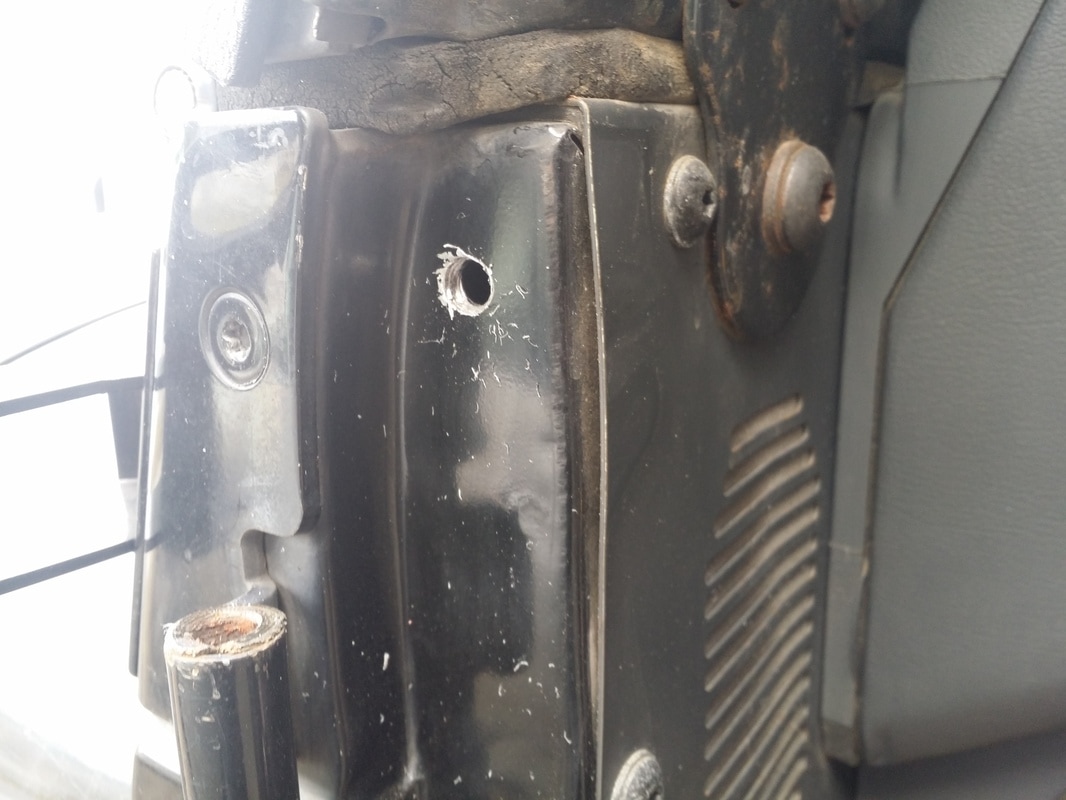
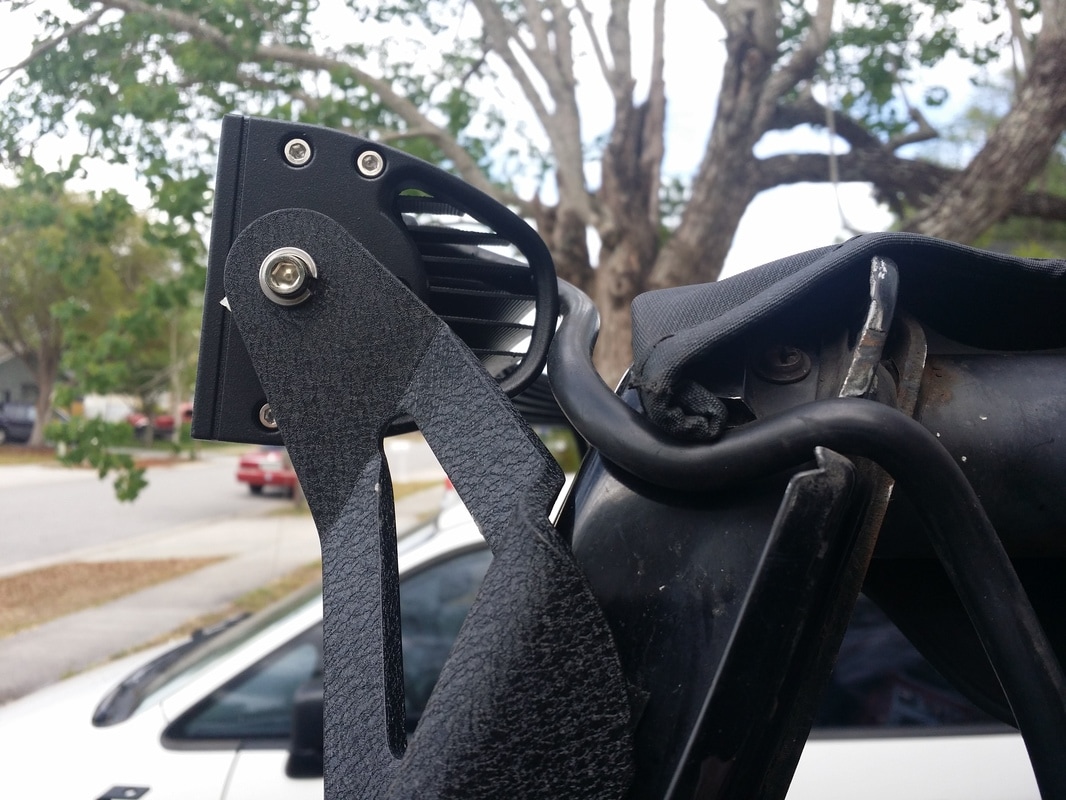
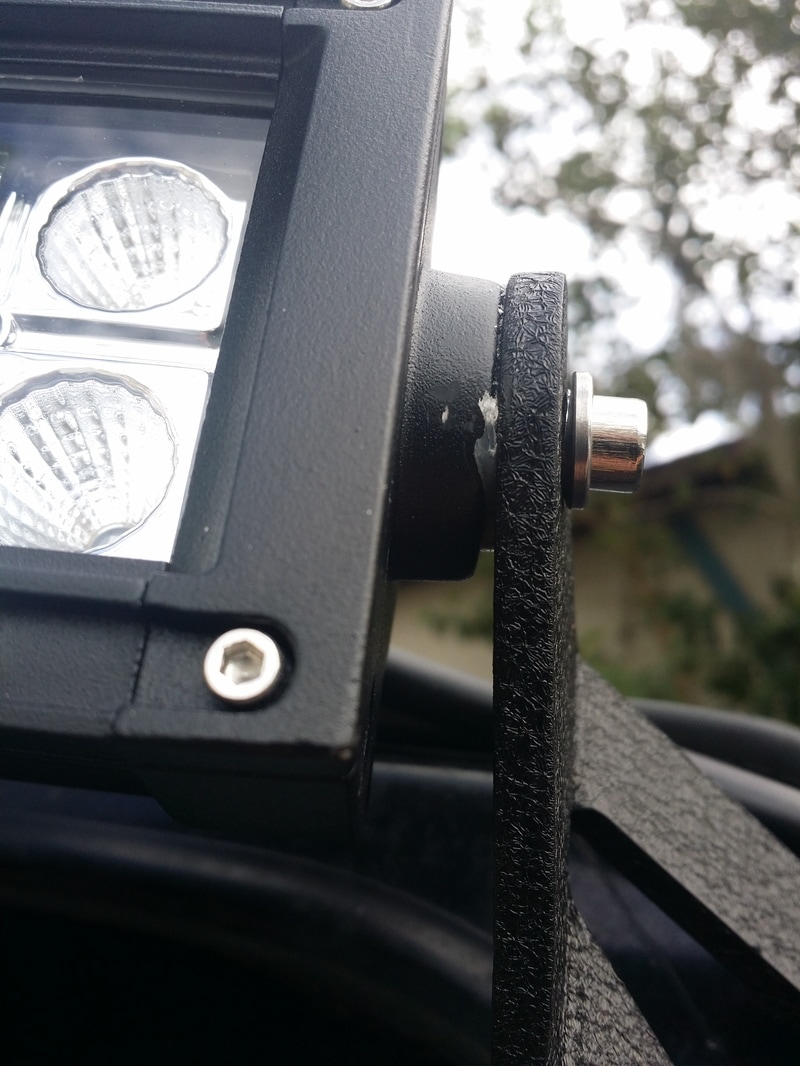
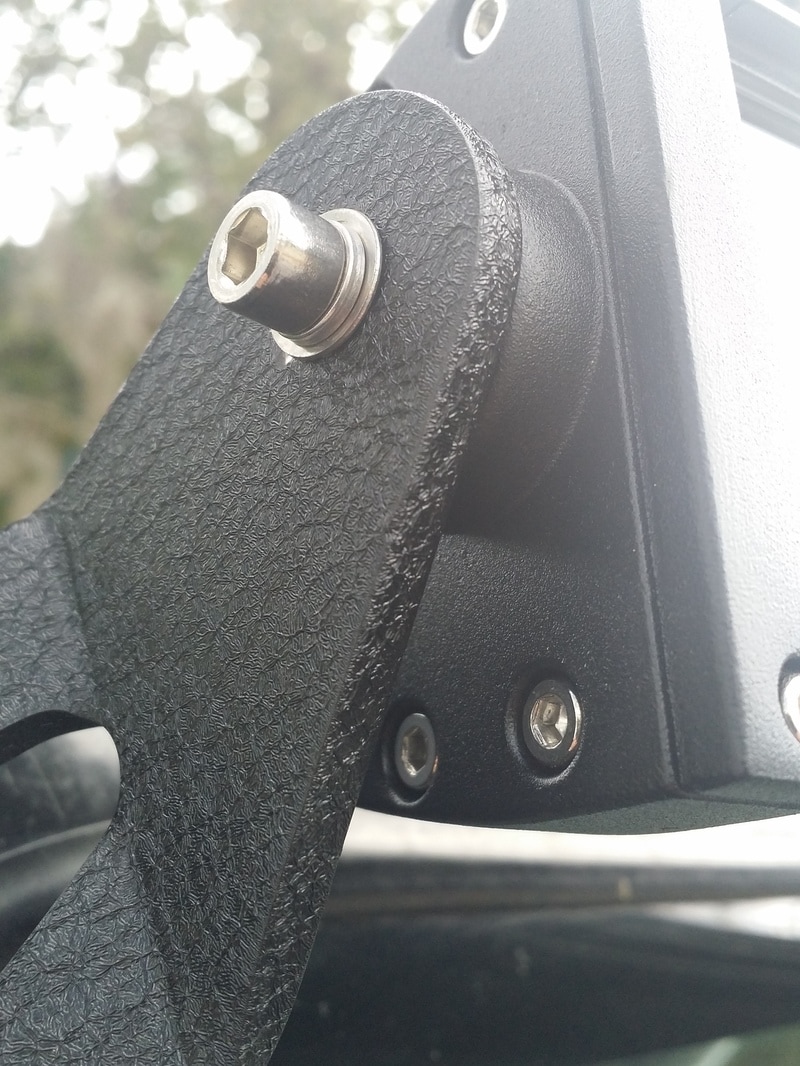
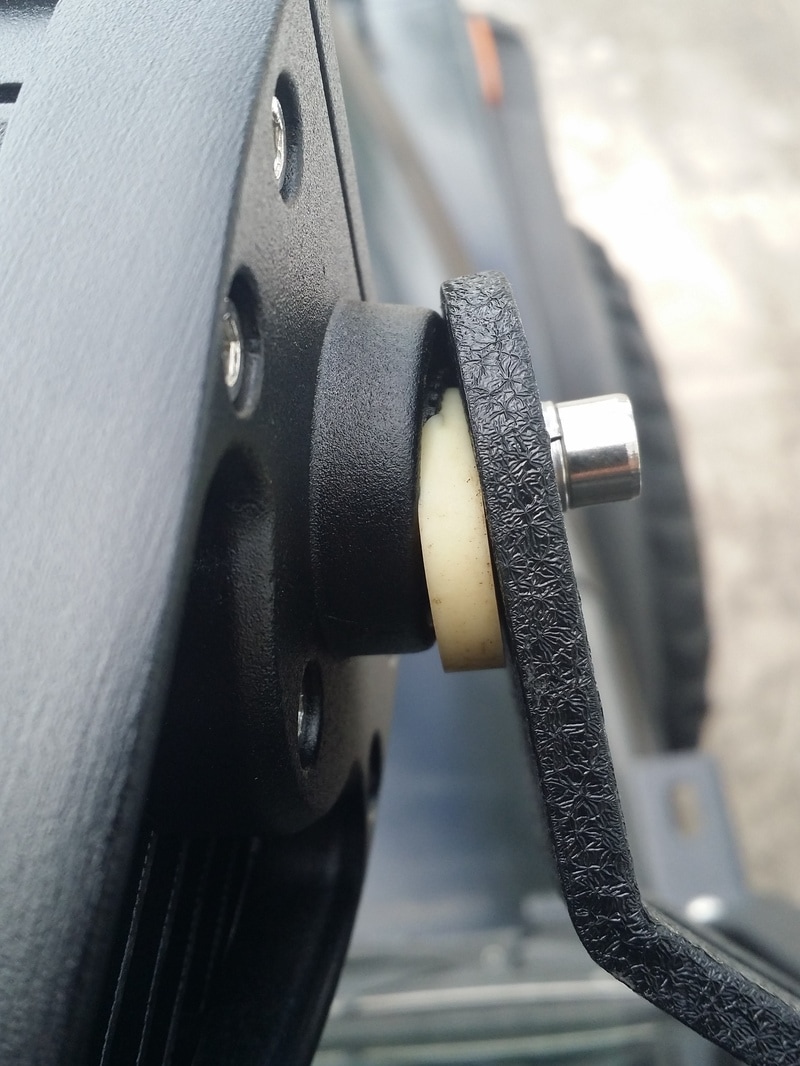
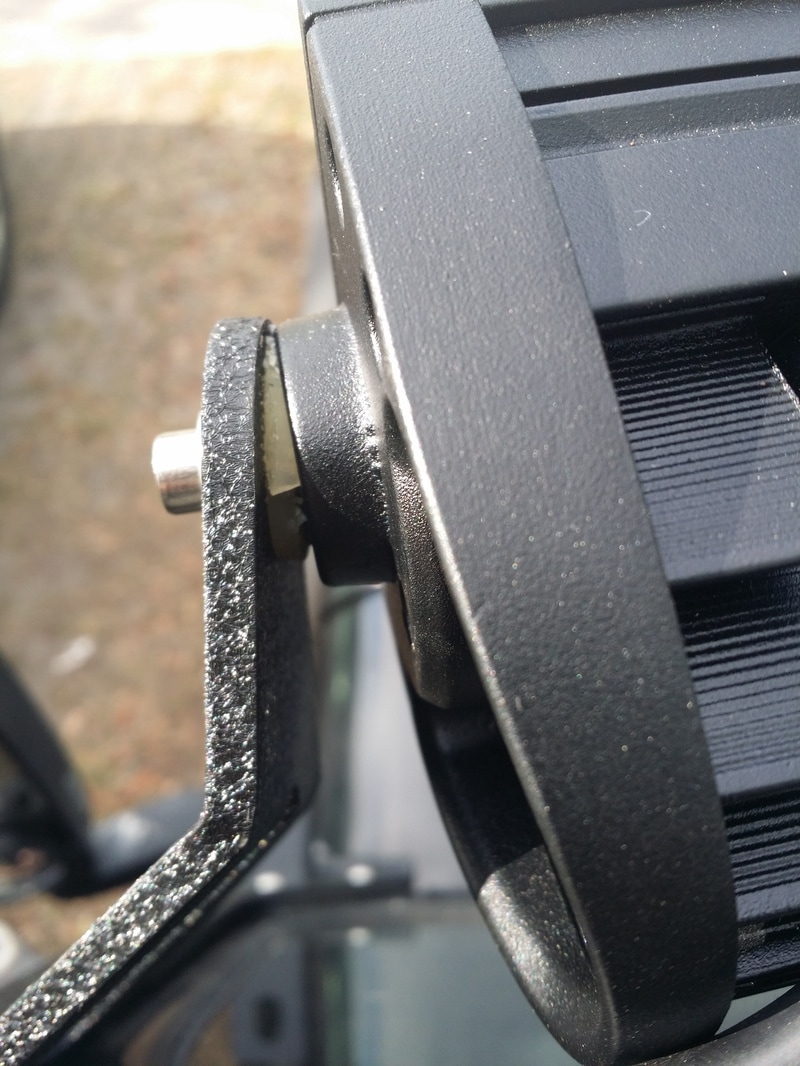
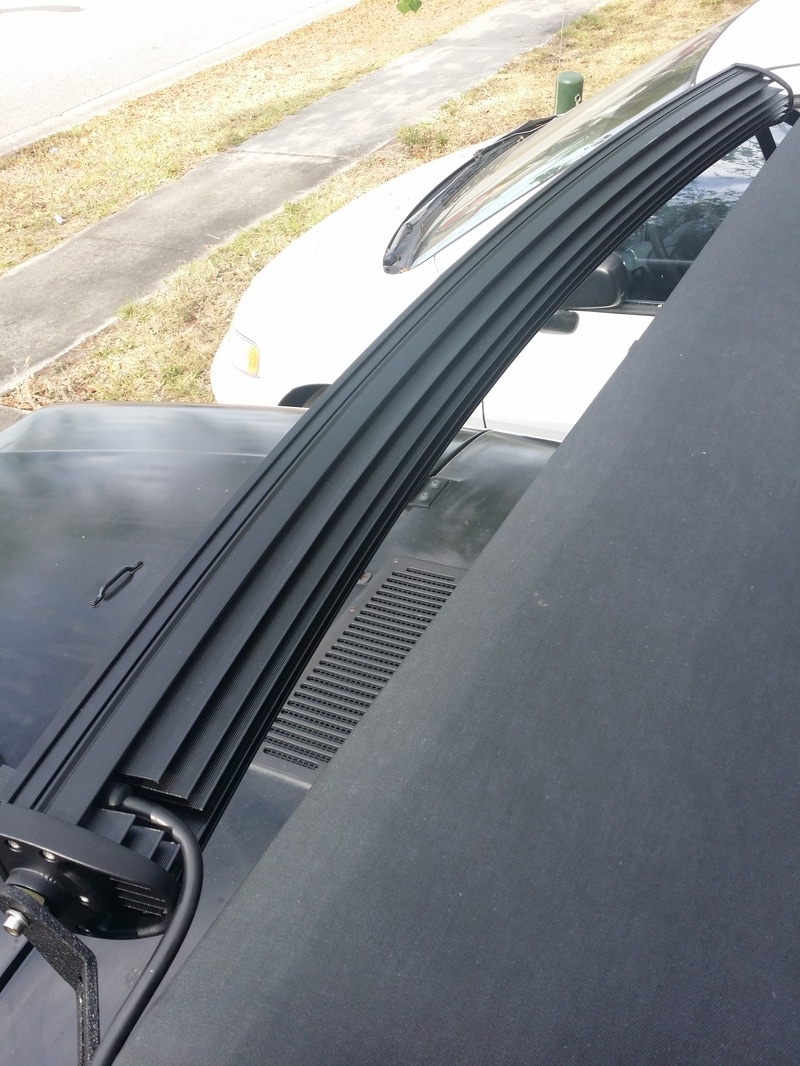
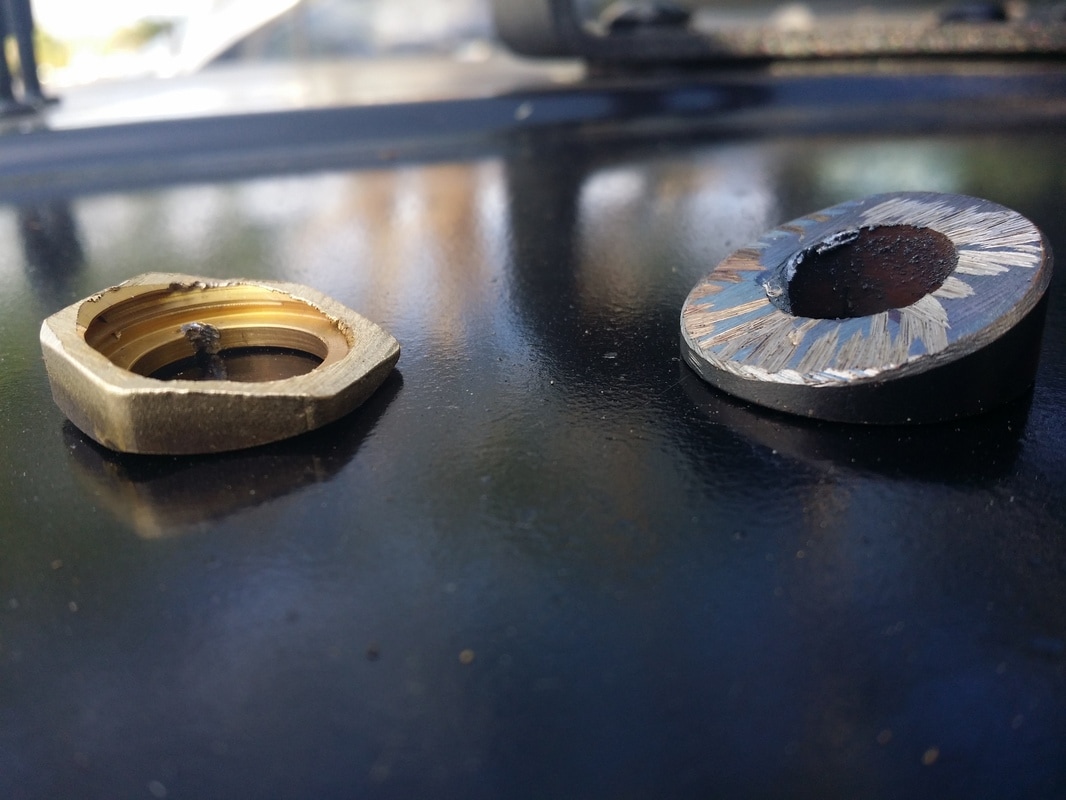
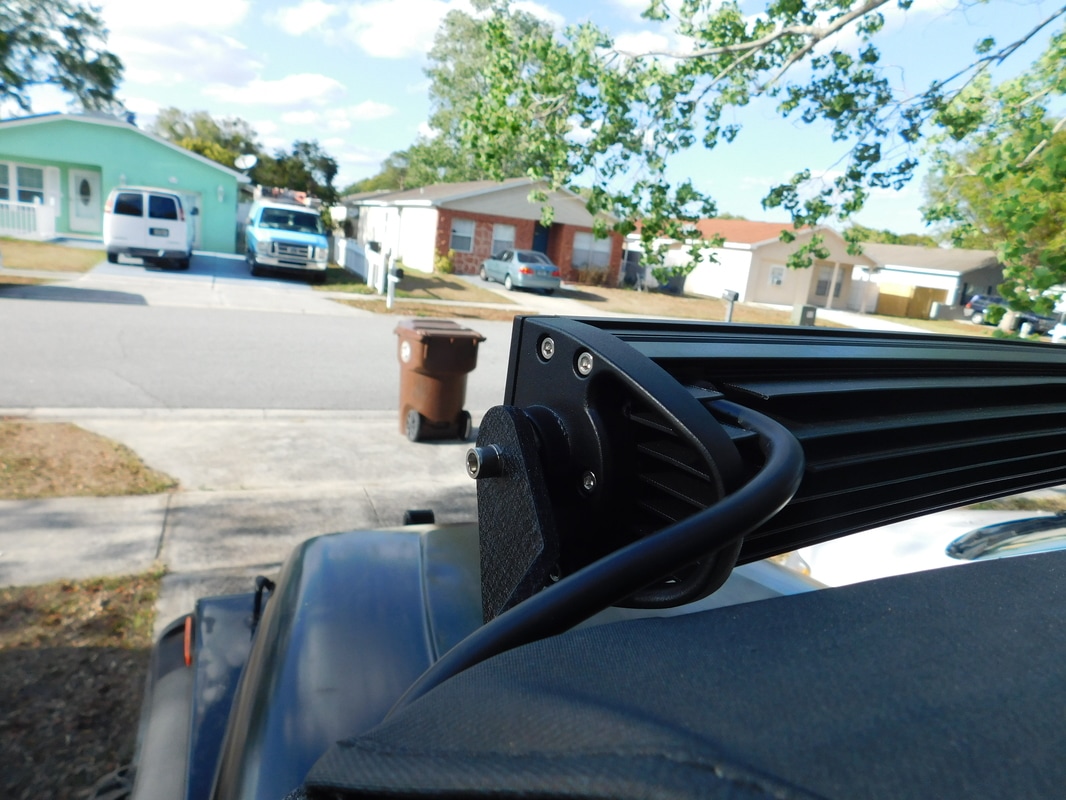
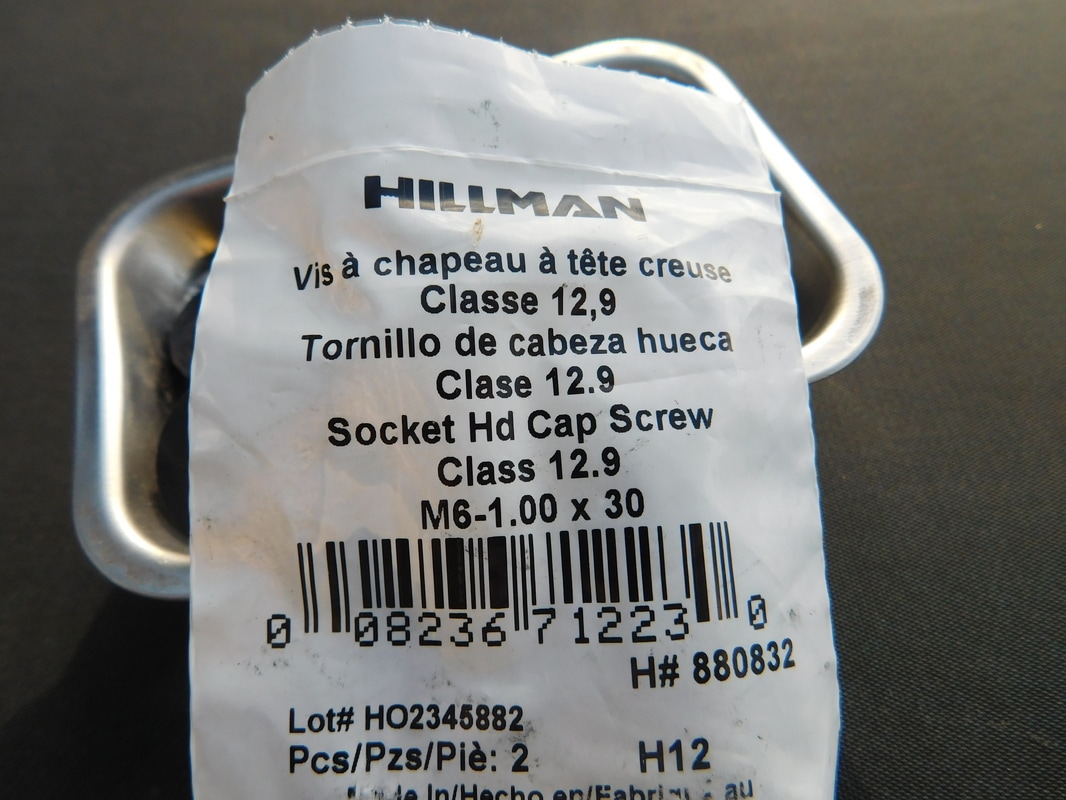
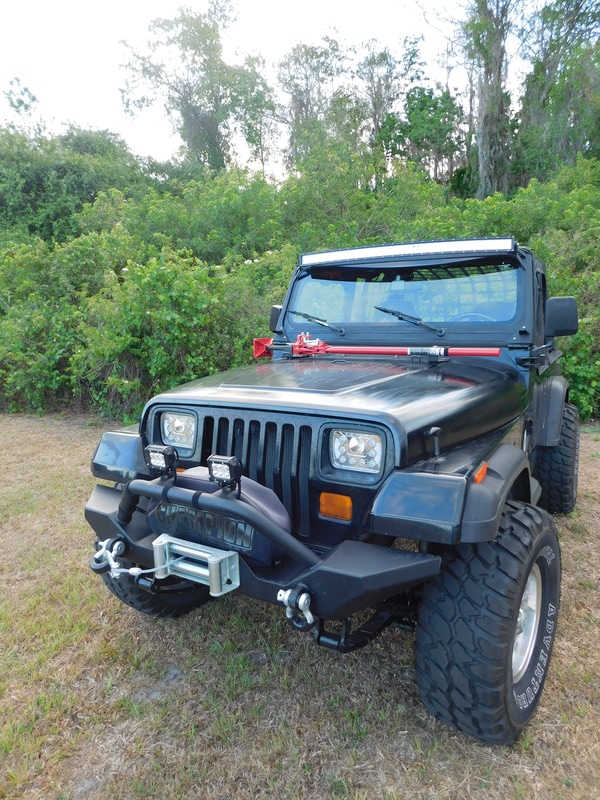
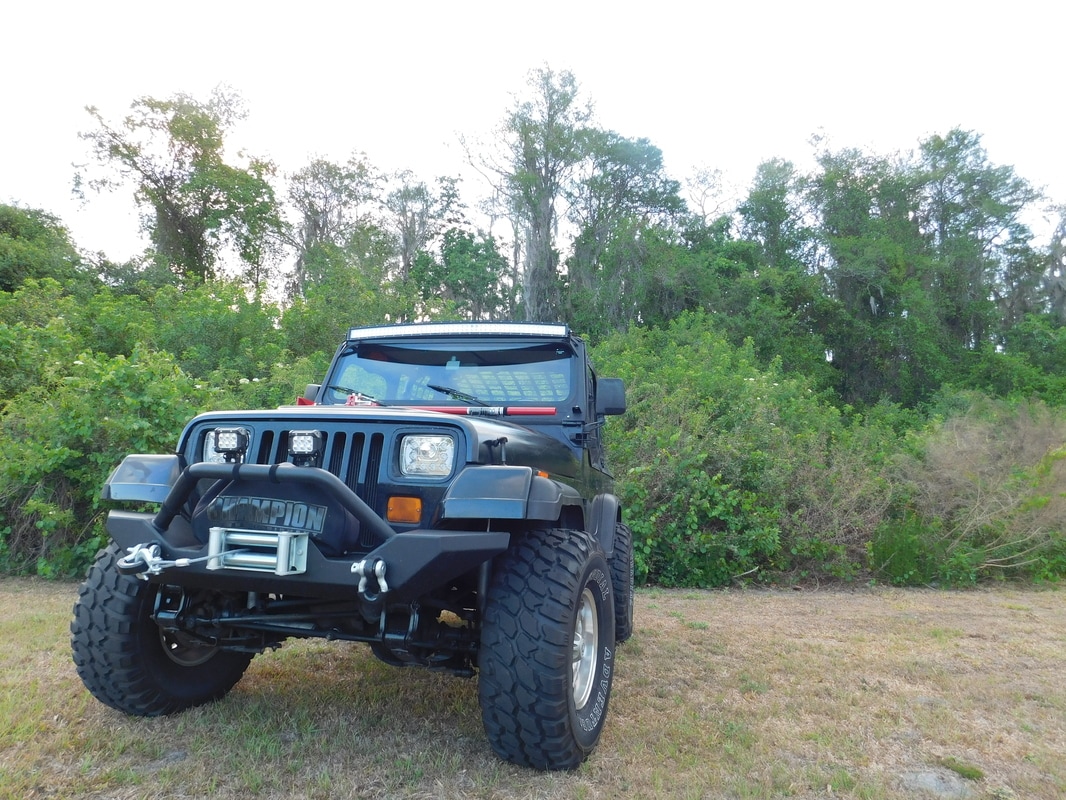
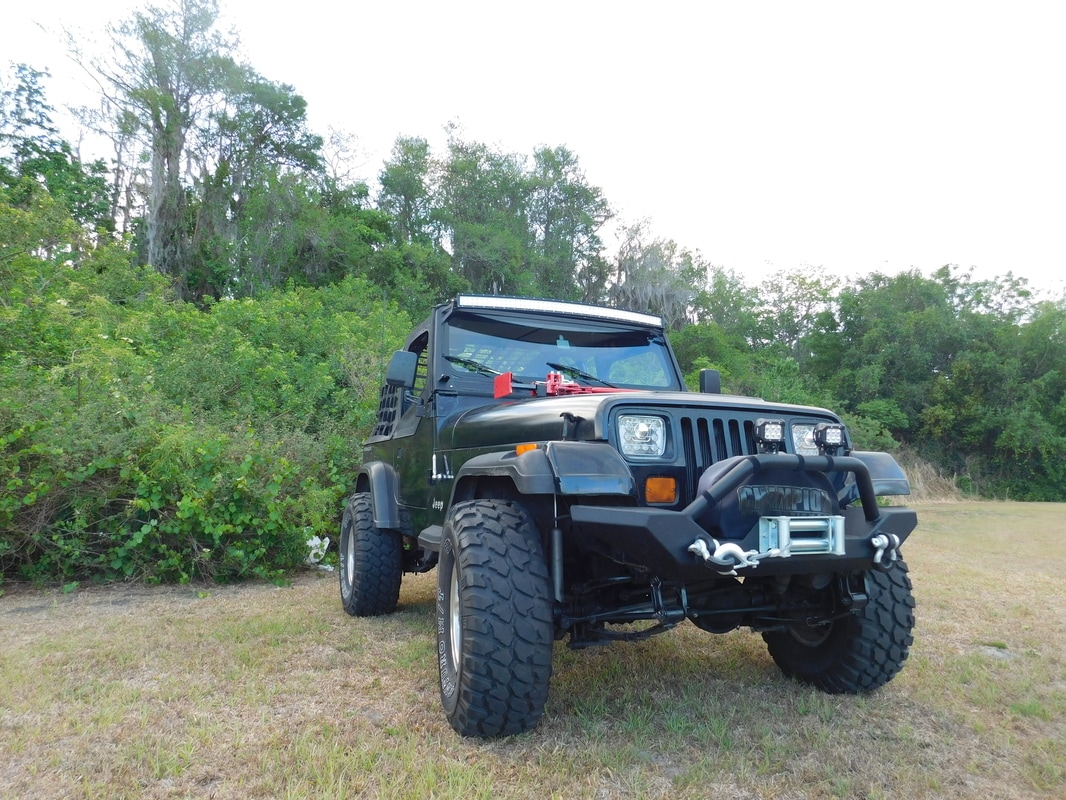
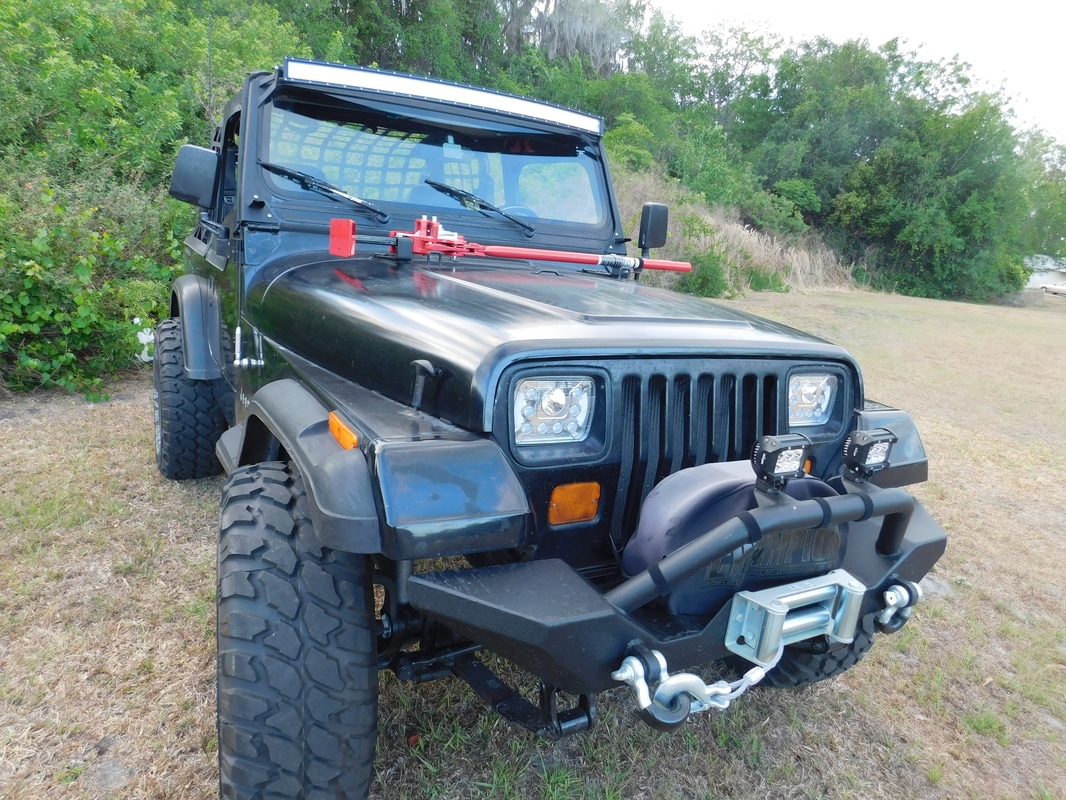
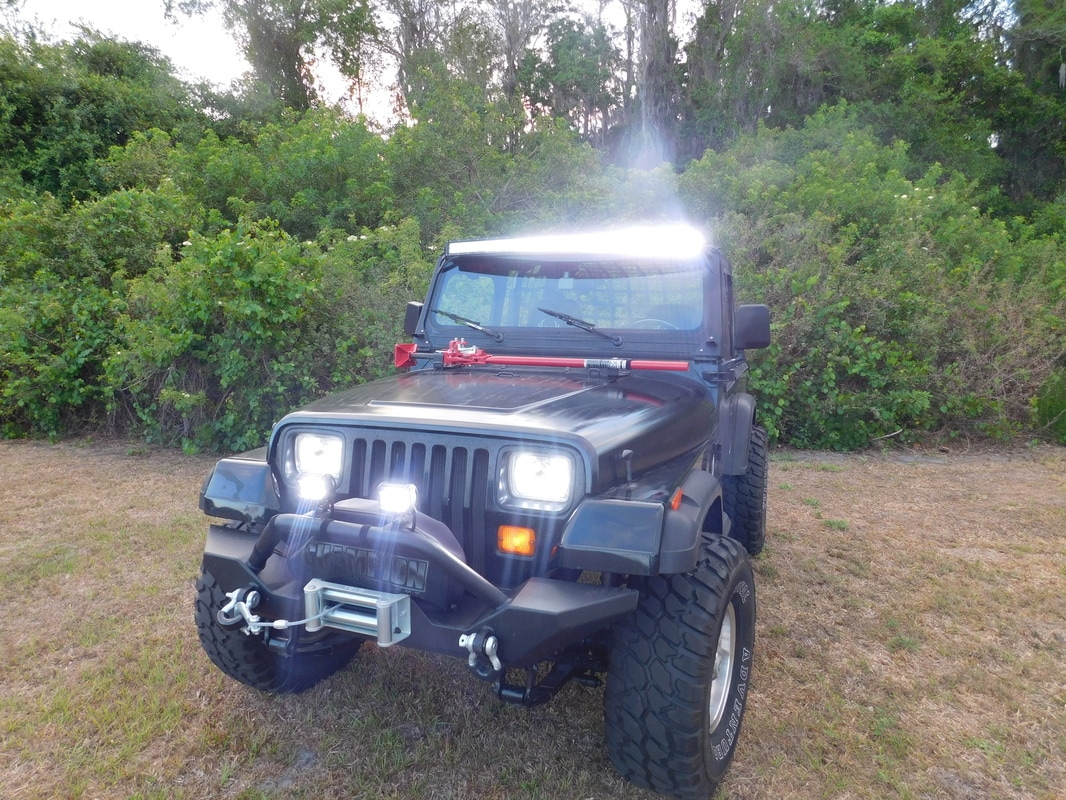
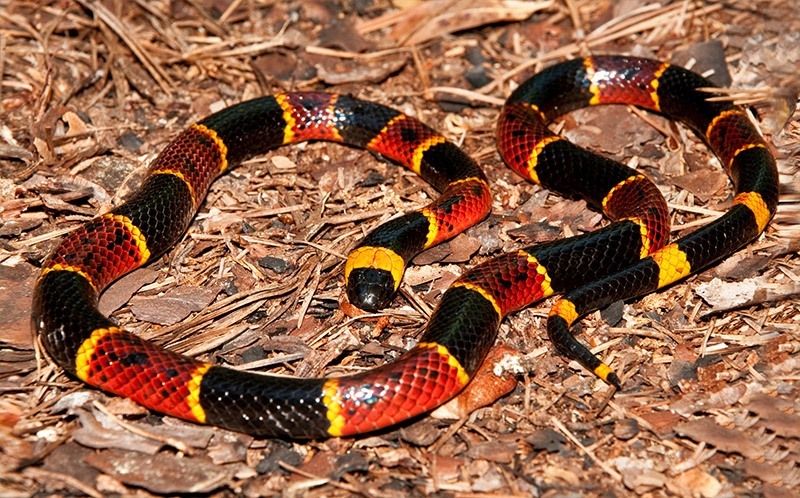
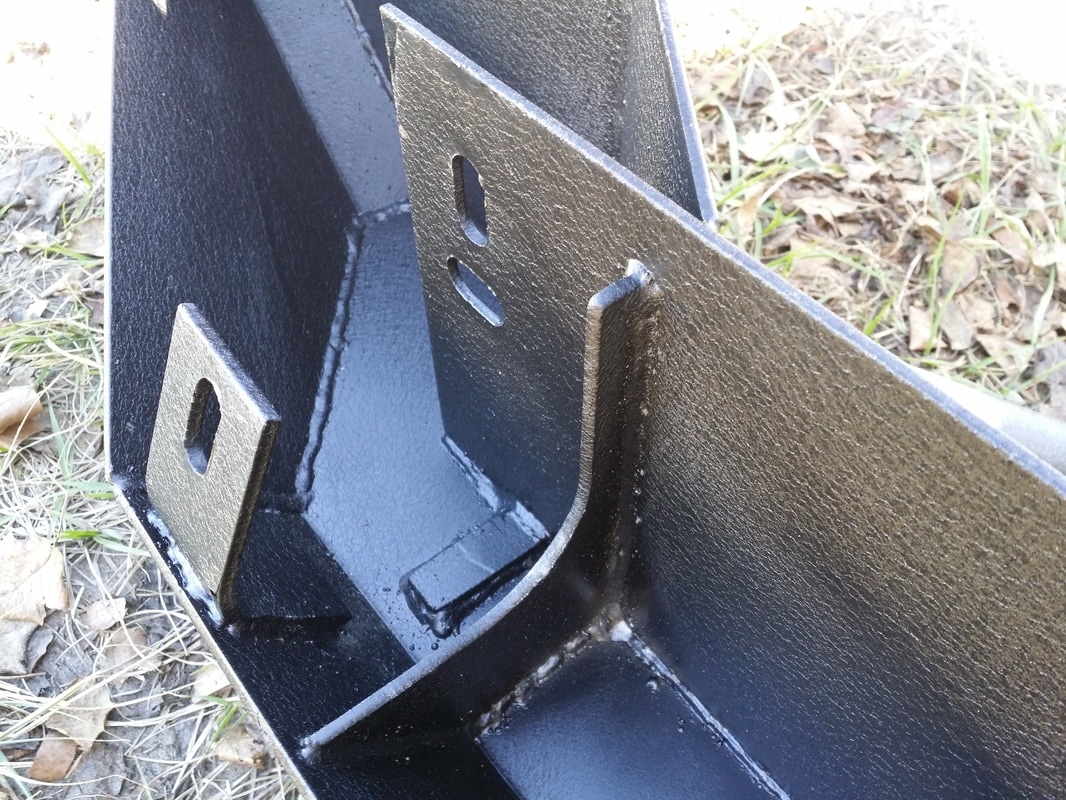
LIGHTBAR: EasyNew 50" 288W Curved LED Light Bar IP68 Waterproof Flood Spot Combo Beam for Offroad SUV UTE ATV Truck with Free Wiring Harness. $69.99 with two free pods lights and another wire harness. MOUNTS: Xprite 50-inch LED Light Bar Upper Windshield Mounting Bracket W/ Lower Corner Brackets (1987-1995 Jeep Wrangler YJ) Side NOTE: Curved Light Bar (Anti-Slip Curved Spacer is Required) I missed this note under the description. Have you ever been off road and got stuck in the afternoon and run out of day light before getting out? I can remember walking out of a place called “THE STRAND” back in the 80s through the sugar sand at night with my wife and son. Don’t wheel alone if you can. When we got back to the truck it was 11pm. That’s when having lights helps. Personally I have always liked the way a Jeep looks with lights over the windshield. On occasion I drive and ”herp” at night on roads just after sunset and trust me proper identification of a snake at night is important. I watched a Scarlet King snake get tossed into the woods on the end of a finger as the person second guessed what he caught. The Guy who taught me about reptiles was Jim Stevenson and he had been bitten by a Coral snake in the past, that experience flashed through his head as he was nipped by the King snake. Off into the woods it flew as he jerked his hand back. So LED lights were on my mind, after some time and some near future night rides coming up I decided it was time to put on some lights and a light bar. LED light are brighter and draw less power. The only thing I heard were warnings about strange UFO whistle sound coming from the light bar, I could live with that. (Those who know me would say it fits.) I also wanted to have a wide throw so logically a bow shaped bar would work better. The notes on the mounting brackets stated that spacers would be needed to mount curved bars on the mount. Somehow I missed that part. Or the light bar would not mount flush with the bracket. Light bars can be anywhere from under $100 to $1000. You almost always pay for what you get. The watts are important 250 – 300 is good for most applications. I paid less the $100… I still happy if it lasts a few years I am good. If it stays on the mounts and does not fall off while wheeling I am even better. I put some zip ties on for extra measure. Step 1Remove 2 hex bolts from windshield hinge on each side. Step 2Put anti scratch pads on inside of brackets.Step 3Attach brackets and tighten hex screws.Step 4Attach light bar with spacers to brackets.**Step 5Drill a hole in side of dash frame or run it through lower windshield padding.Step 6Hook wire harness to power and lights.Step 7Put the switch where ever you want. ** I fabricated angled metal spacers from old fitting I had in the bolt bin. (See Photos.) I also bought longer bolts to make them fit with lock nuts to snug them up. There is a spacer you can get that has grooves to make the mounts flush for under $20. Find out what Jim Stevenson is up to at galvestonbirders.org
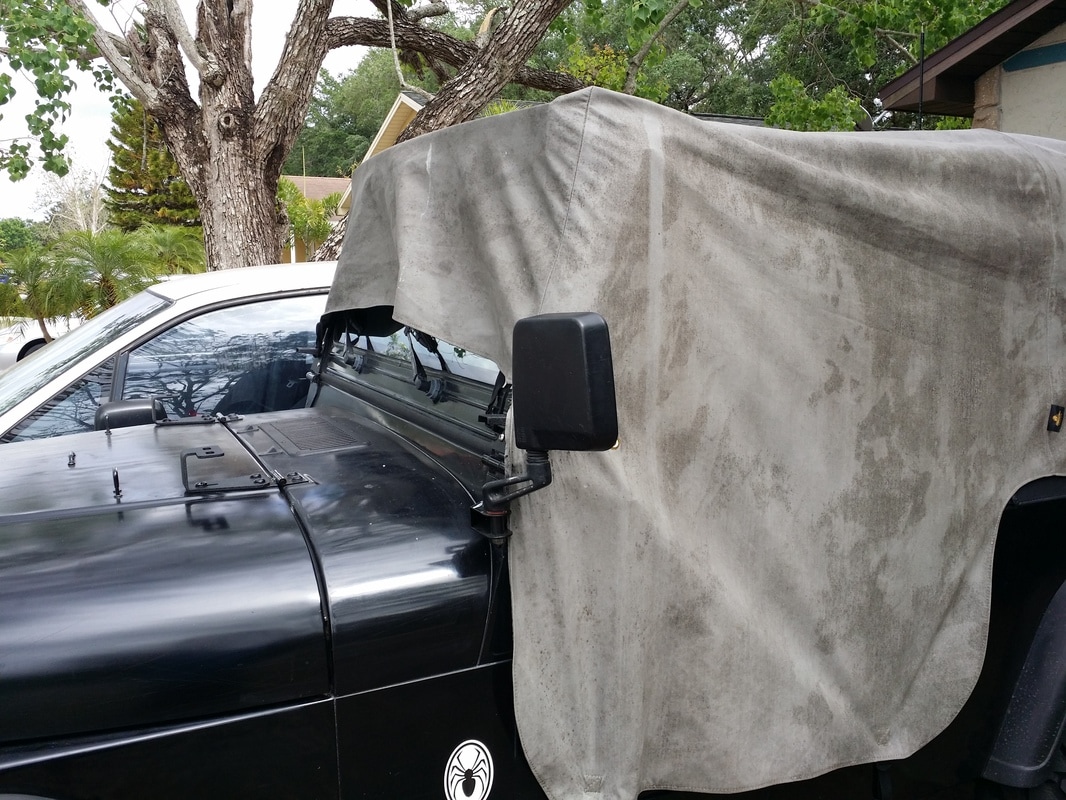
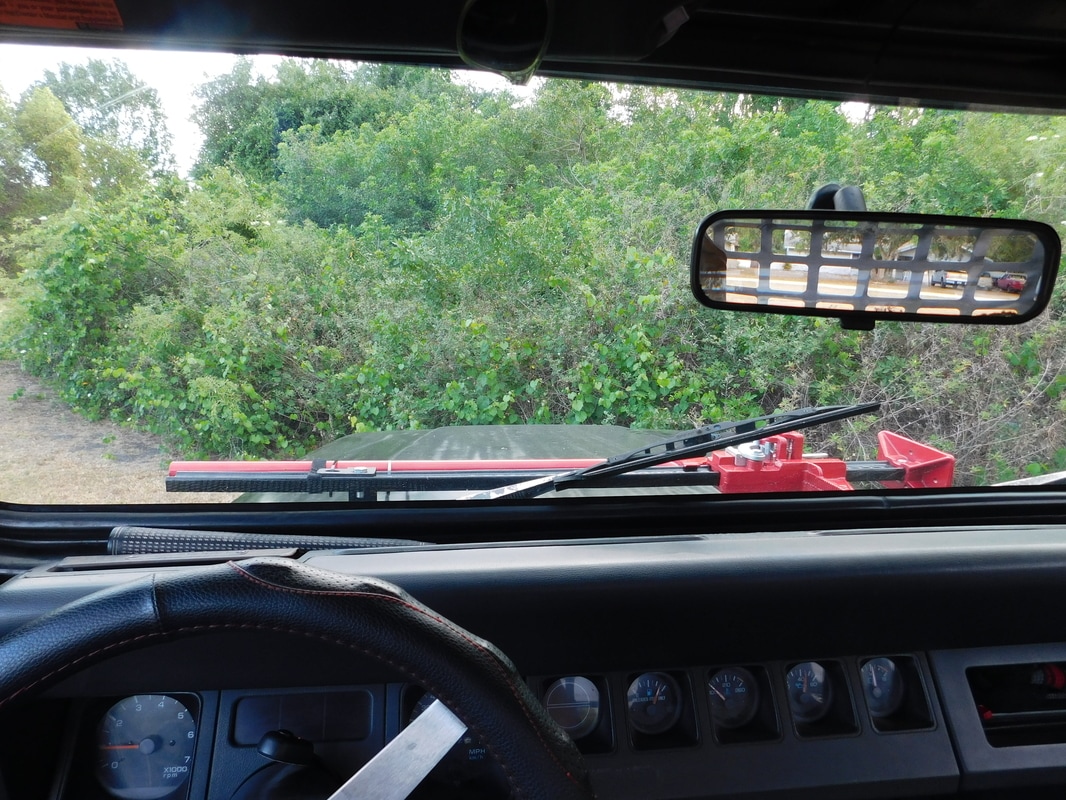
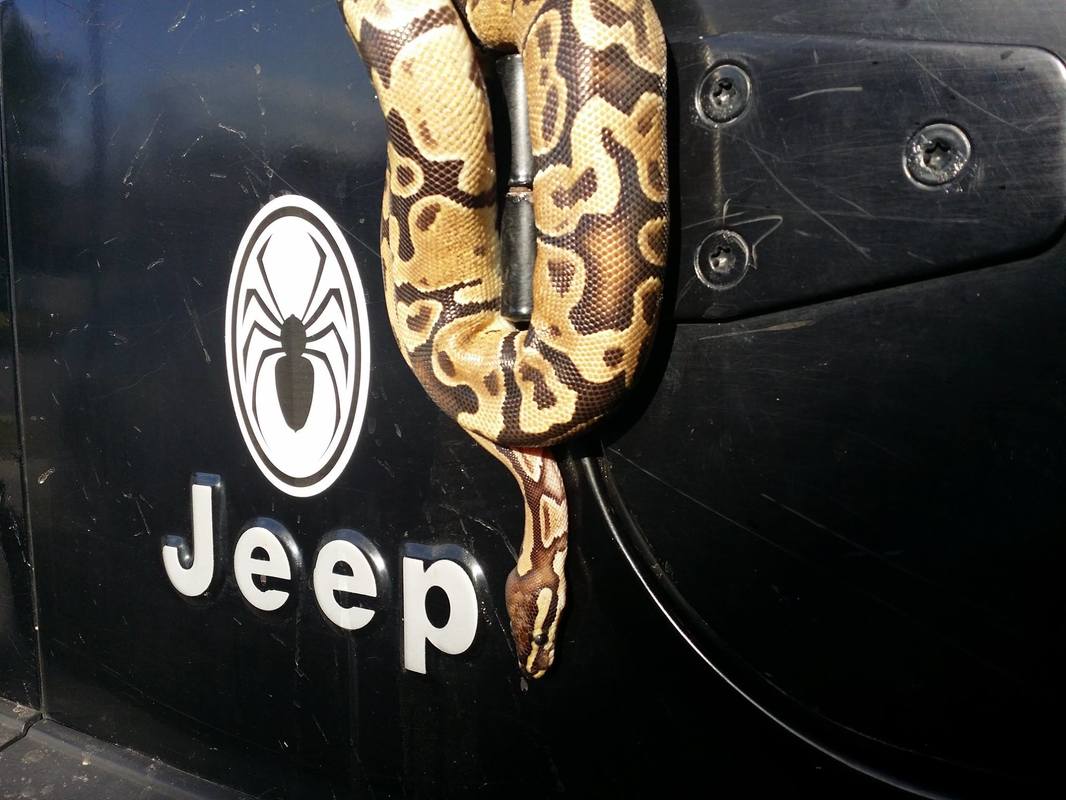
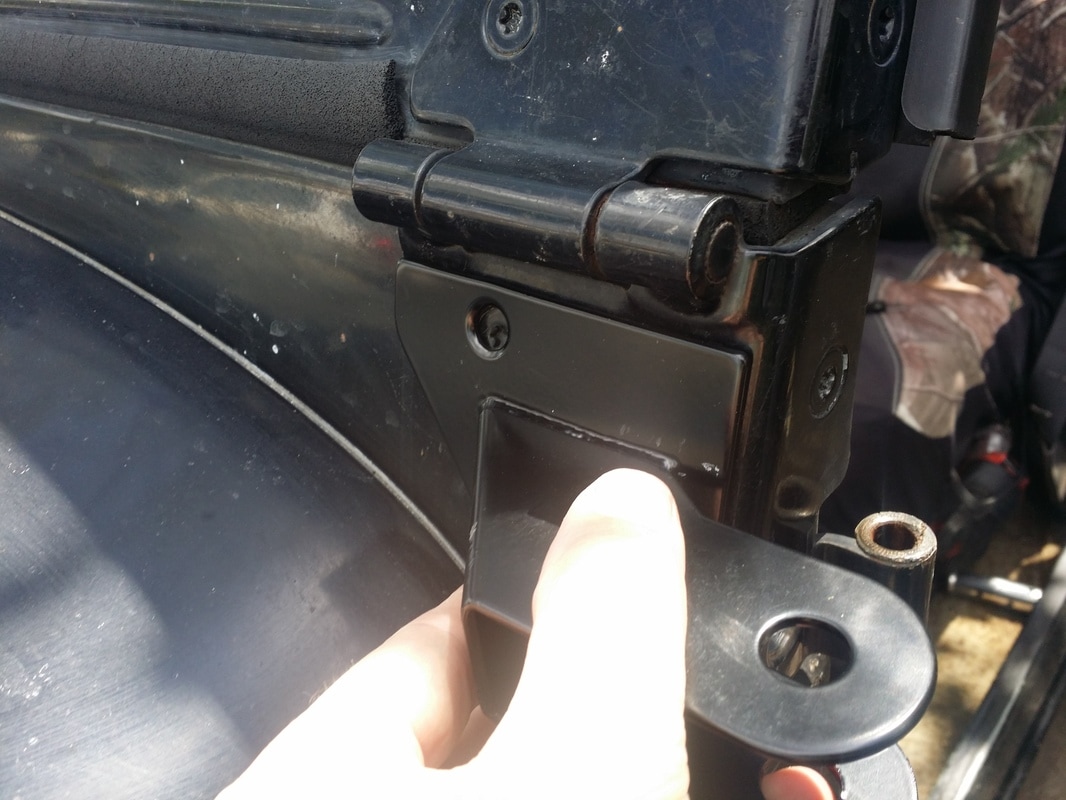
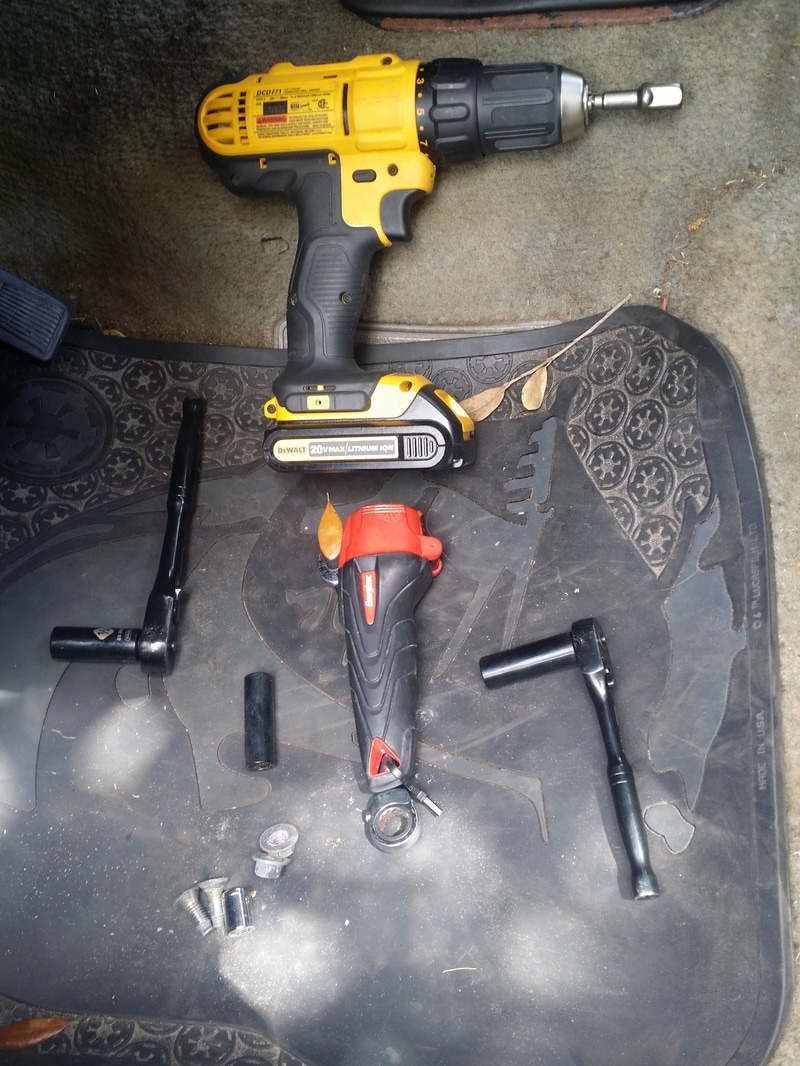
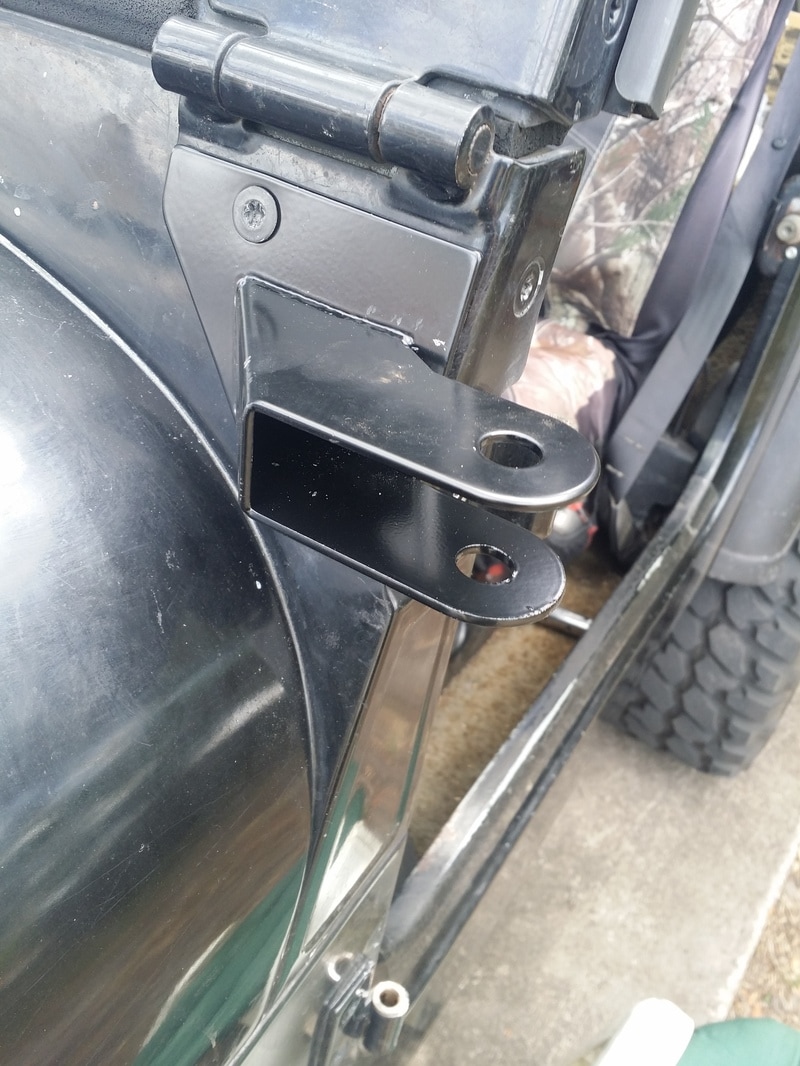
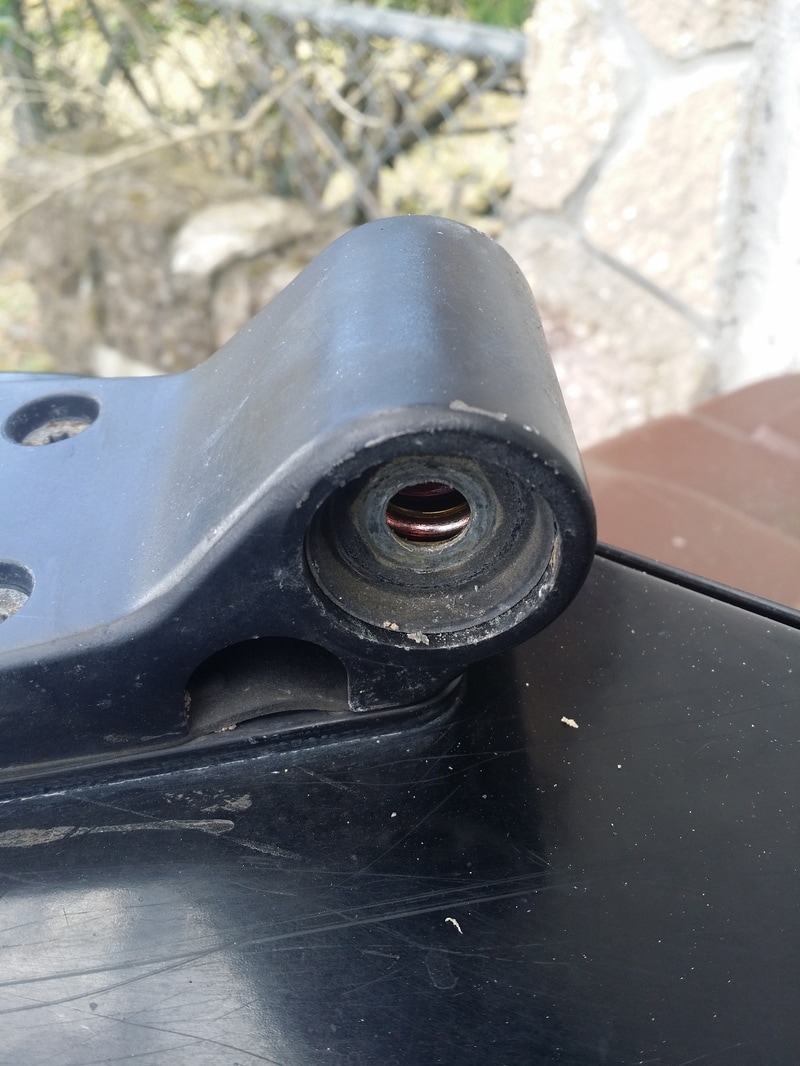
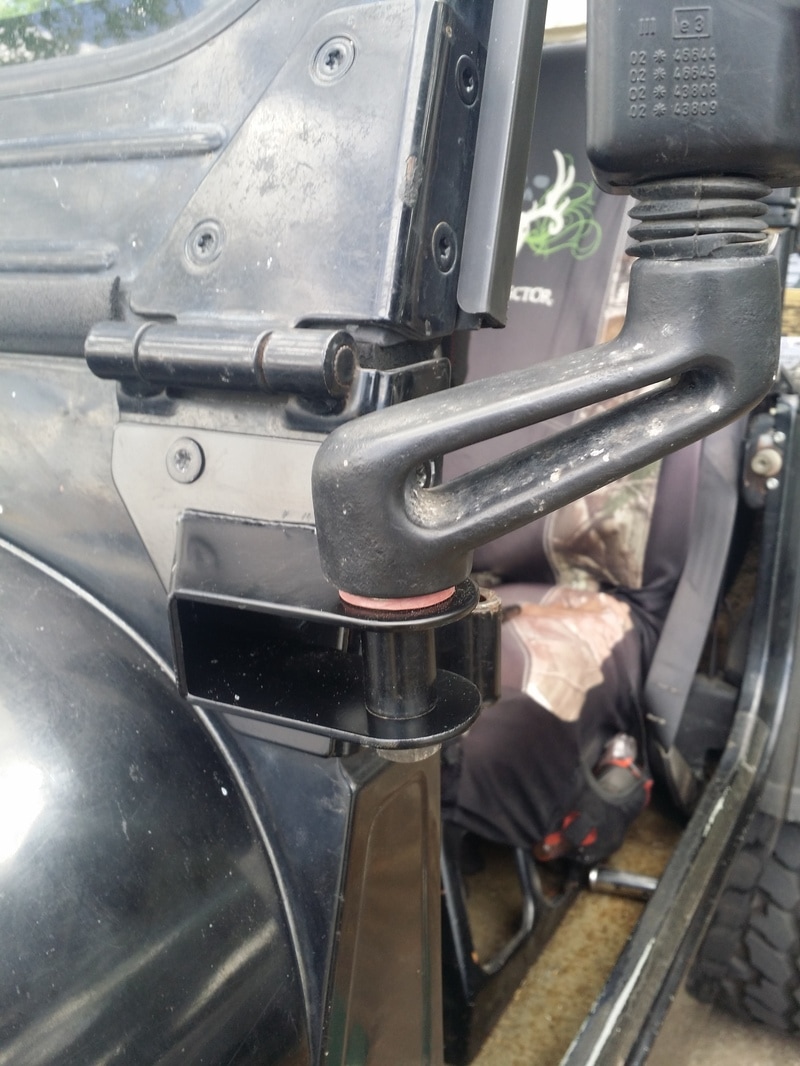
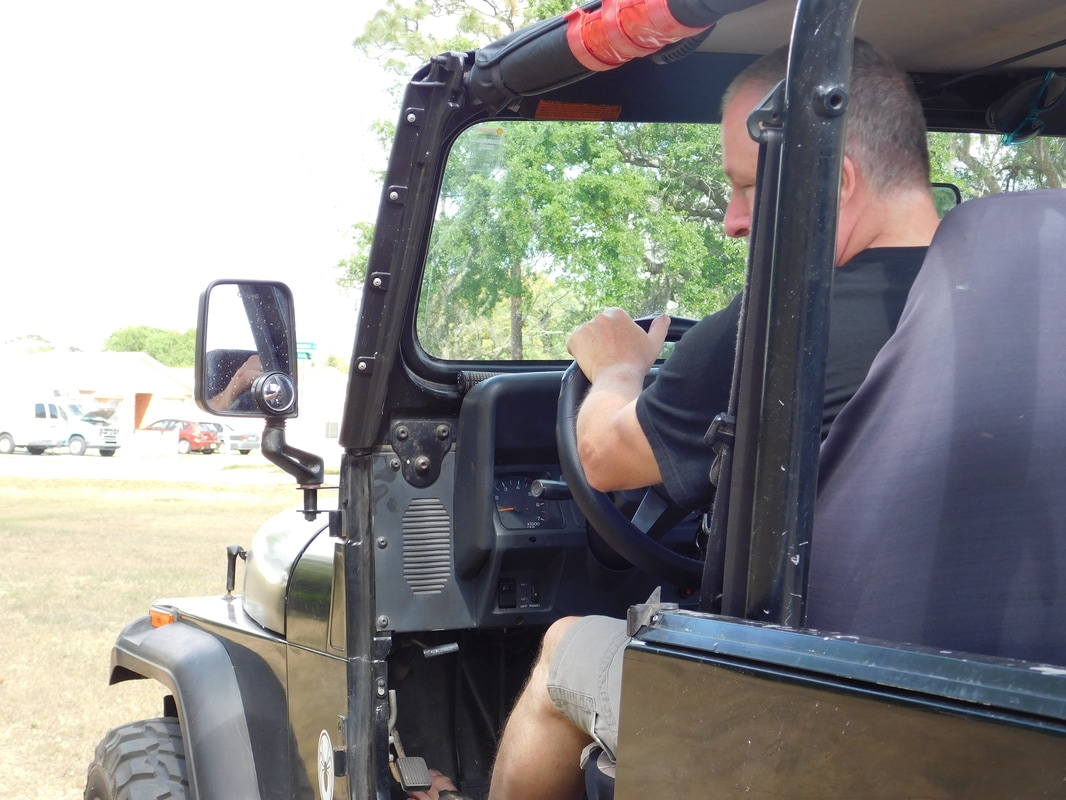
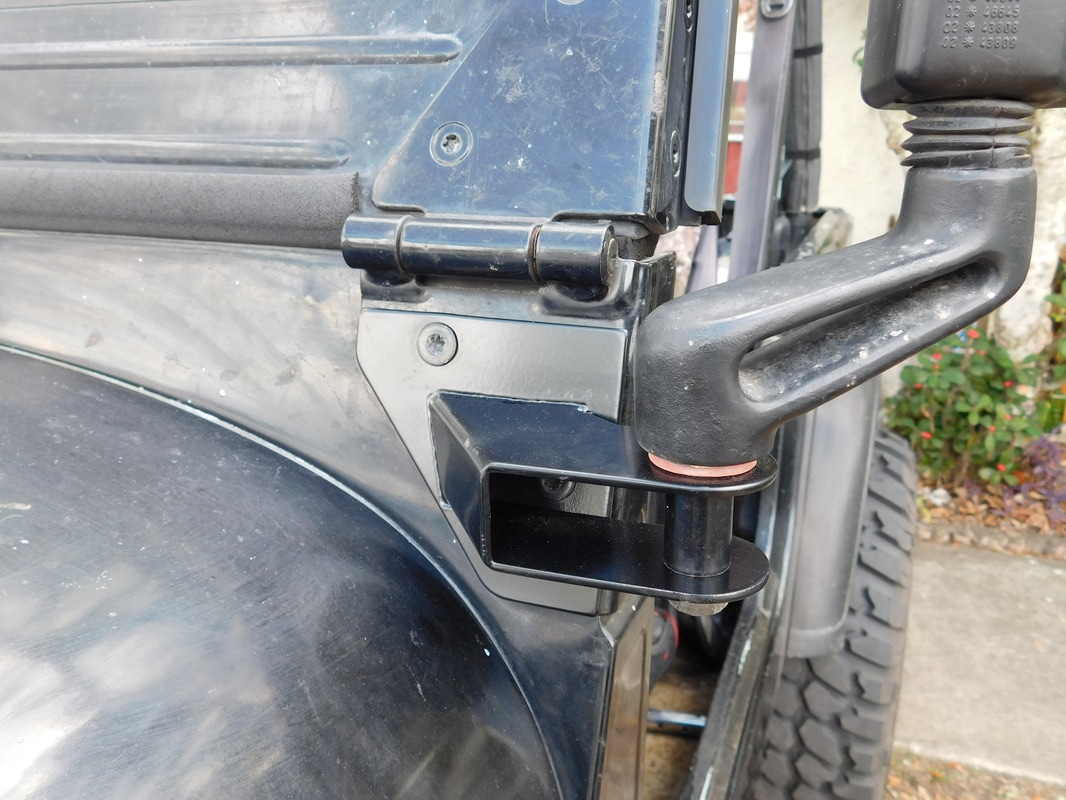
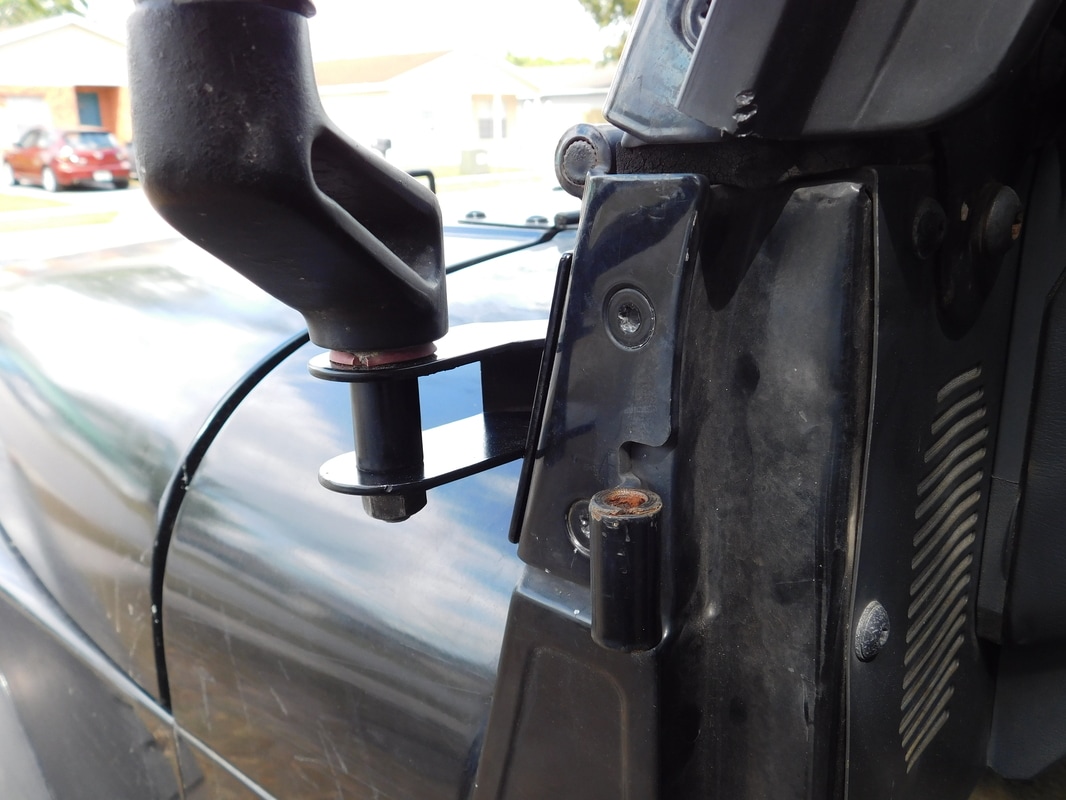
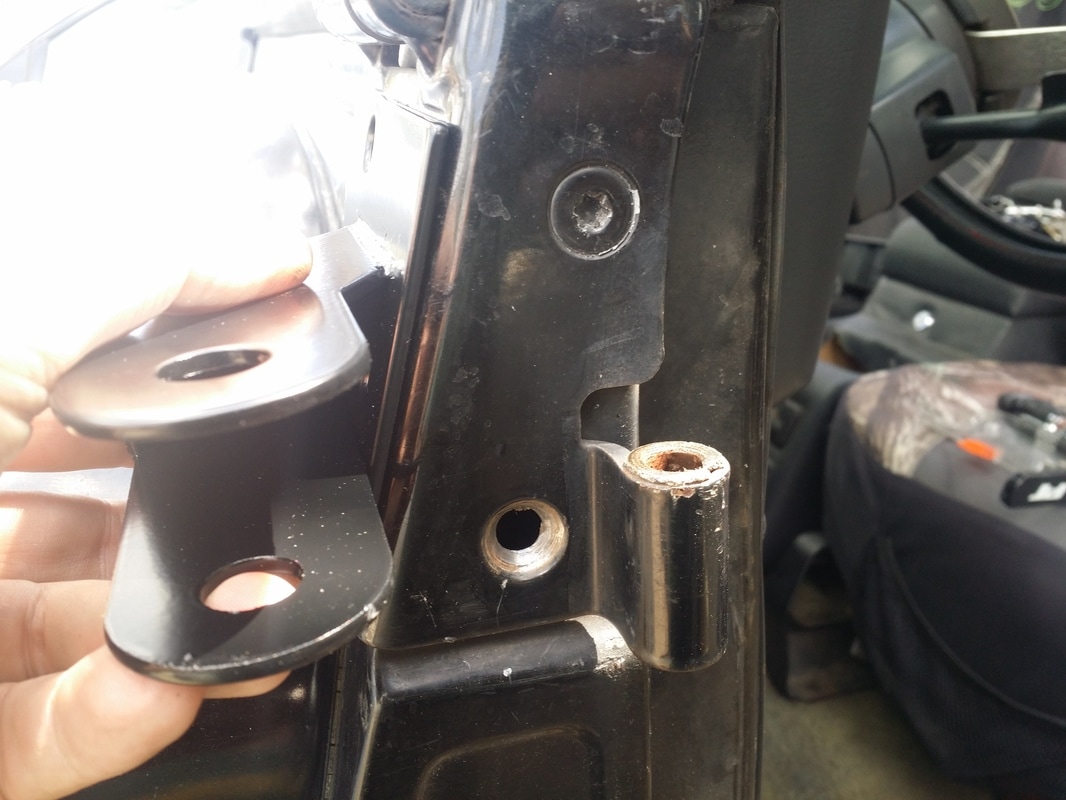
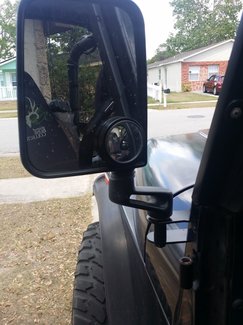 Rugged Ridge Mirror Relocation Brackets. Tools needed: socket set. ½ wrench. Torx set. Patience. Jeeps, take your top off and remove your doors, it is one of the best part of driving a Jeep. That is till you get pulled over for not having rear view mirrors. When I had my CJ7 I frequently removed the doors. The mirrors were on the frame so it was no big deal. I did a lot of snake hunting (Catching not killing) and being able to jump out on the fly was a must. Snakes tend to flee when you pull up. I caught snakes with my sons and wife back in the 80s and 90s on a regular basis. We would ride down trails and catch whatever we found. That is part of "Florida Jeep life." Gatorland in South Orlando used to buy them or local pet stores. Times have changes so now we mostly document and photograph them and leave them be. Ahhh I miss the old CJ, Wranglers on the other hand, mount the mirrors on the door. Perhaps this was to stop the door from opening and moving the mirror. To remedy this I purchased some Rugged Ridge YJ mirror relocation mounts. Link: http://www.morris4x4center.com/rugged-ridge-mirror-relocation-brackets-pair-black-11025-01.html THE INSTALL: Two Torx bolts on each side of the lower windshield hinge hold each bracket on. They are easy to get to, you might want to spray some penetration oil before hand to help free them up. On the inside of the fire wall above the bulkhead connection are the two nuts that hold the bolts in place. That’s easy! … (Flash back to the Holy Grail bridge of death.) KEEPER Stop! Who would cross the Bridge of Death must answer me these questions three, ere the other side he see. LANCELOT Ask me the questions, bridge-keeper. I'm not afraid. KEEPER What is your name? LANCELOT My name is Sir Lancelot of Camelot. KEEPER What is your quest? LANCELOT To seek the Holy Grail. KEEPER What is your favorite color? LANCELOT Blue. KEEPER Right. Off you go. LANCELOT Oh, thank you. Thank you very much. ROBIN That's easy! KEEPER Heh heh. Stop! What is your name? ARTHUR It is Arthur, King of the Britons. KEEPER What is your quest? ARTHUR To seek the Holy Grail. KEEPER What is the air-speed velocity of an unladen swallow? ARTHUR What do you mean? An African or European swallow? KEEPER What? I don't know that! Auuuuuuuugh! Two bolts each side “That’s easy”…. Step 1: Remove speakers. Step 2: Reach up into fire wall and remove bolts. Watch out for the top area there are sharp things up top. Step 3: Put on Brackets with original hardware. Step 4: Remove mirror from door. Leave hinge attached. Step 5: Place rubber washer on top of bracket.(Not included with kit.) And mount mirror. Step 6: Tighten and you are good to go. Things I ran into. Reaching the top bolts can be hard. If there is any bed liner up there they may be hard to get off. It’s a Torx, need I say more… I only did the driver’s side because the passenger side mirror would be out of view when the half door is on. Besides my wife like the door on when driving on road. Pros: Mirrors on frame. Doors comes off and we are still legal. No shaking mirrors. A good heavy duty bracket. Price is right. Cons: Inside bolts are the hard part. Mirrors are out of view with doors on. No instructions. LED headlights:
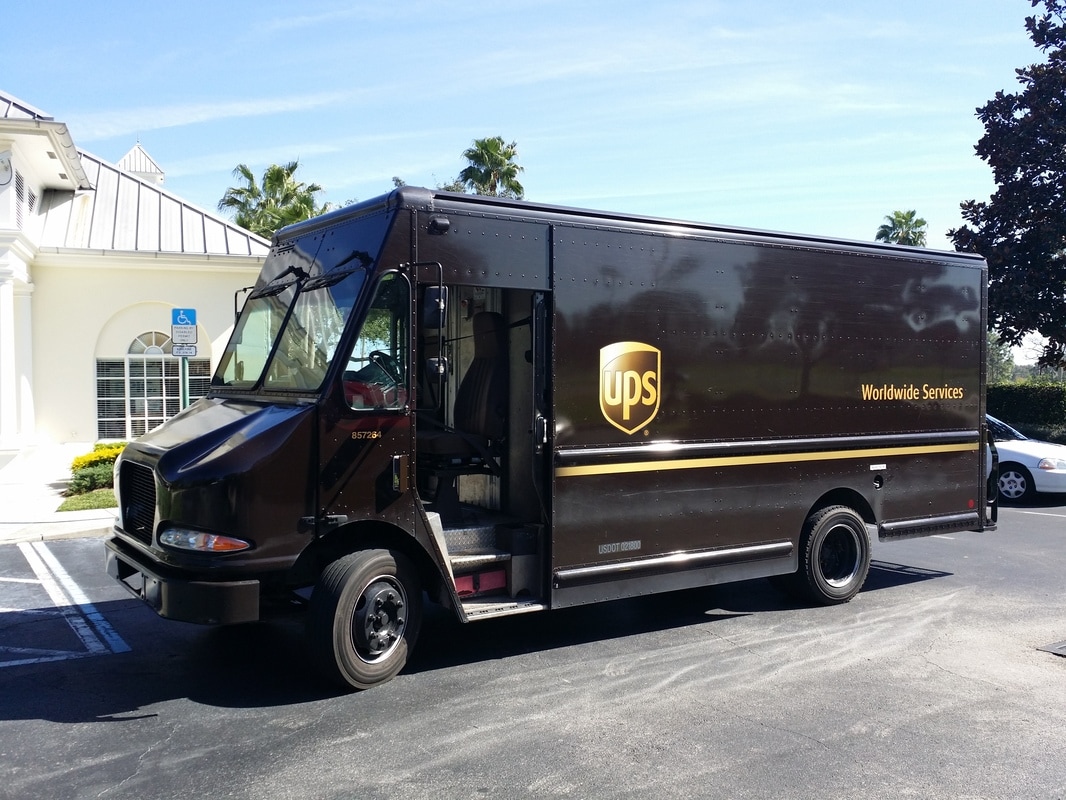
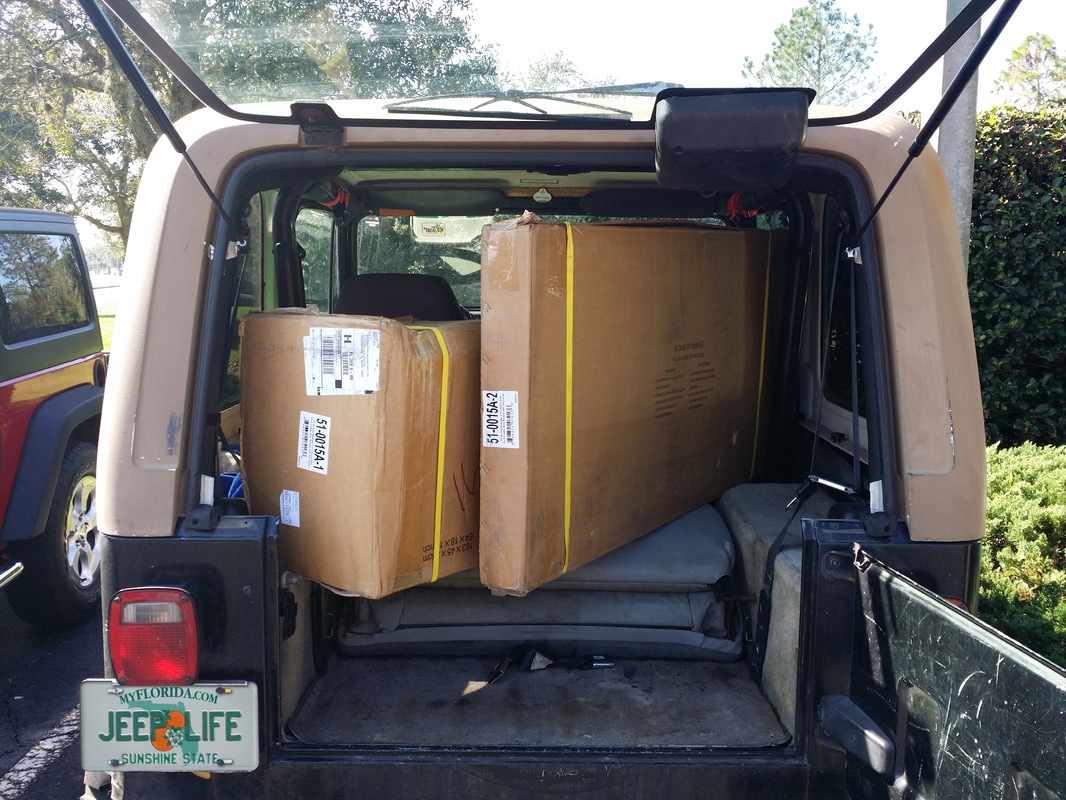
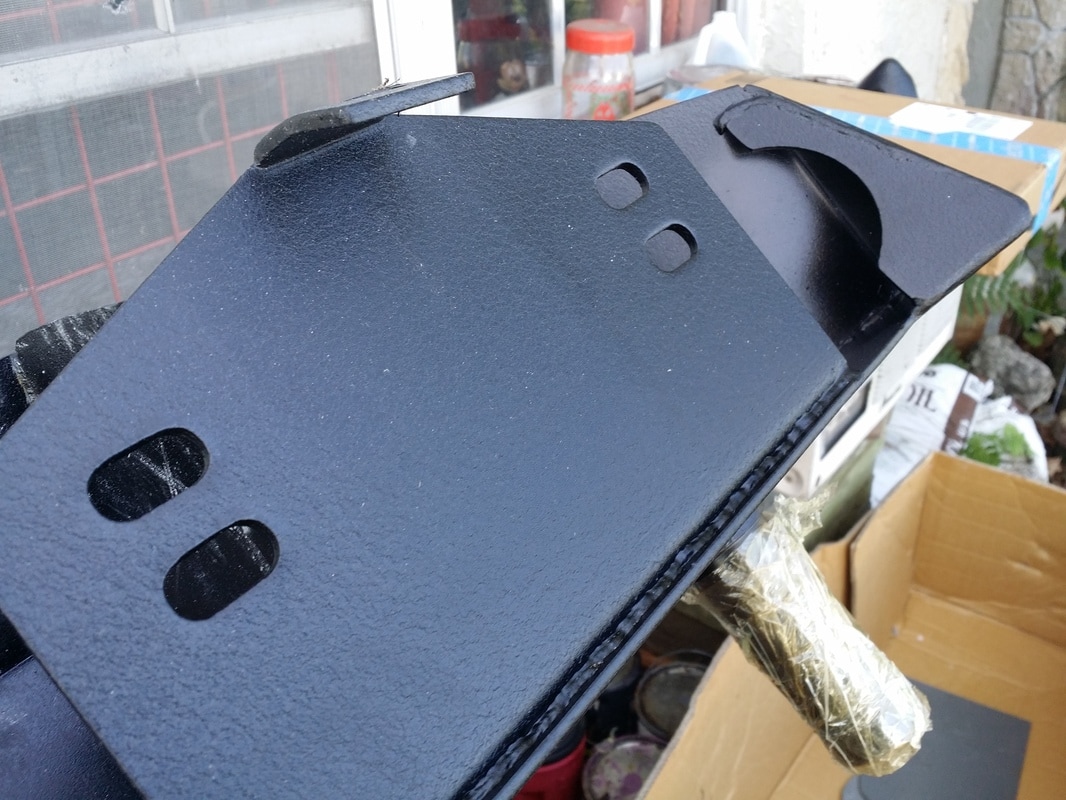
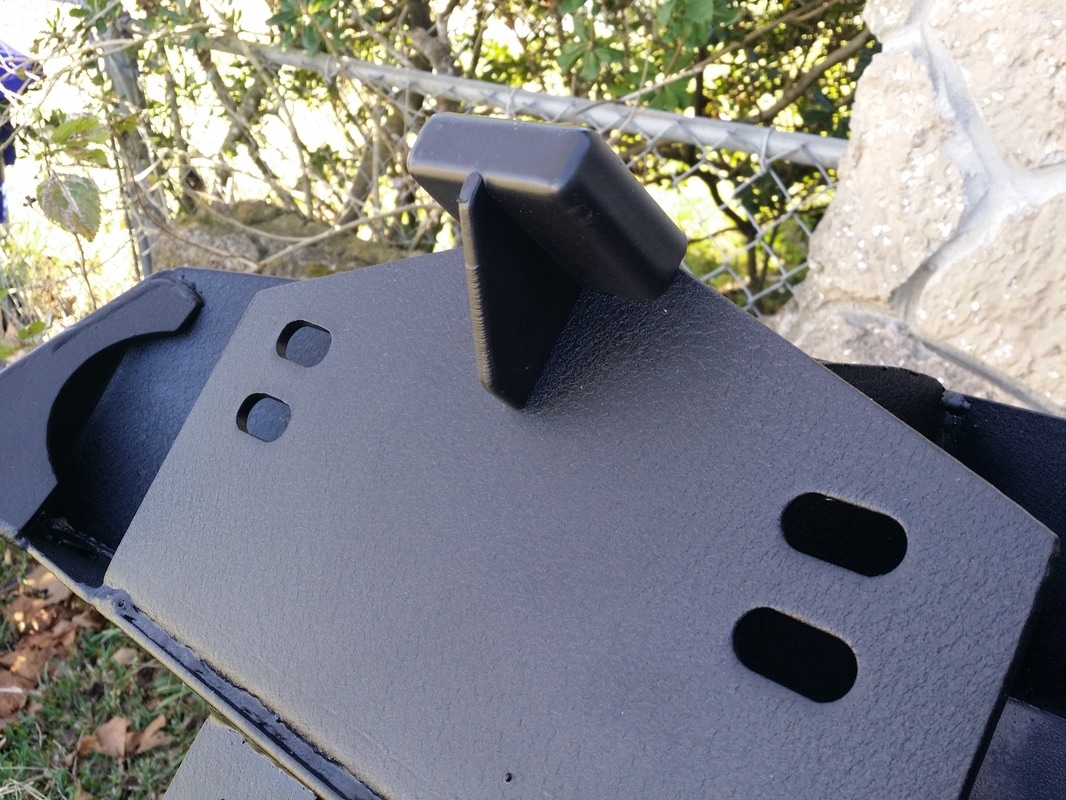
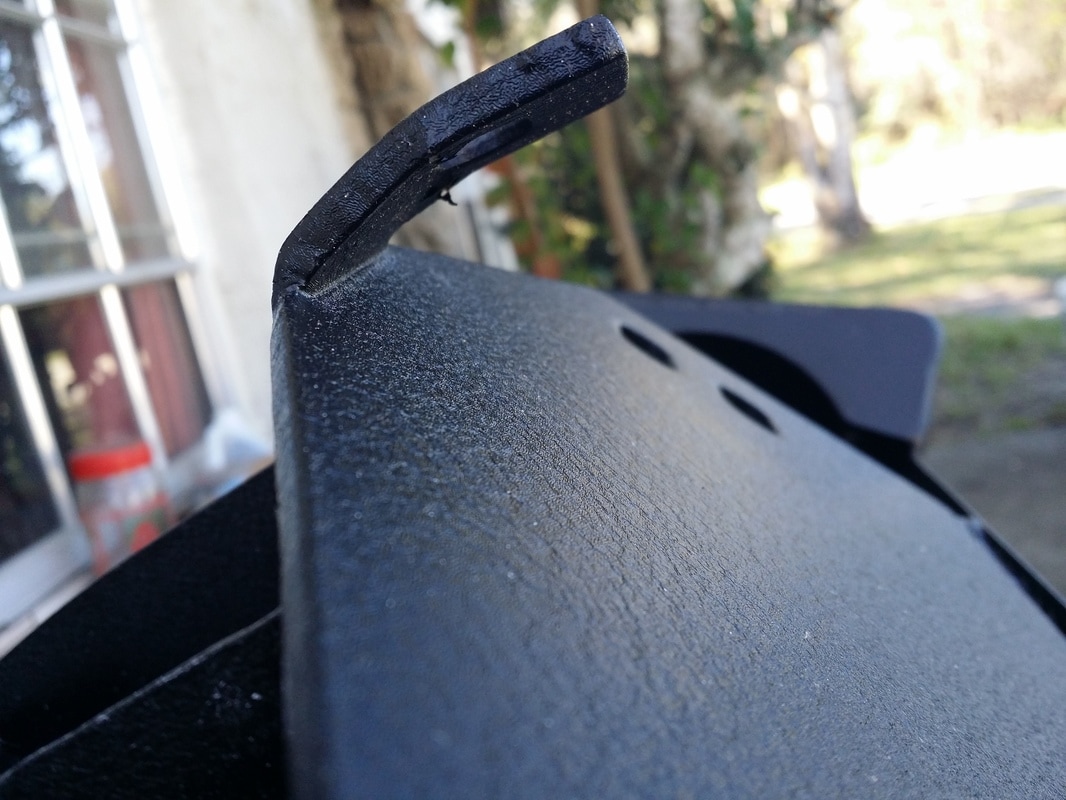
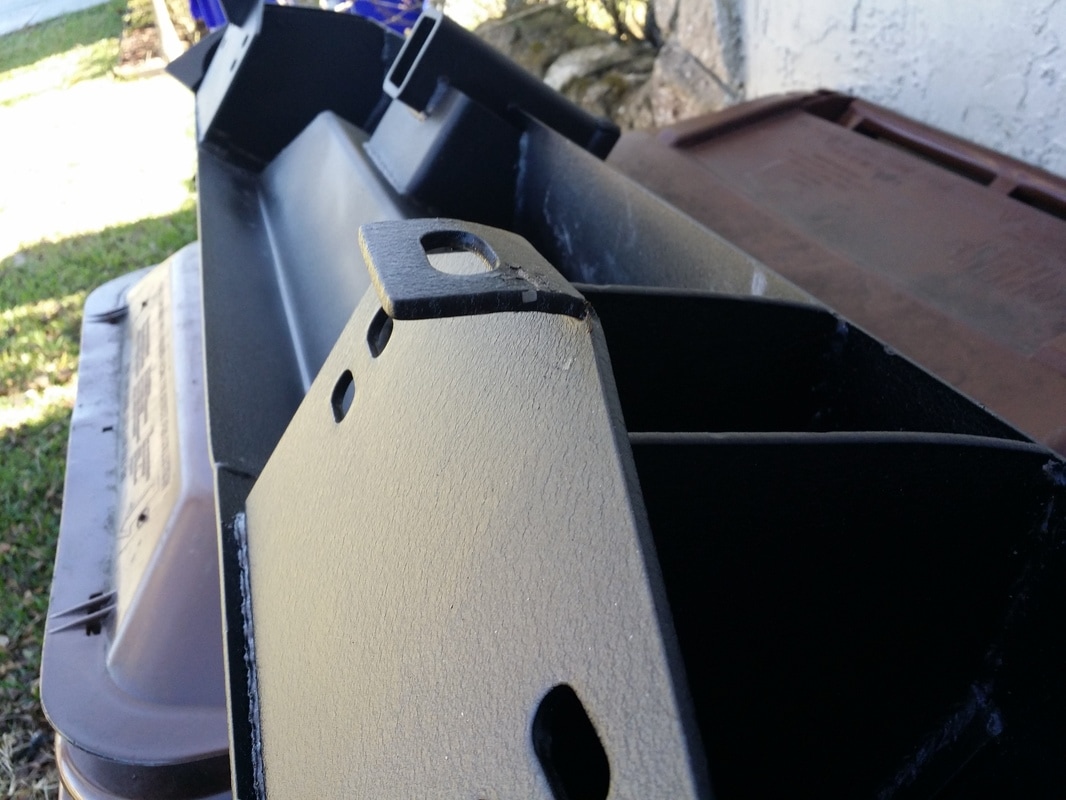
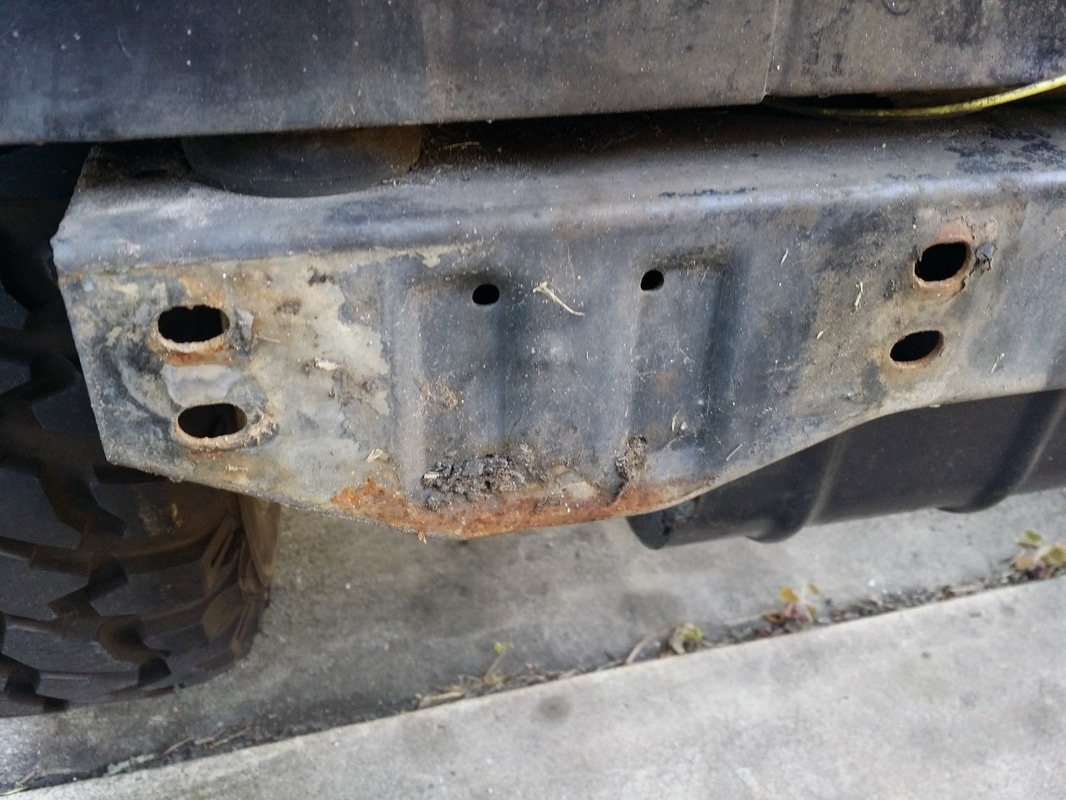
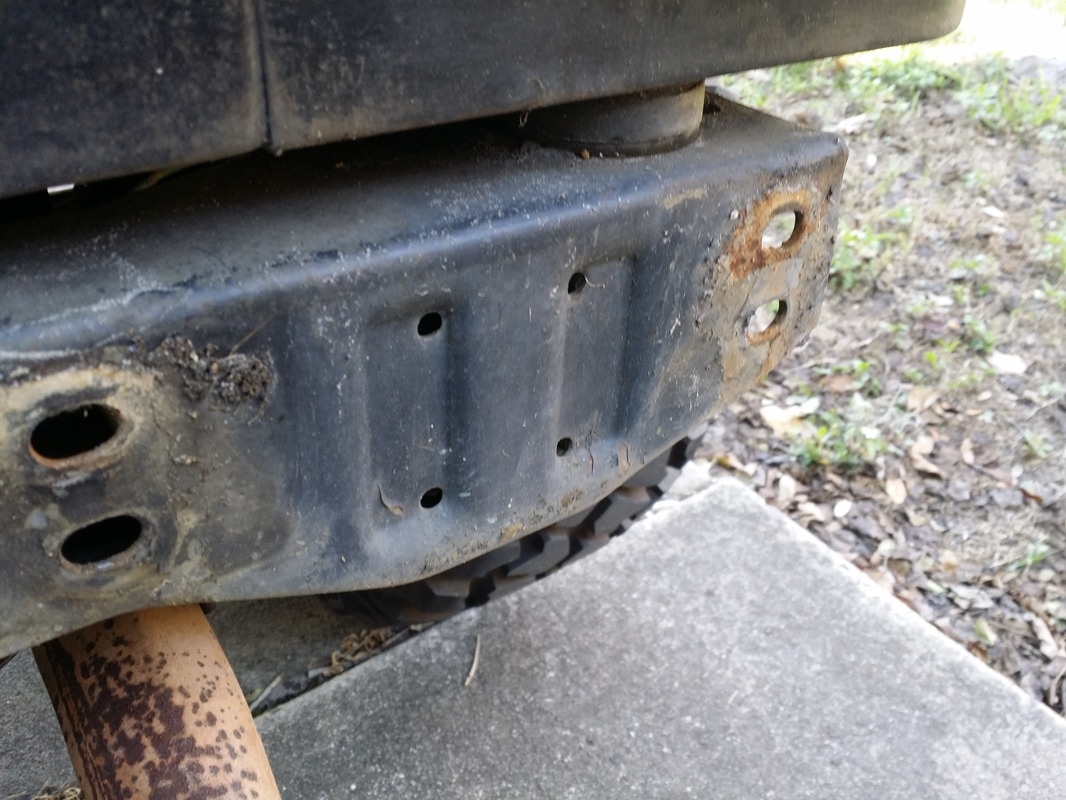
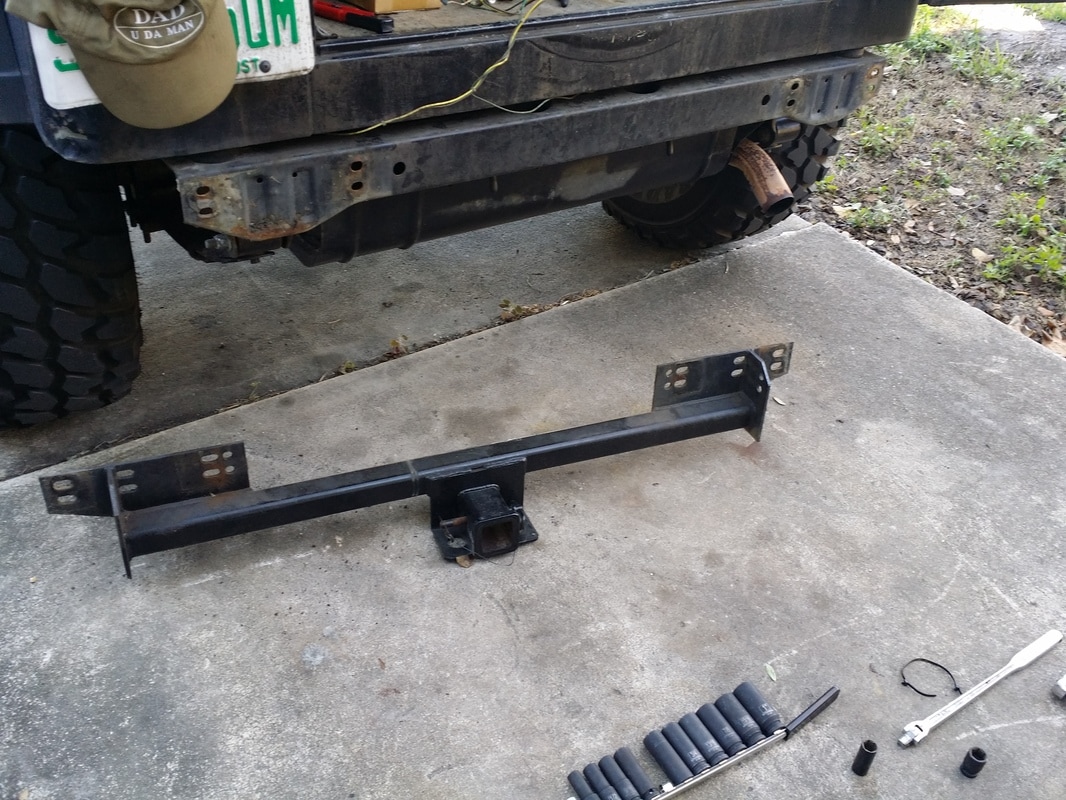
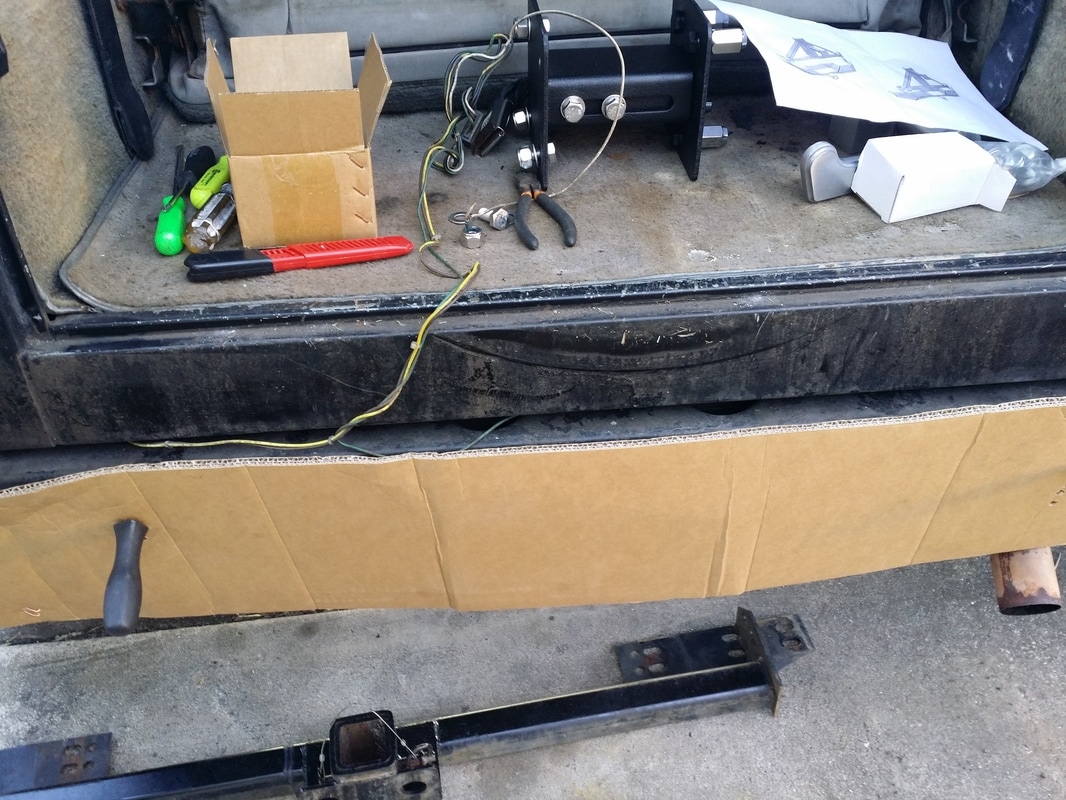
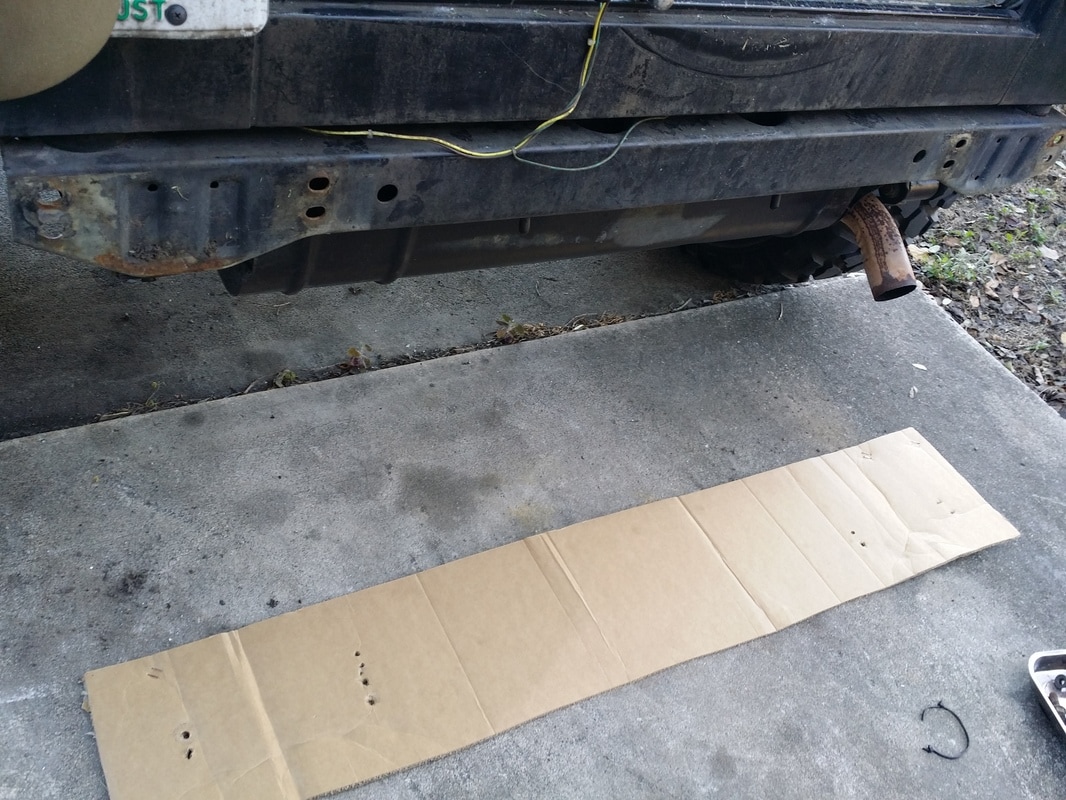
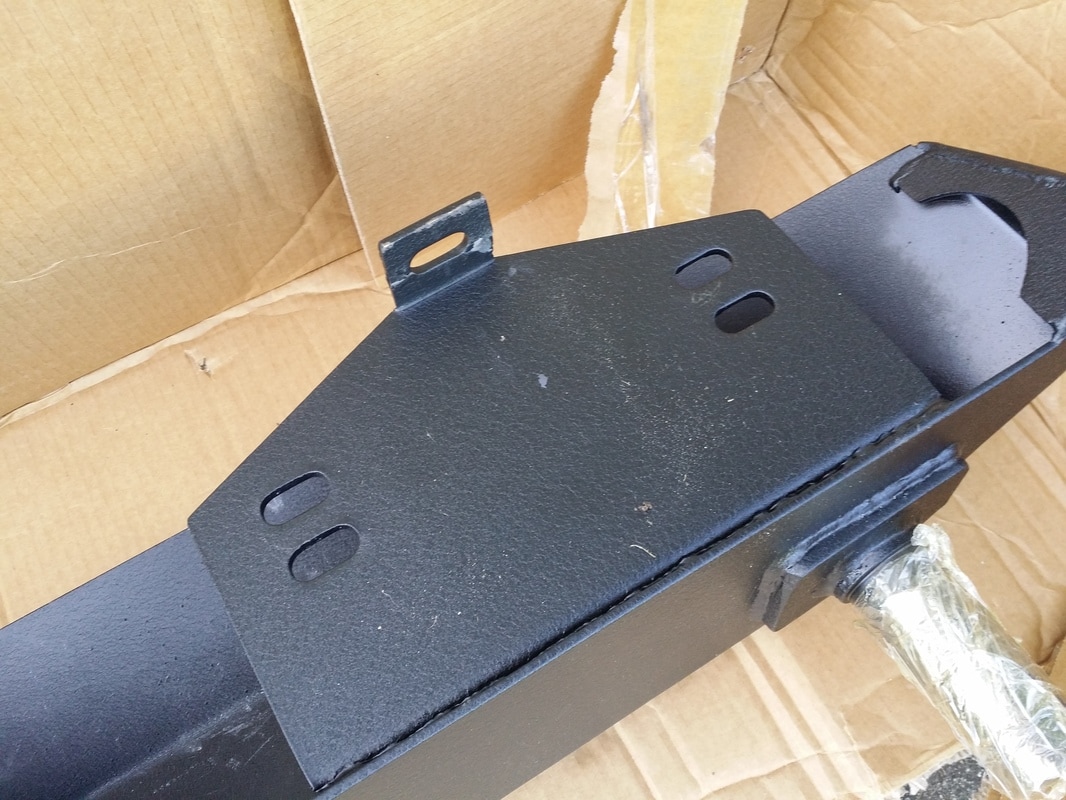
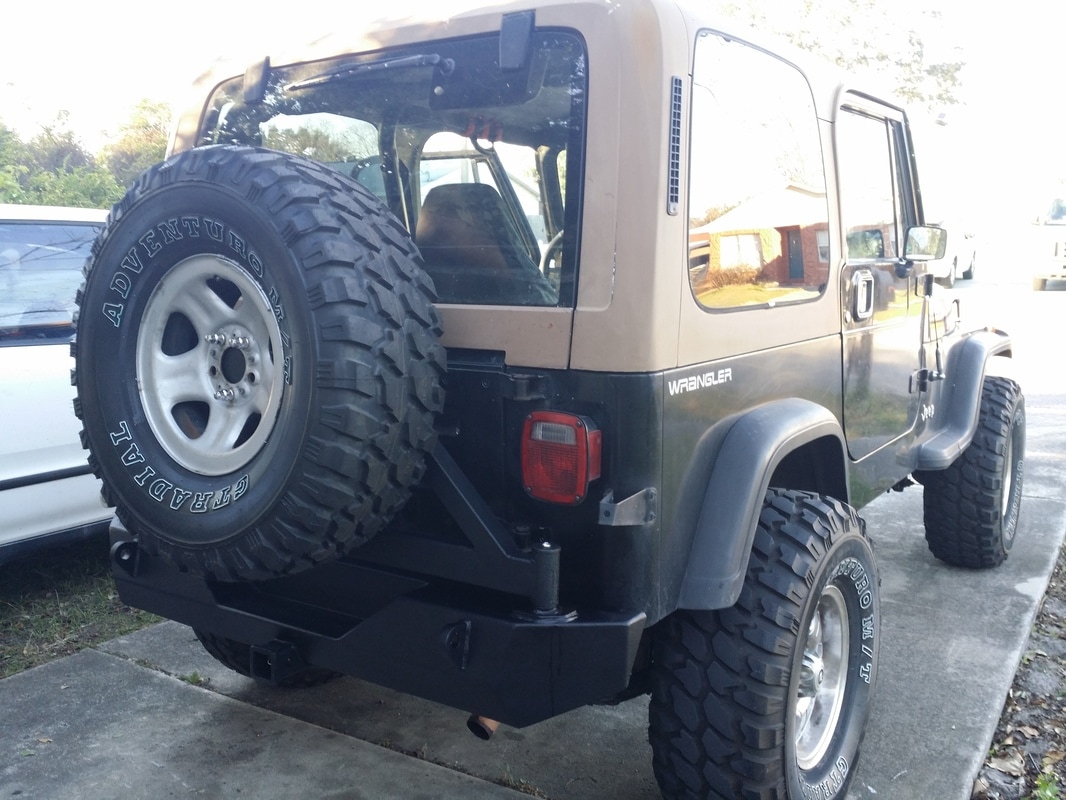
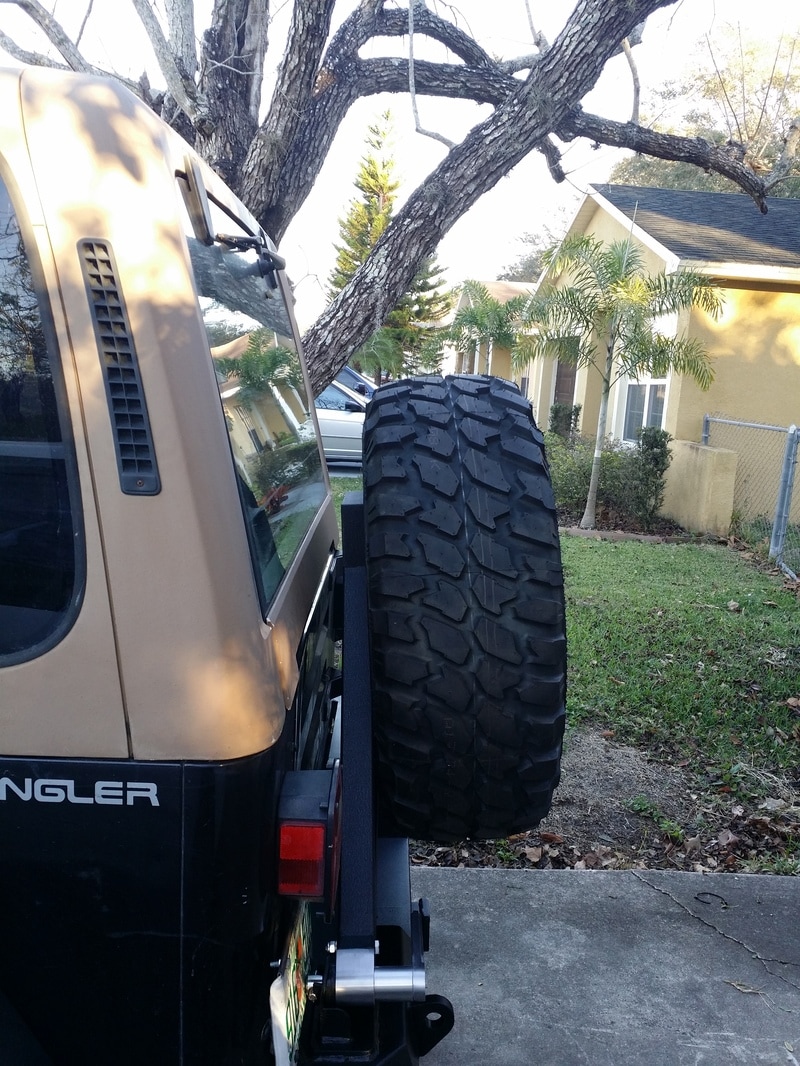
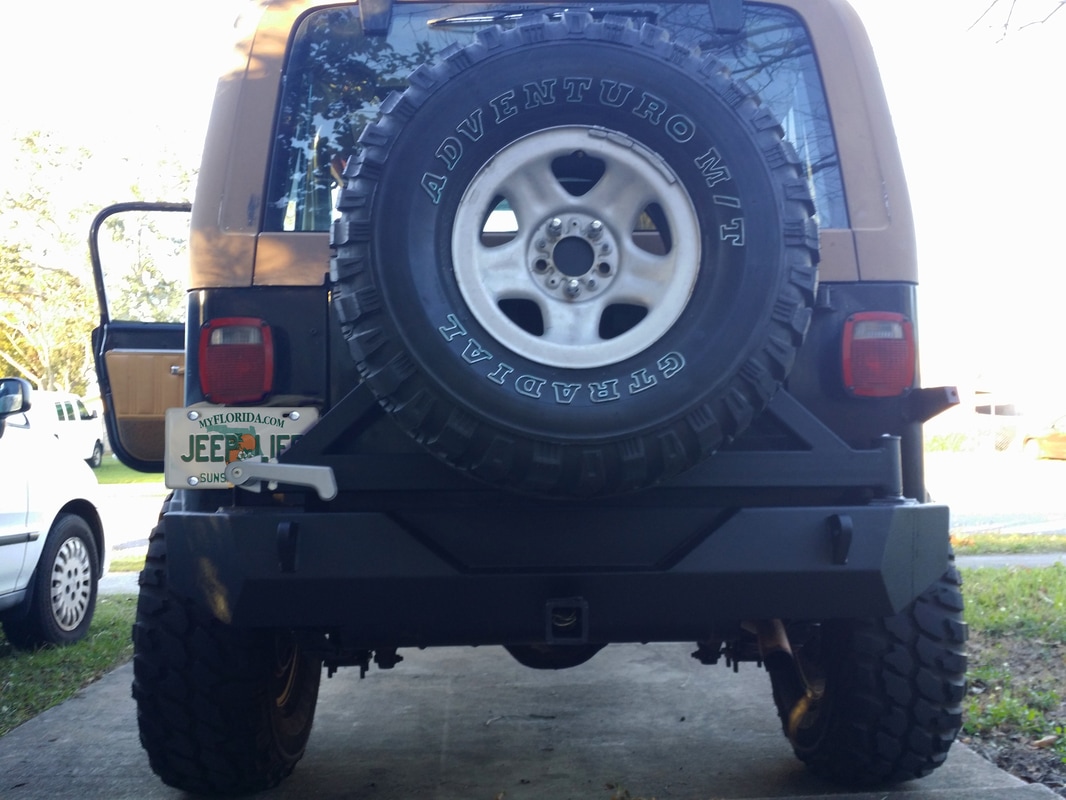
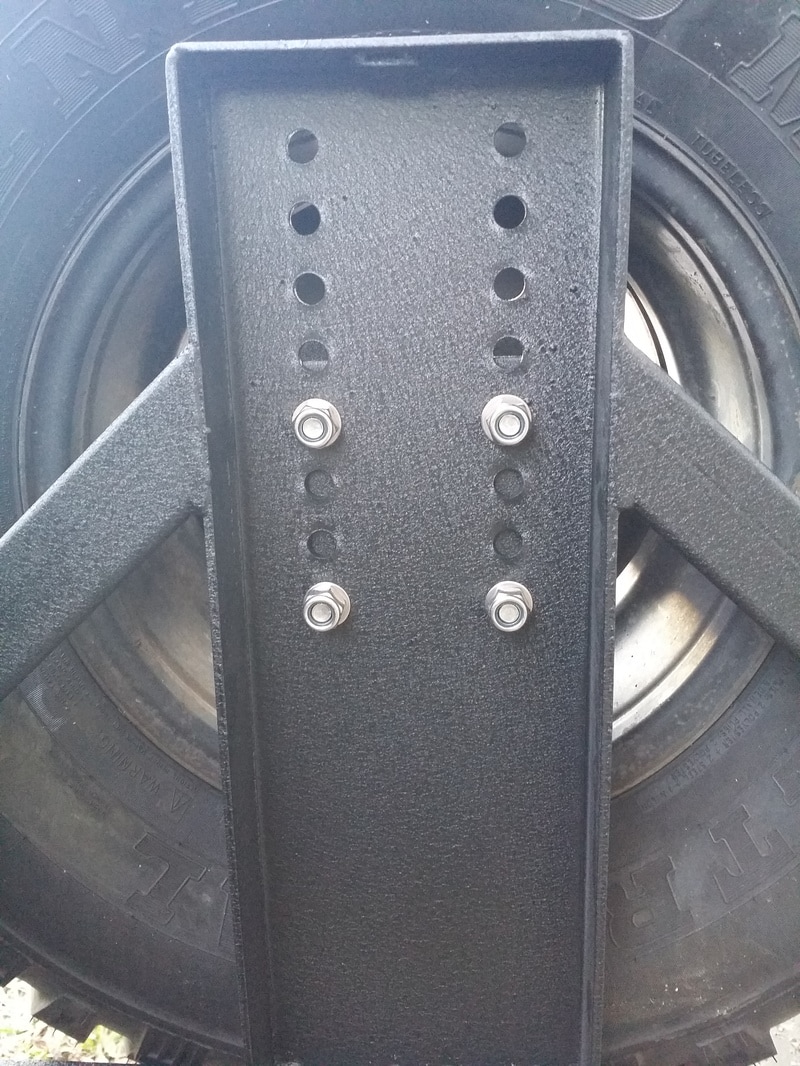
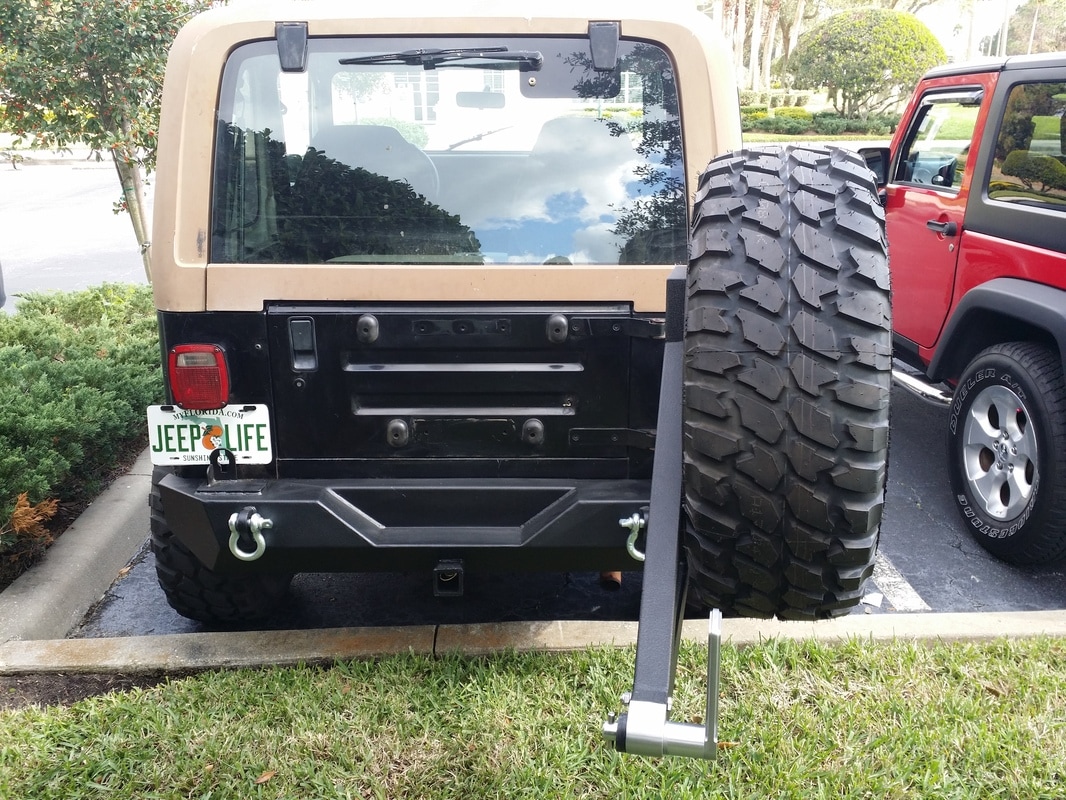
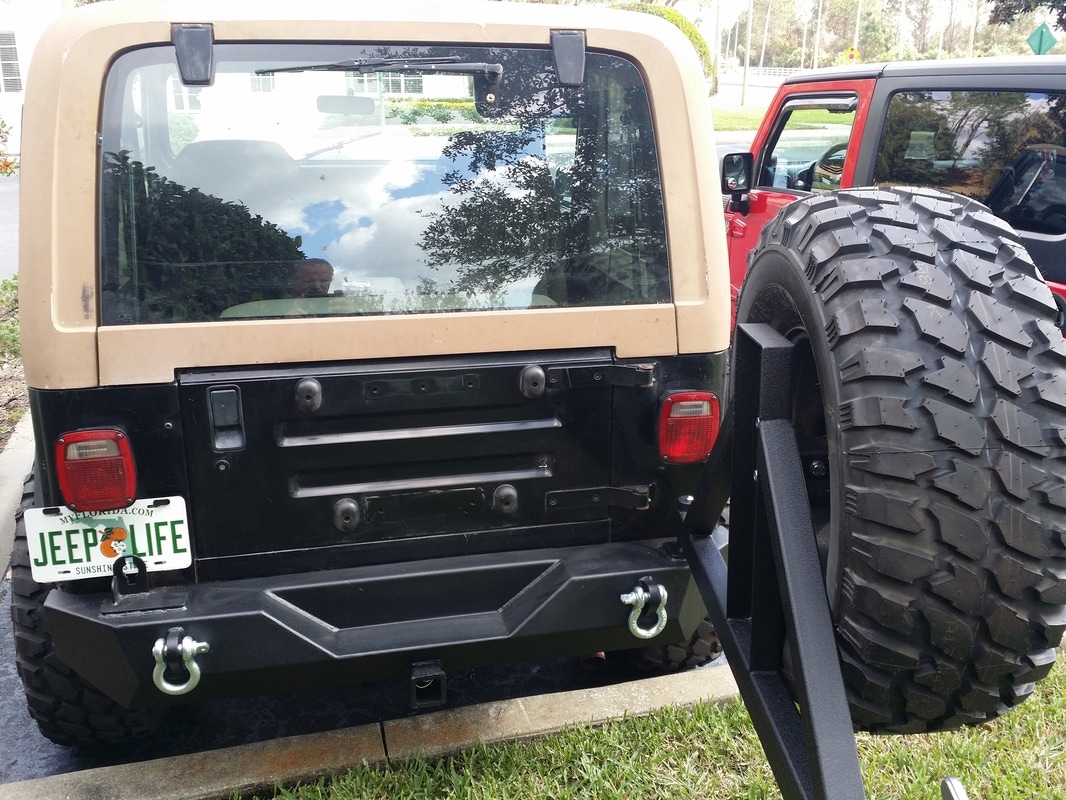
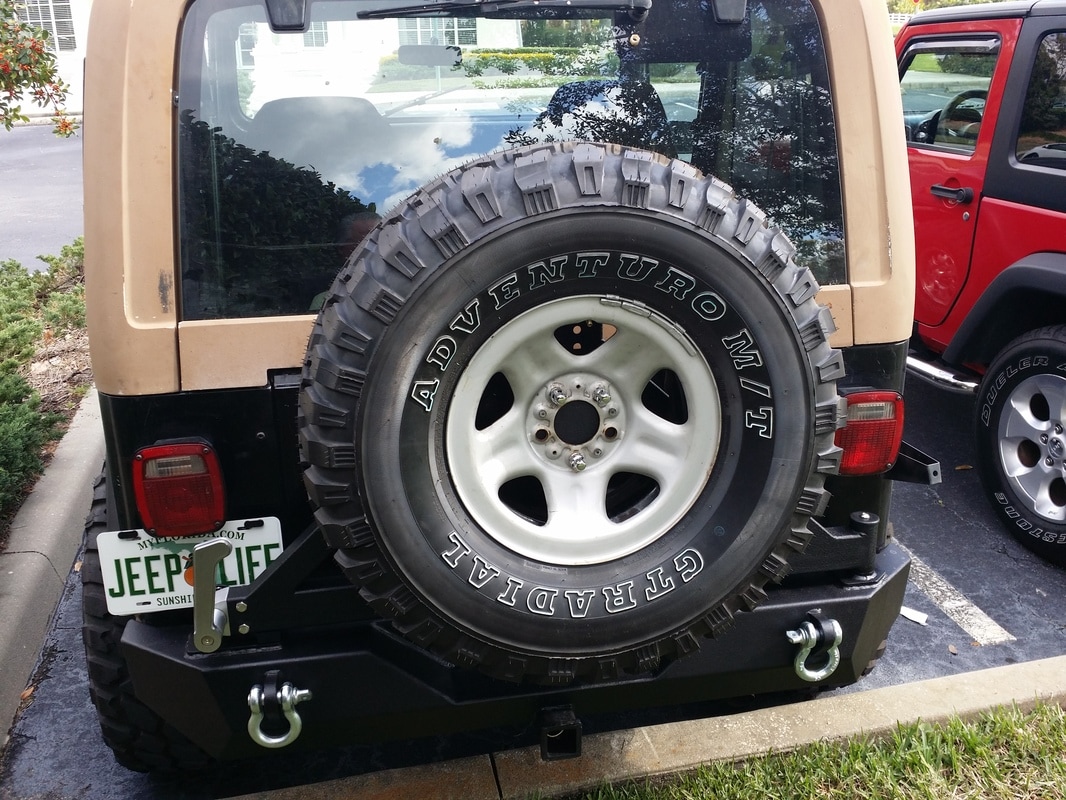
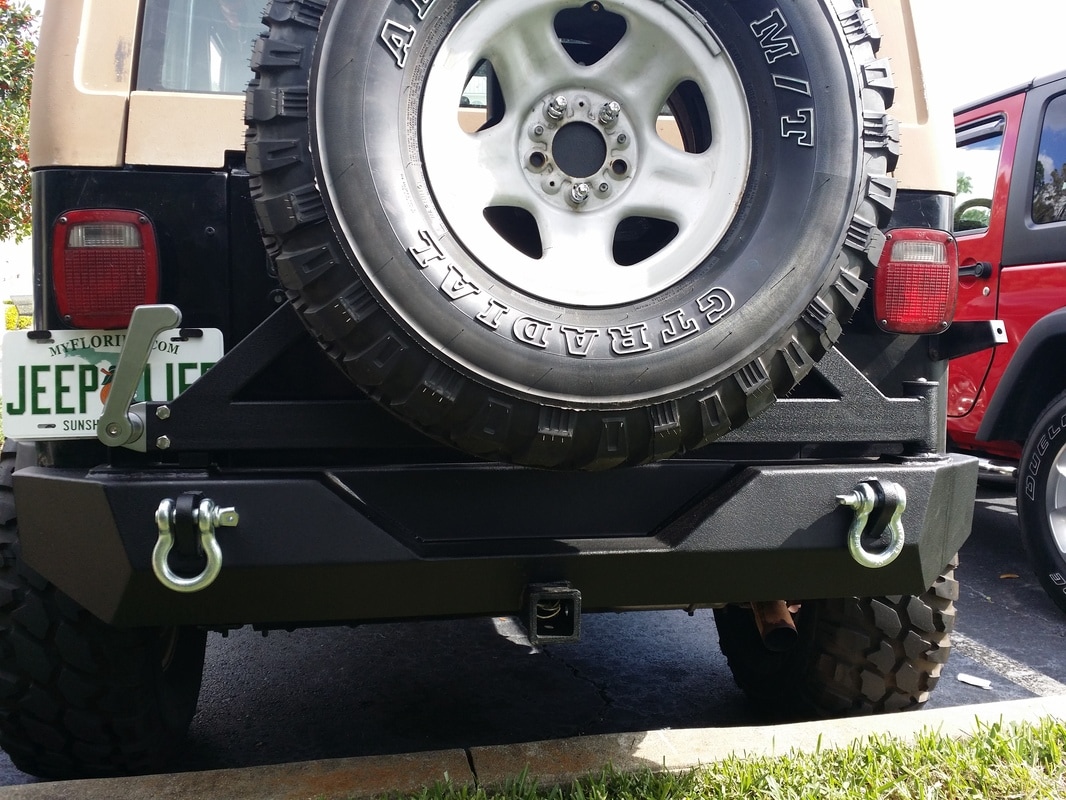
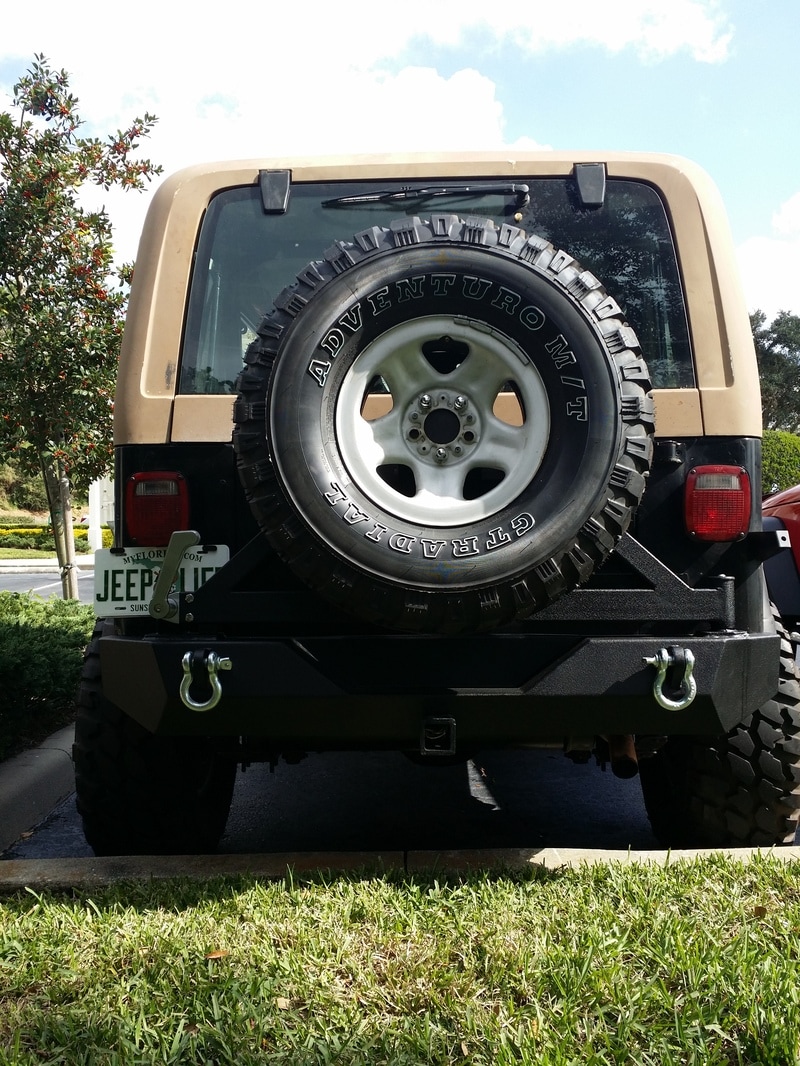
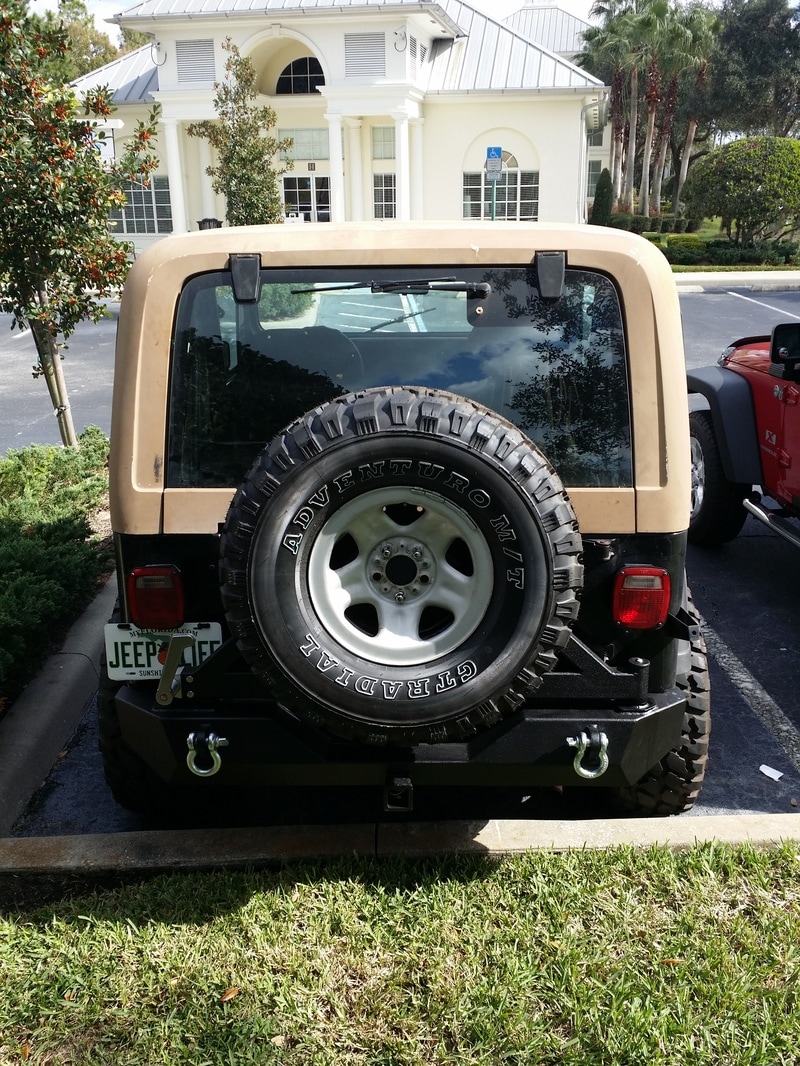
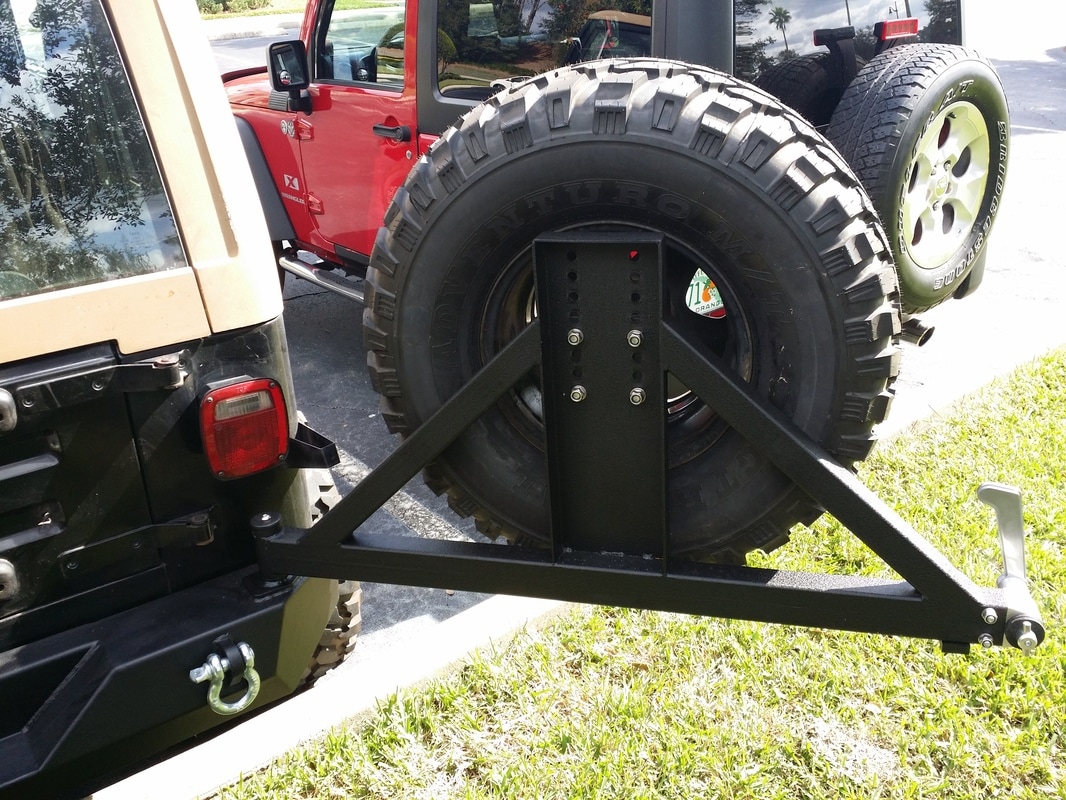
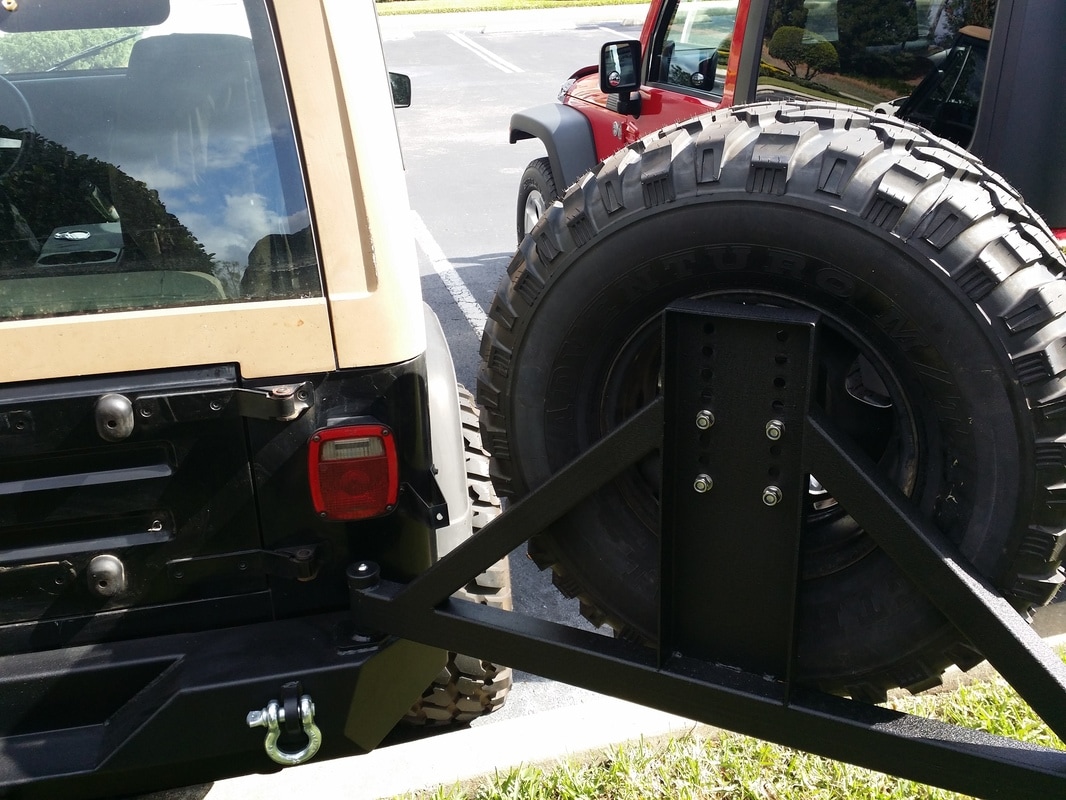
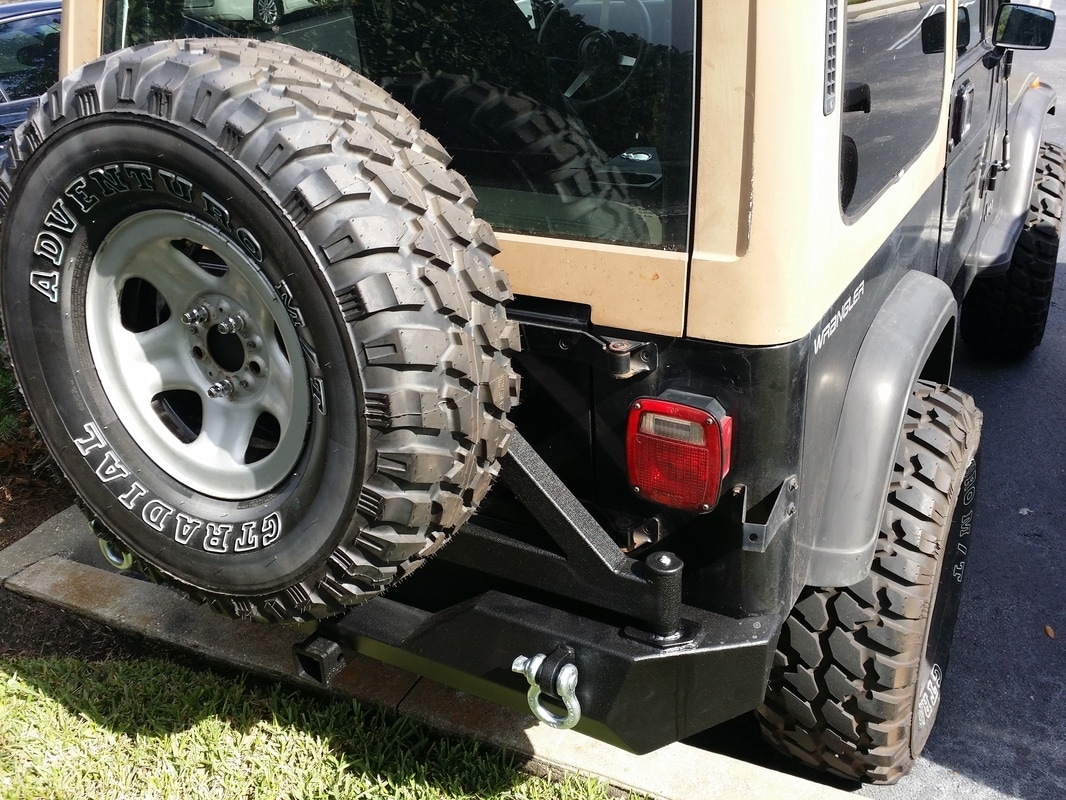
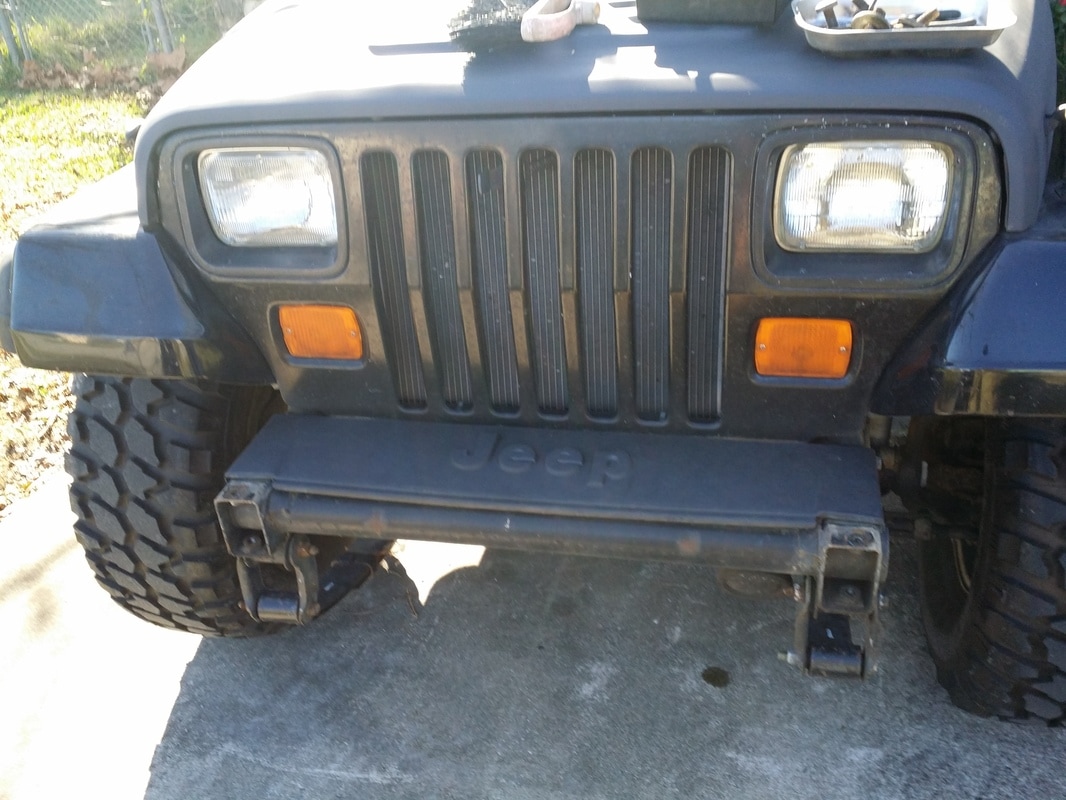
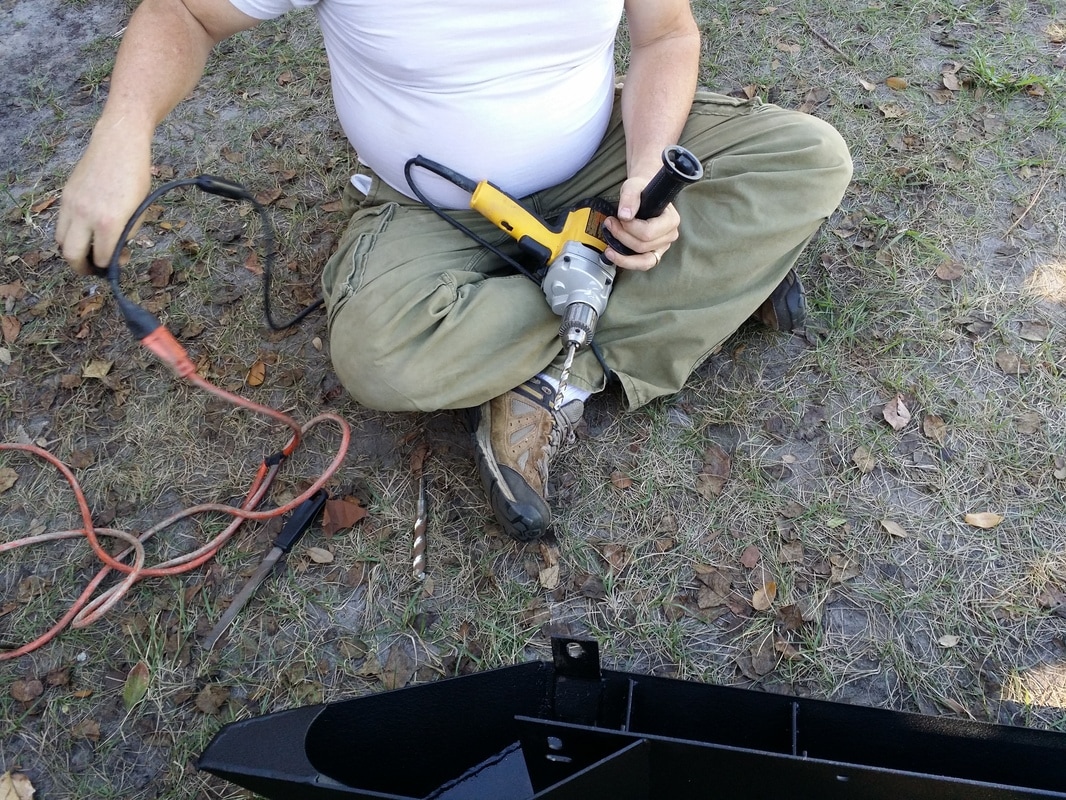
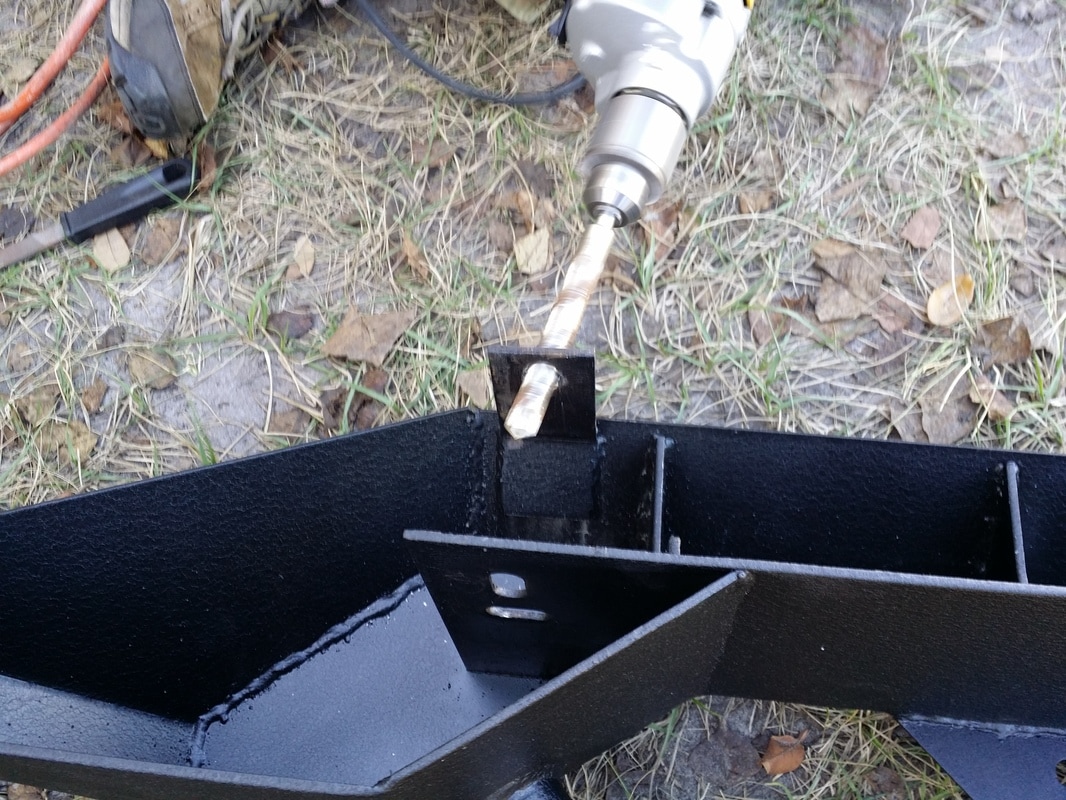
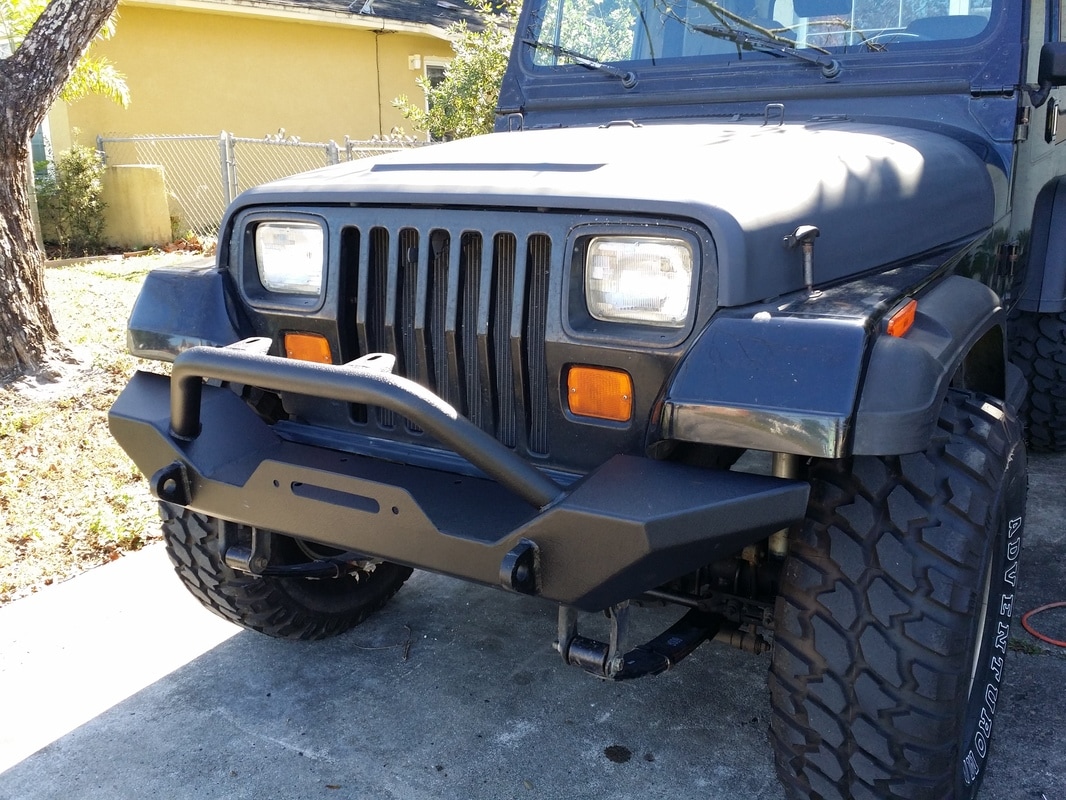
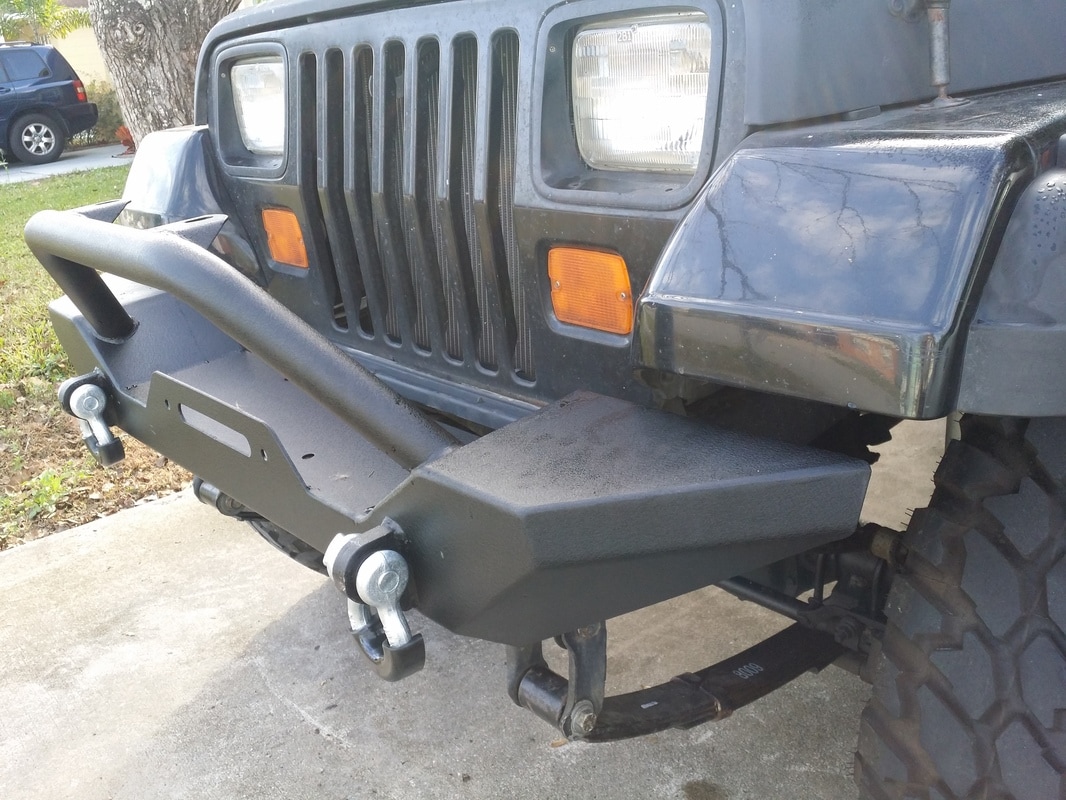
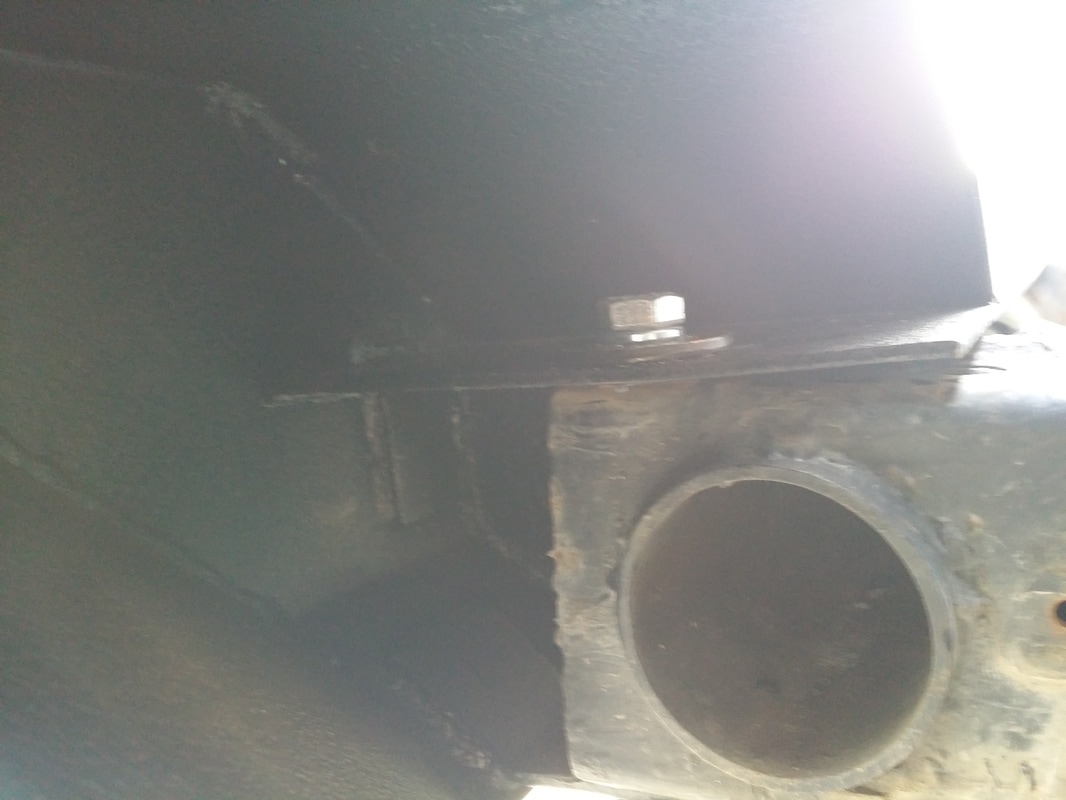
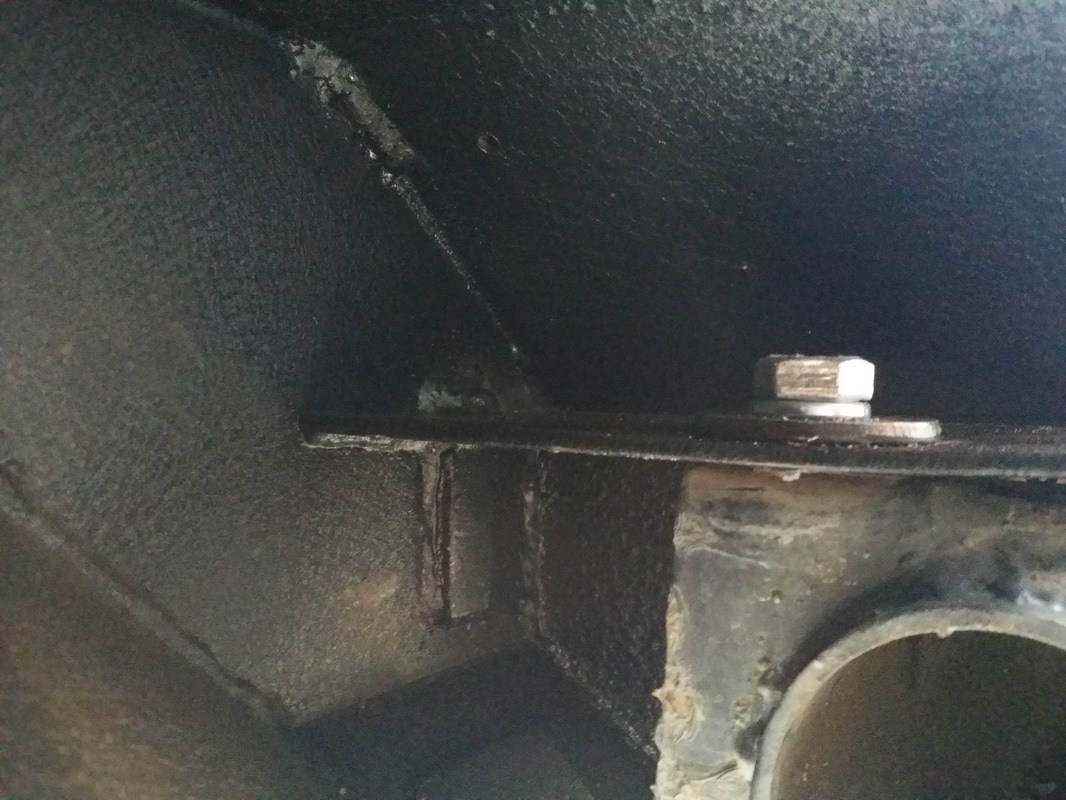
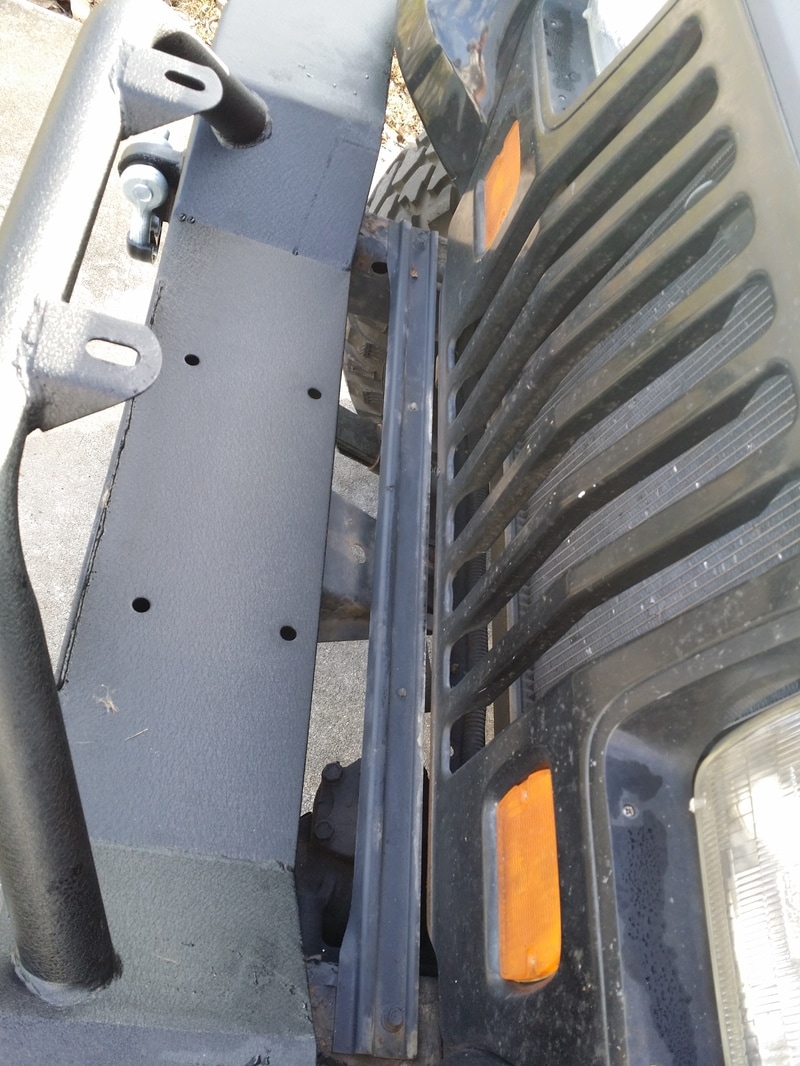
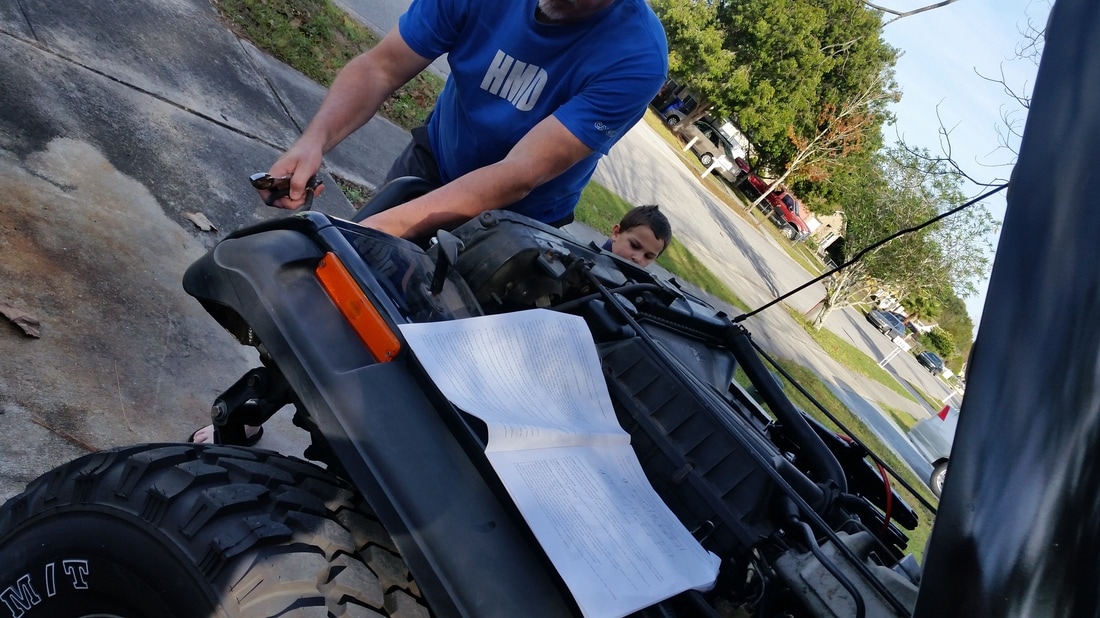
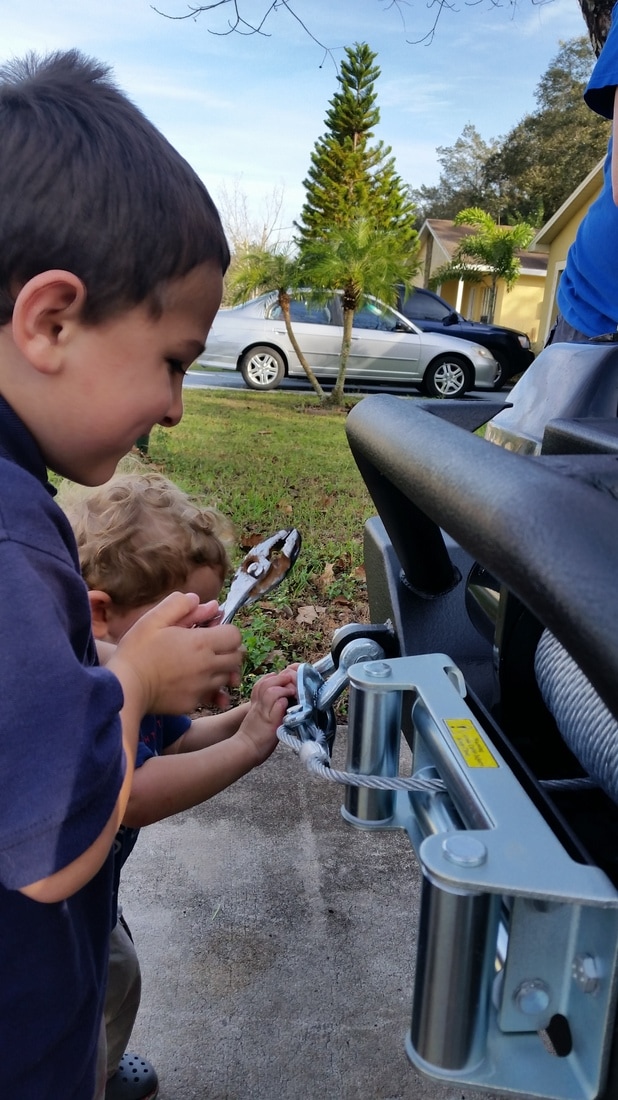
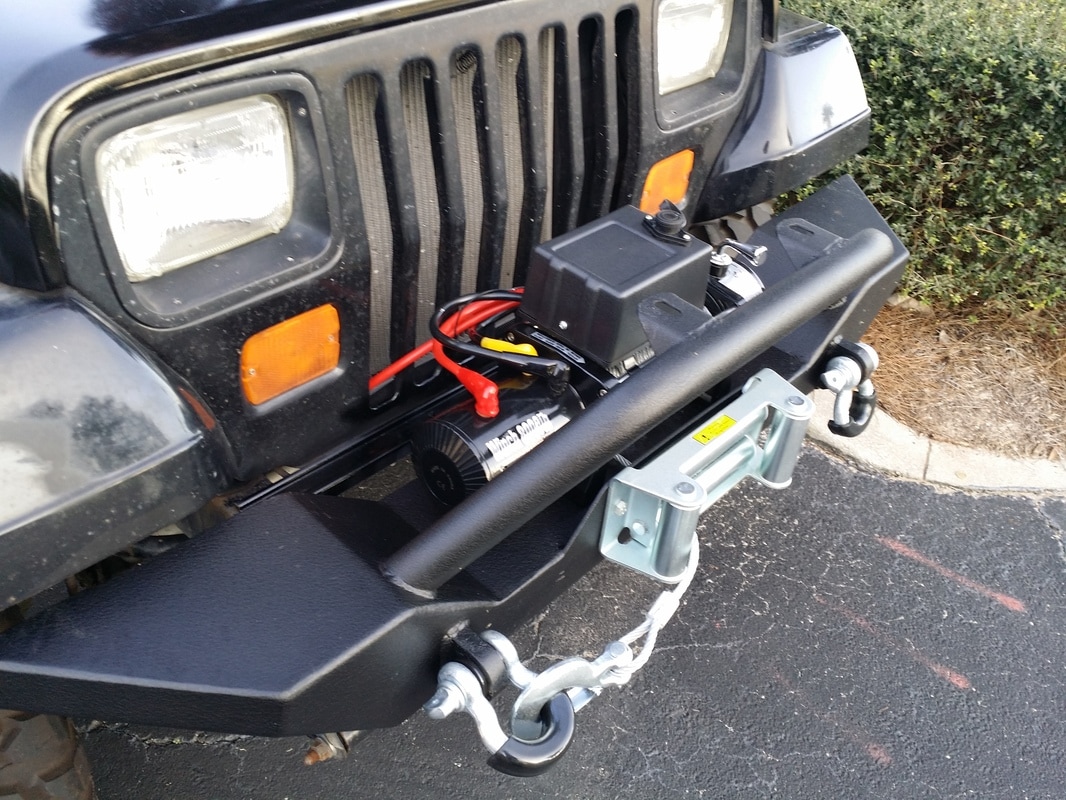
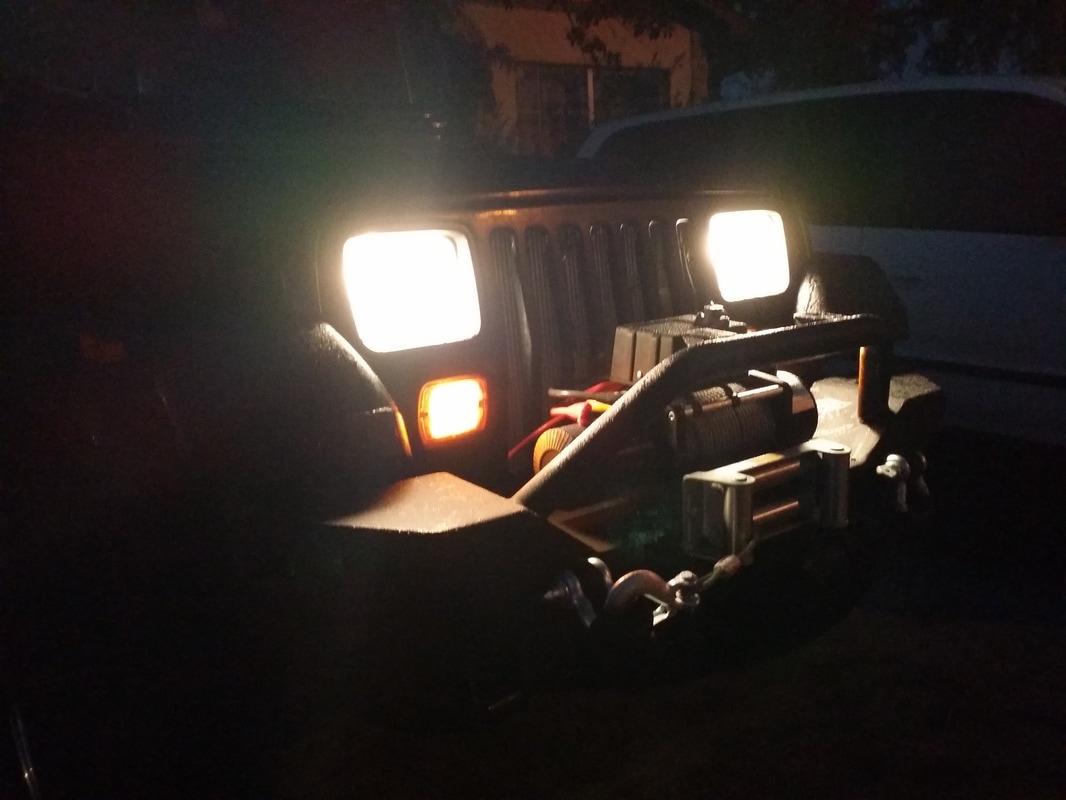
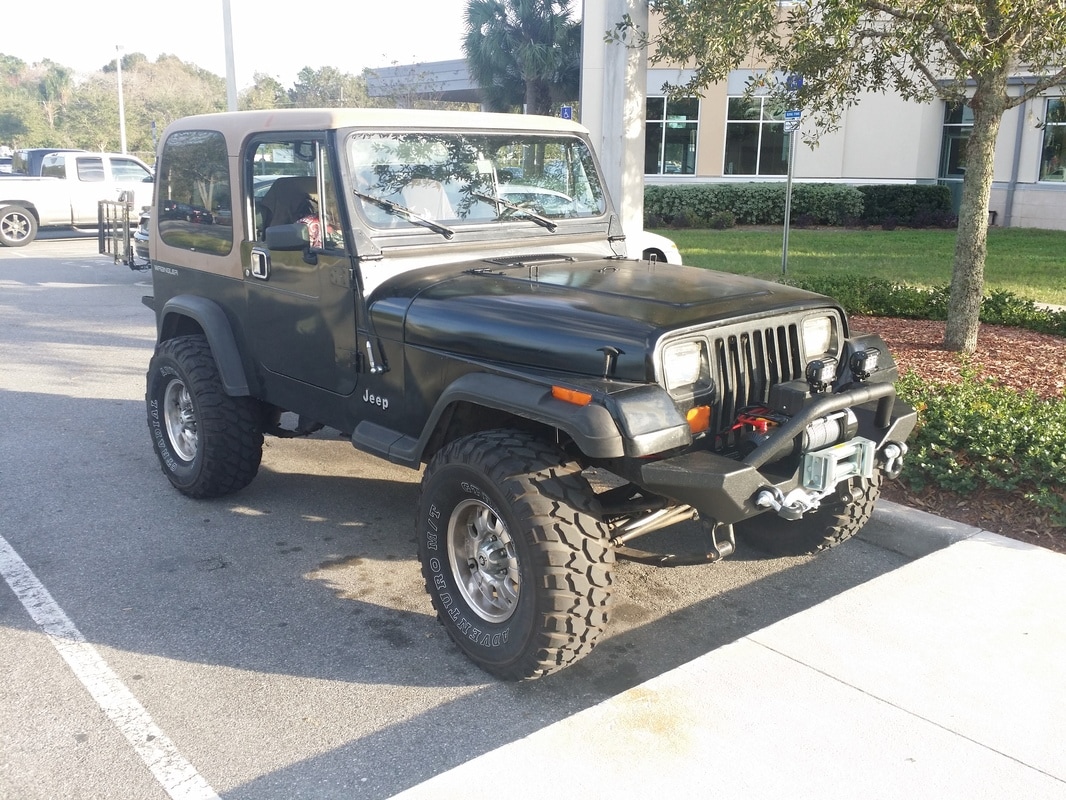
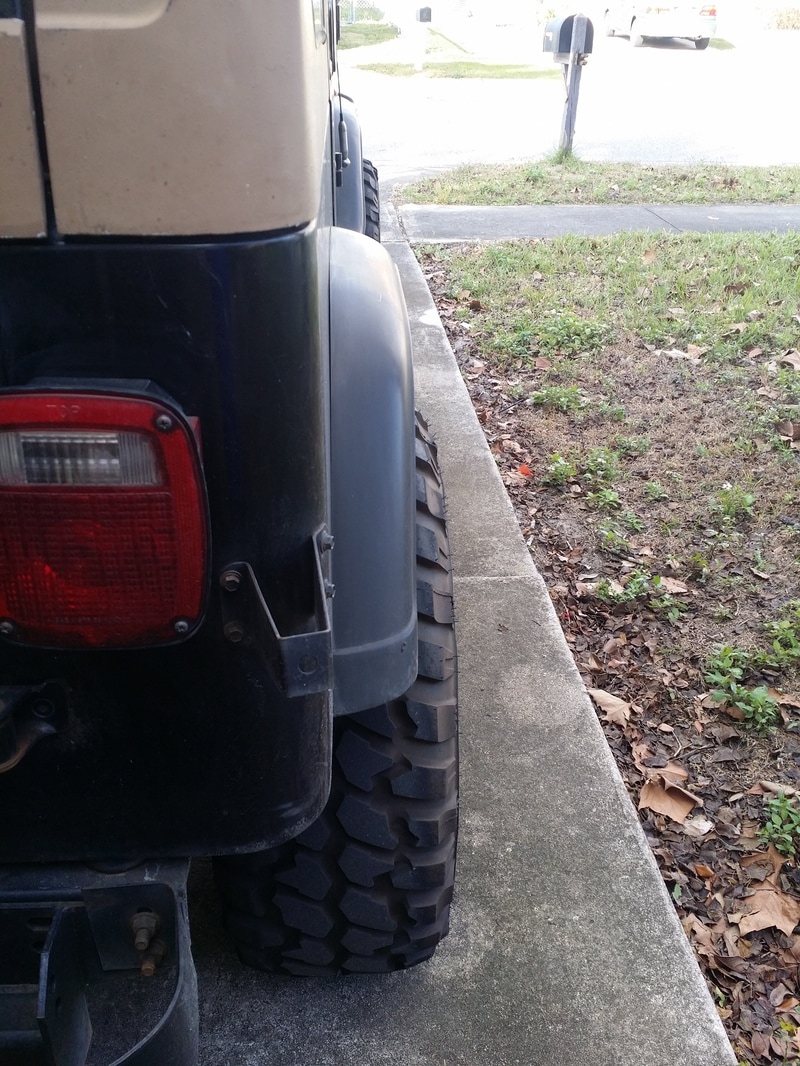
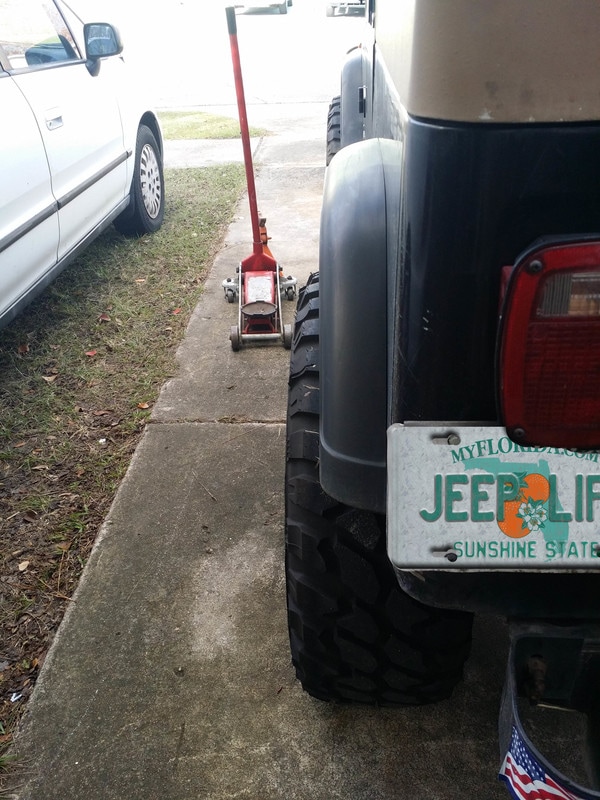
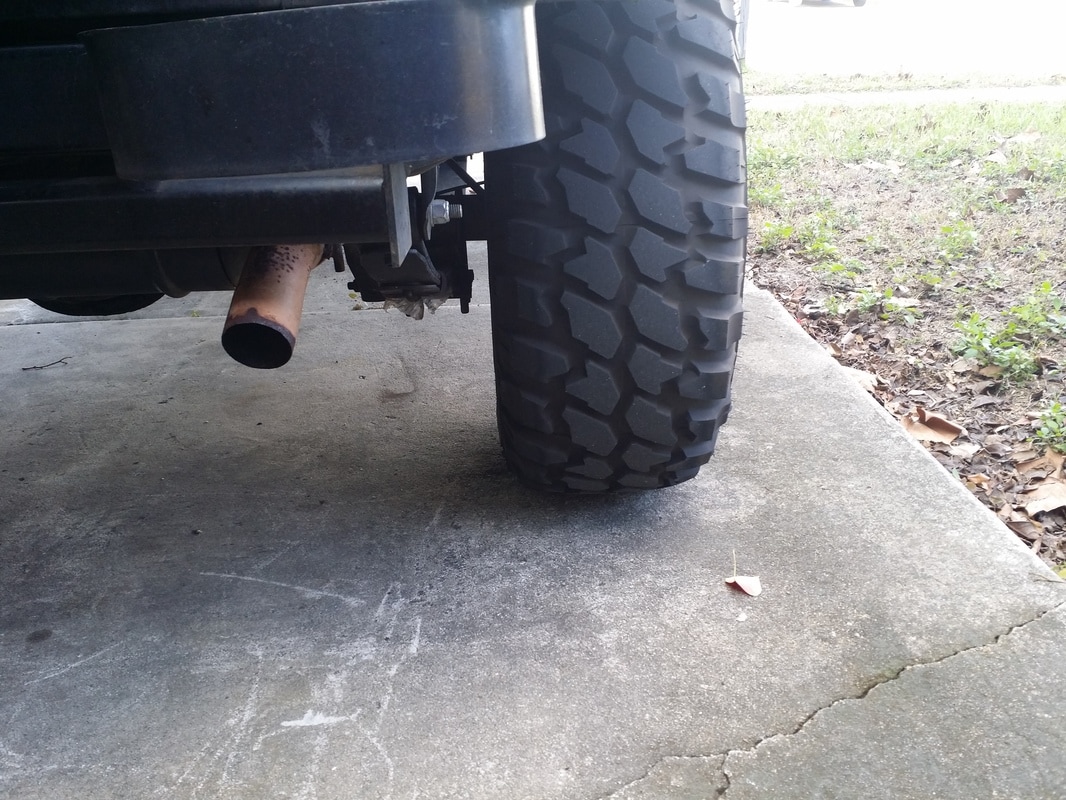
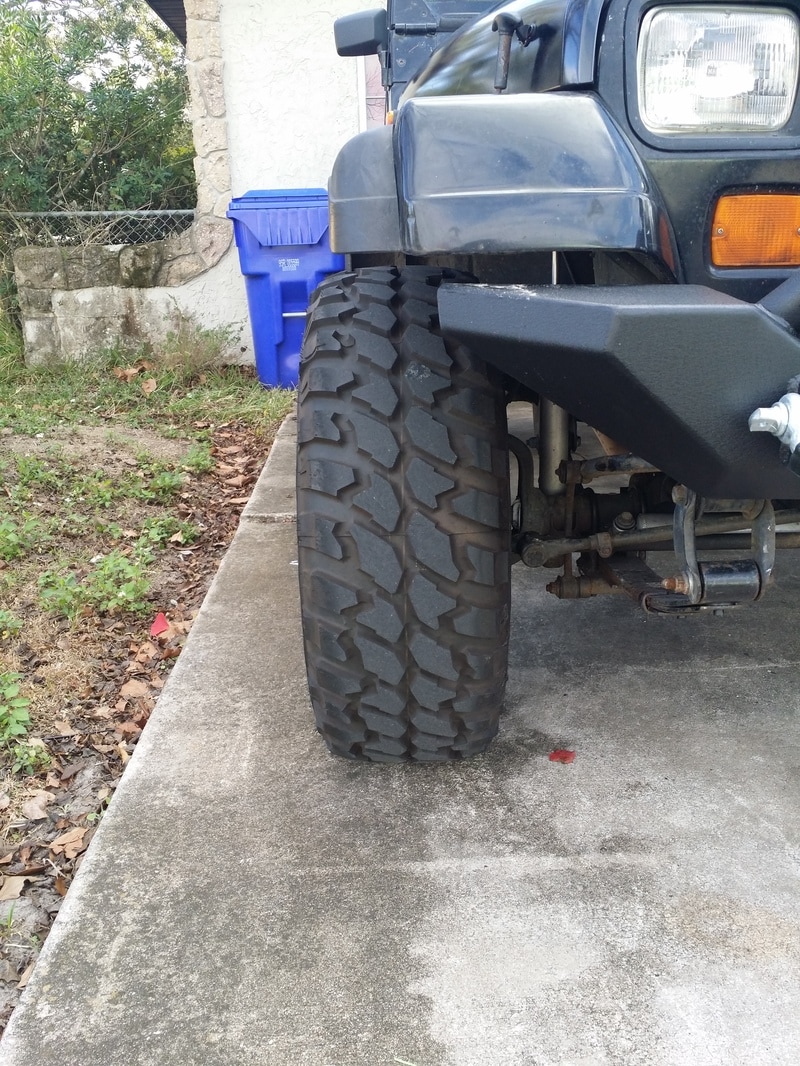
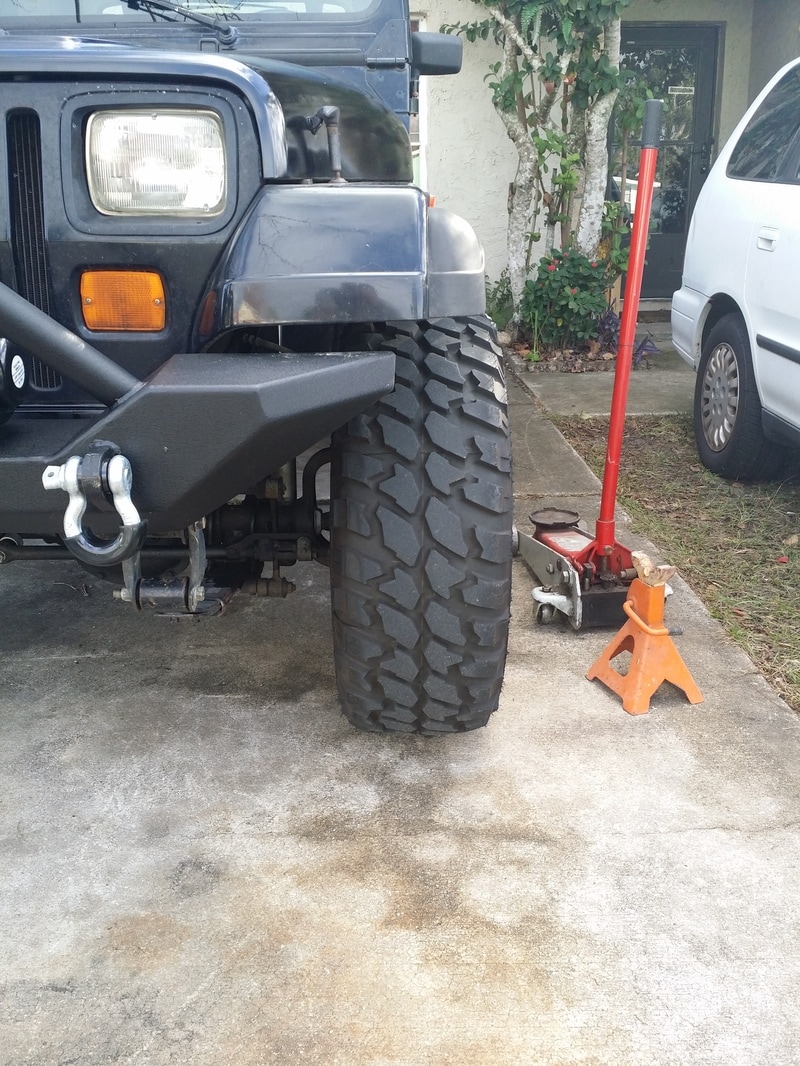
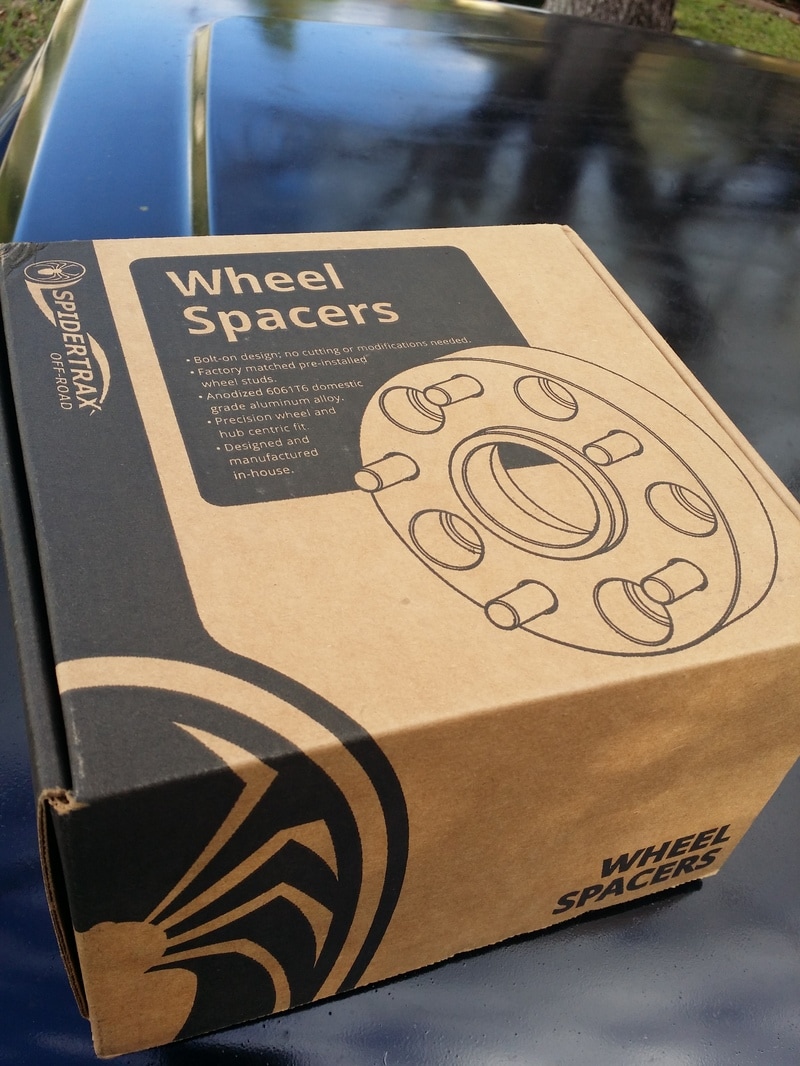
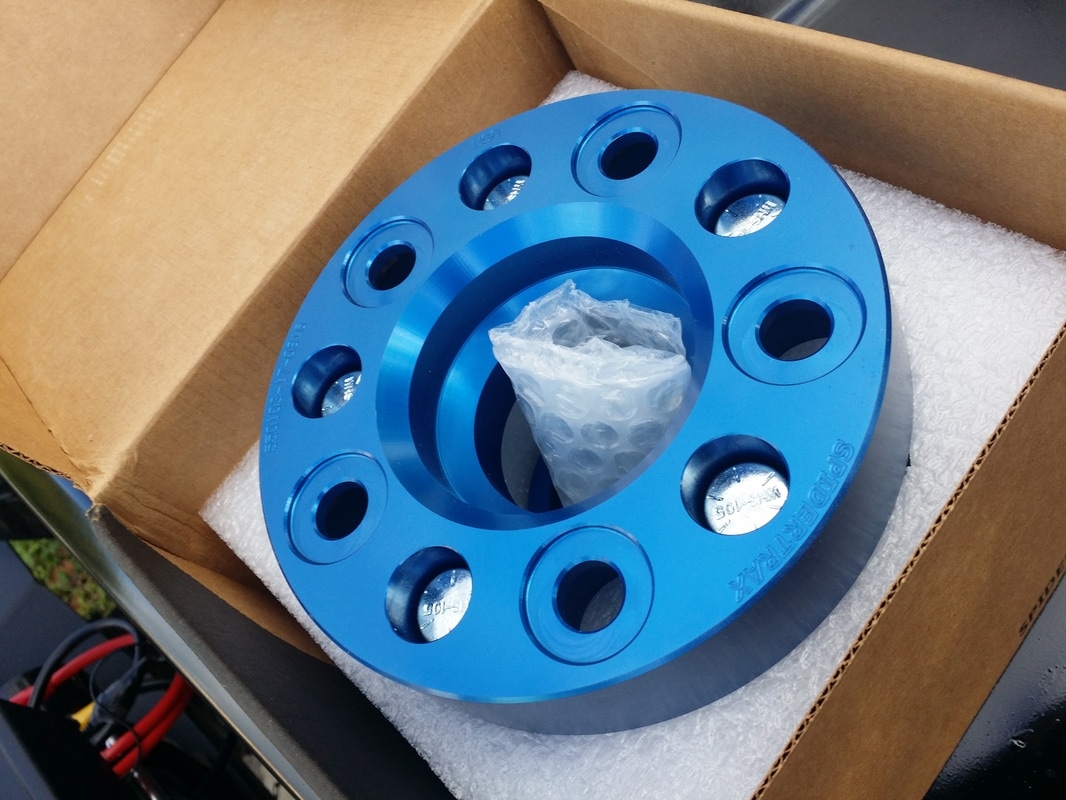
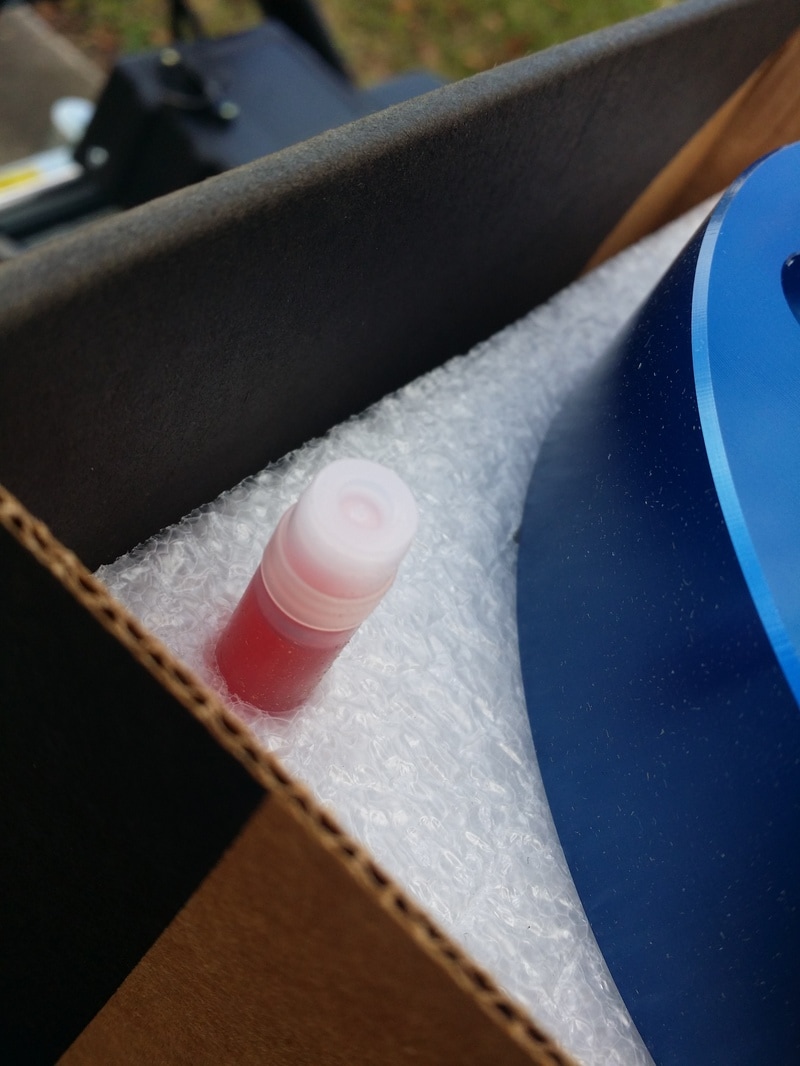
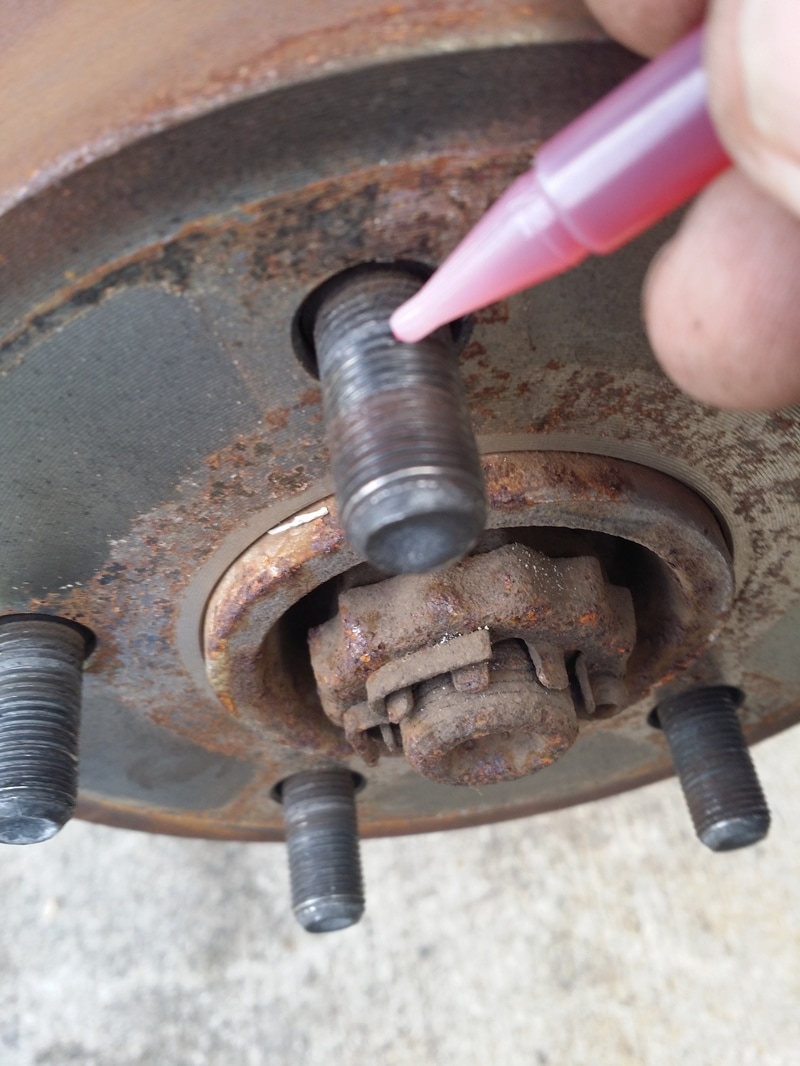
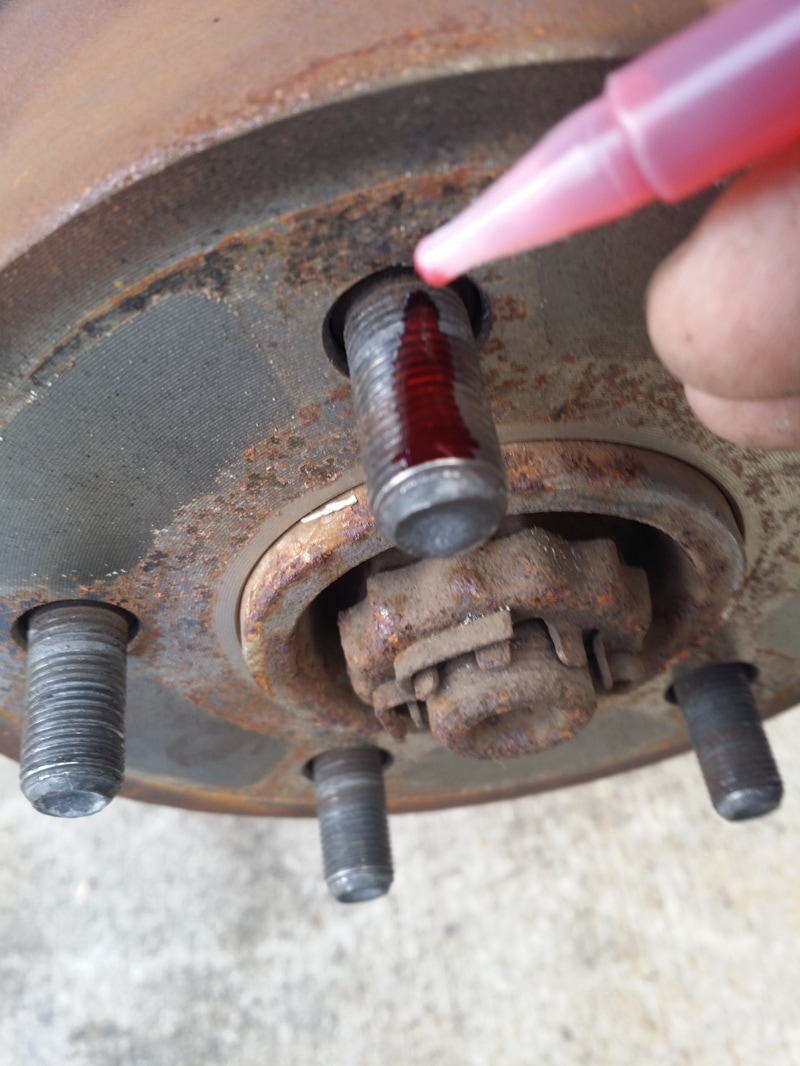
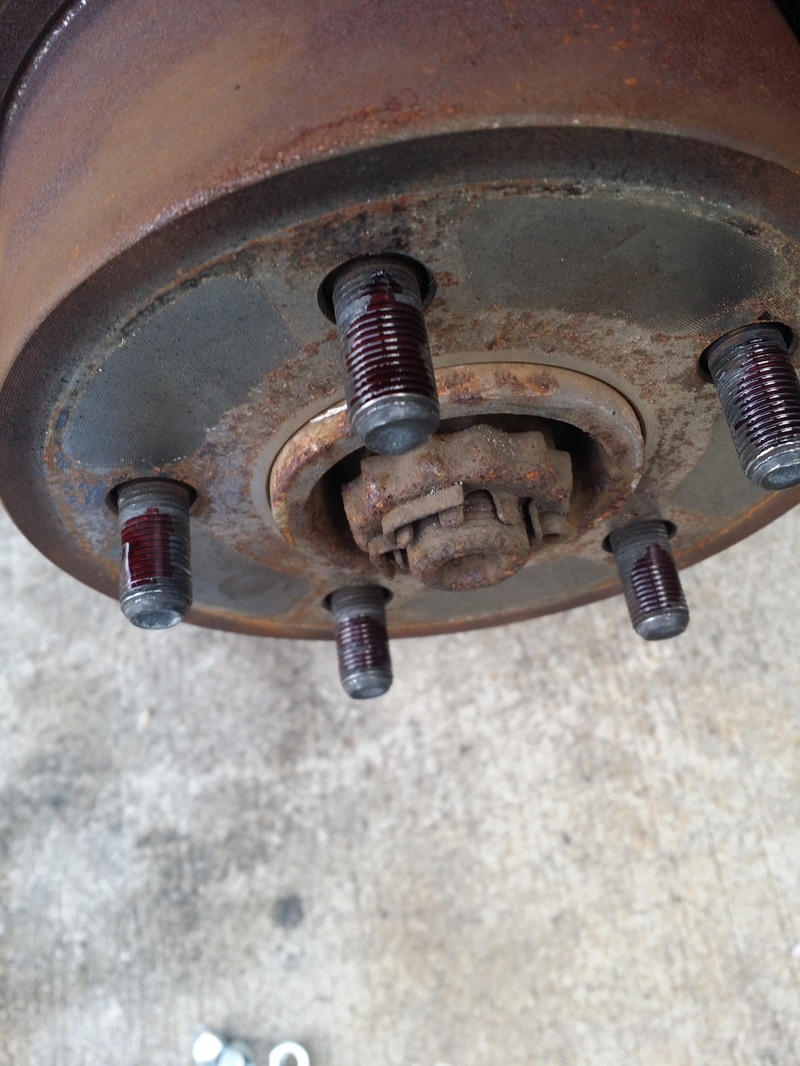
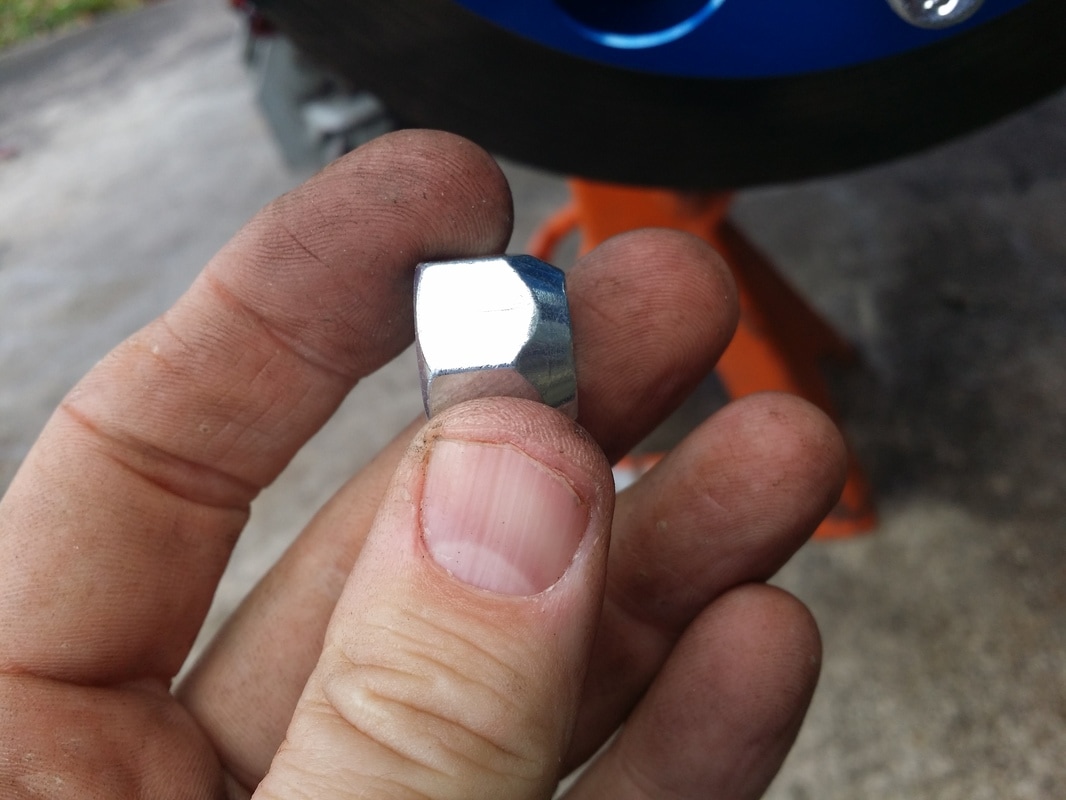
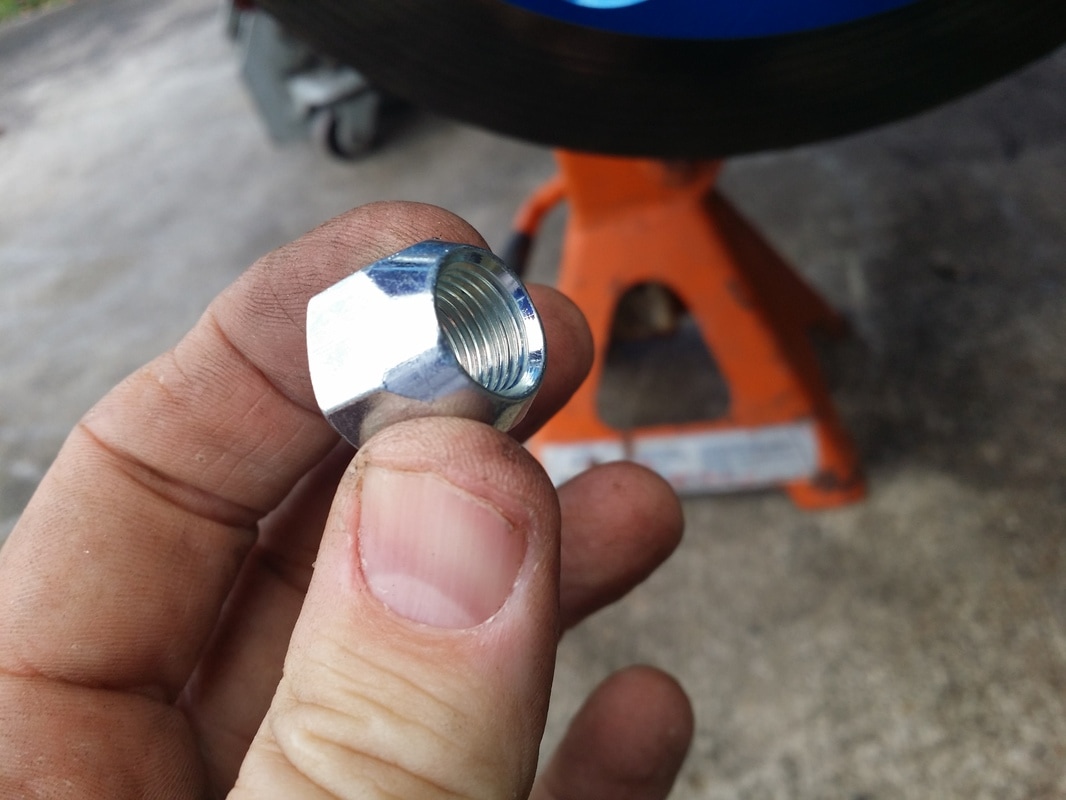
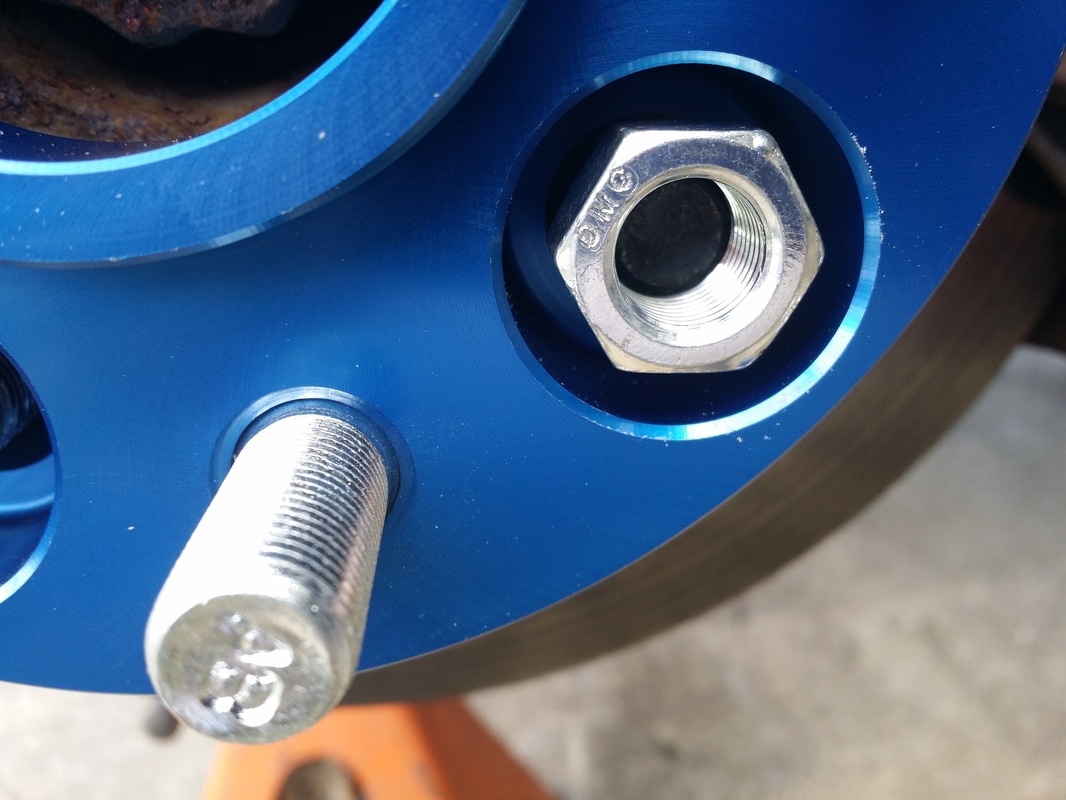
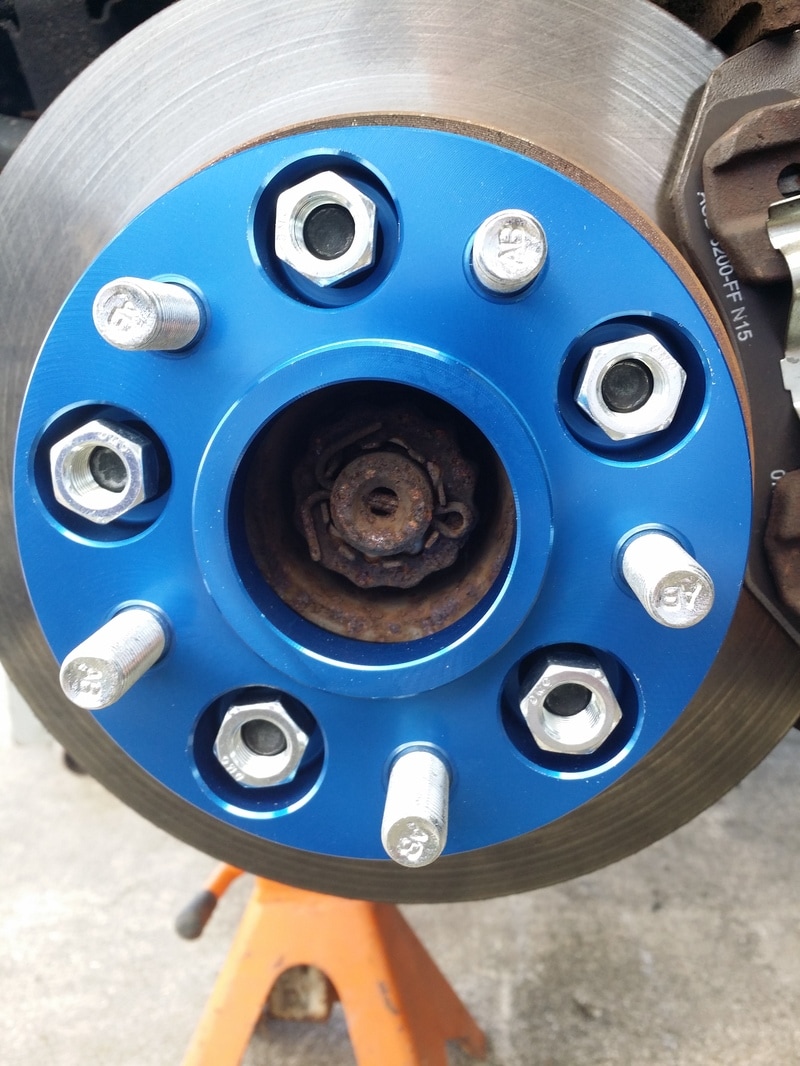
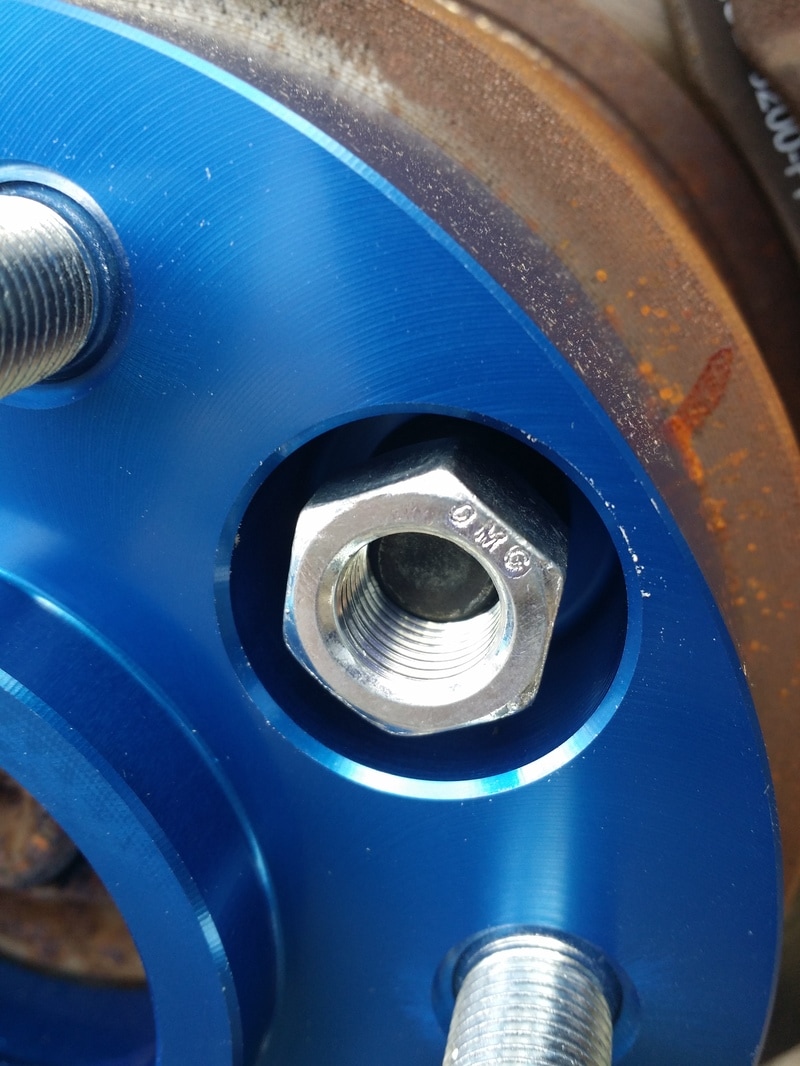
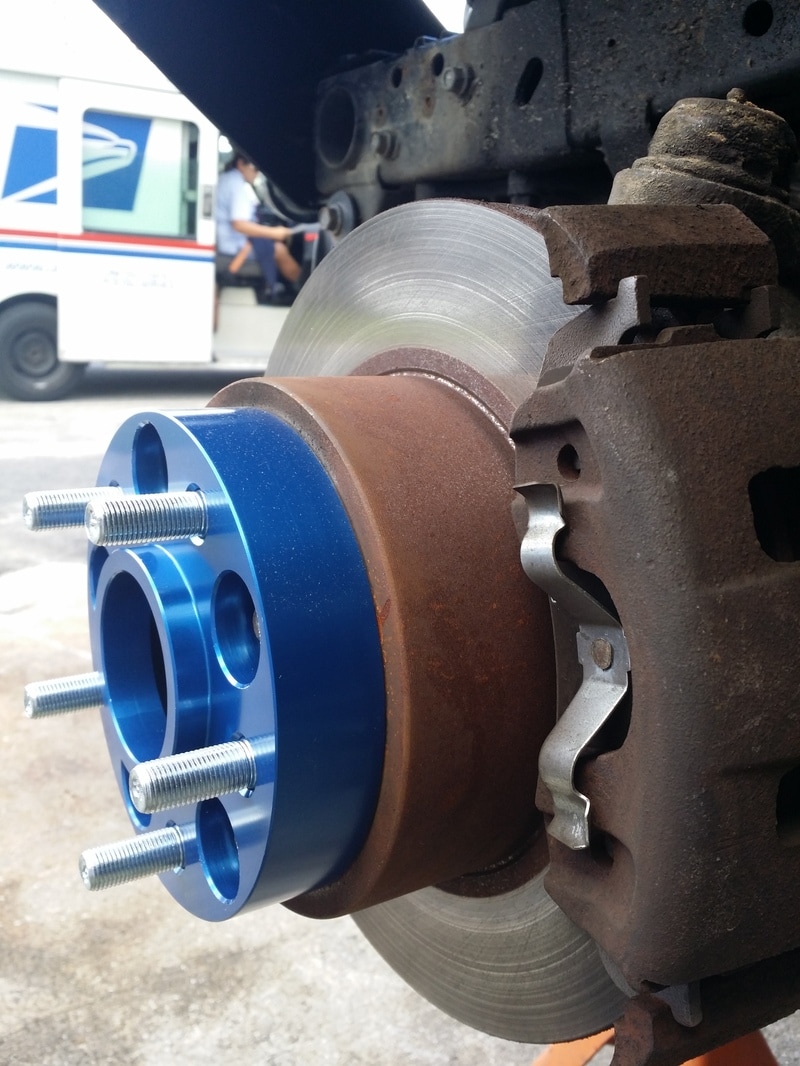
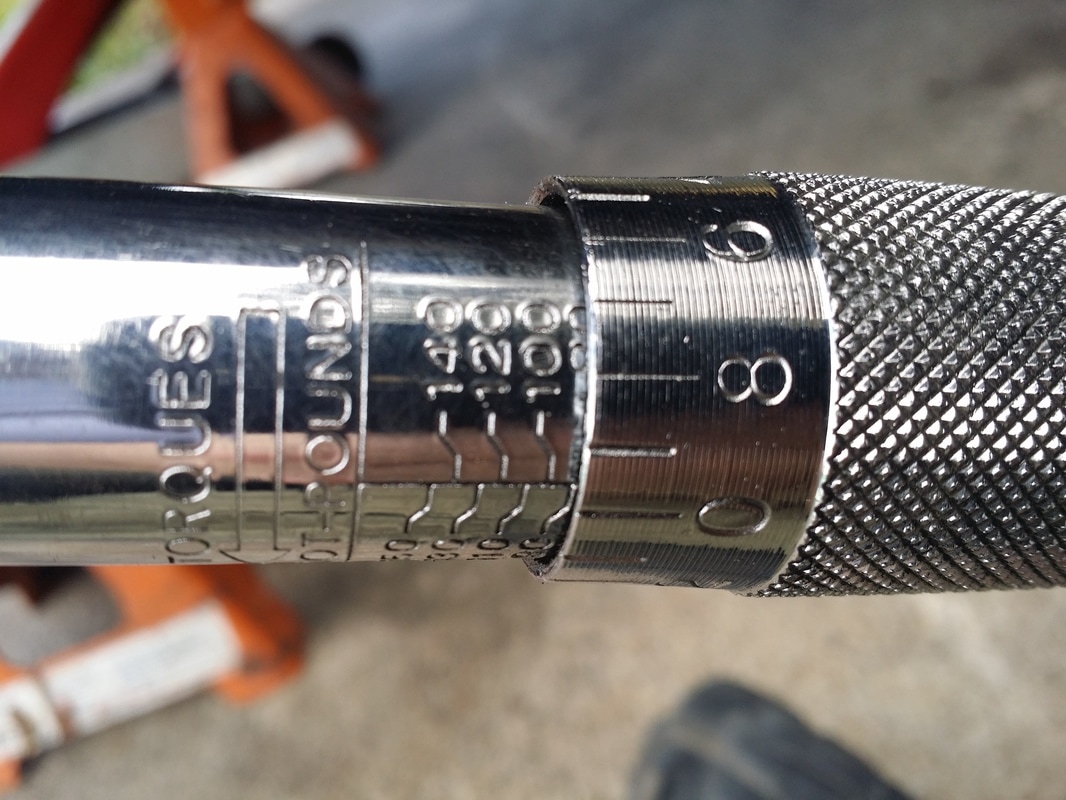
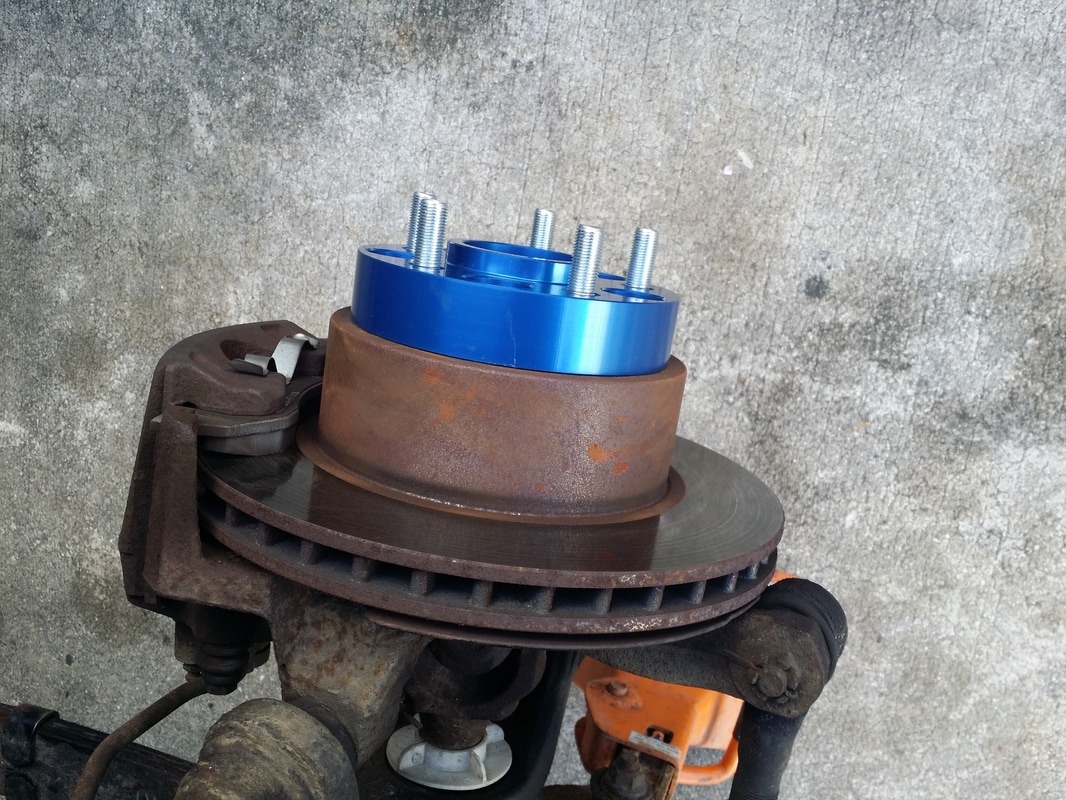
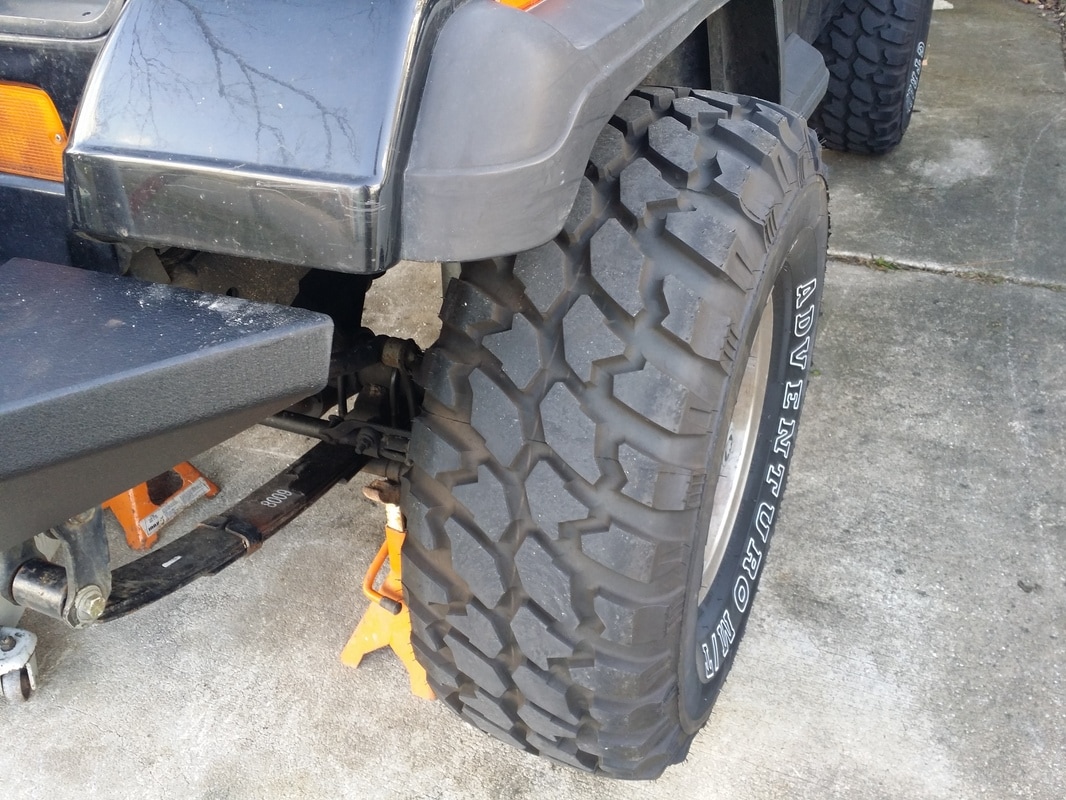
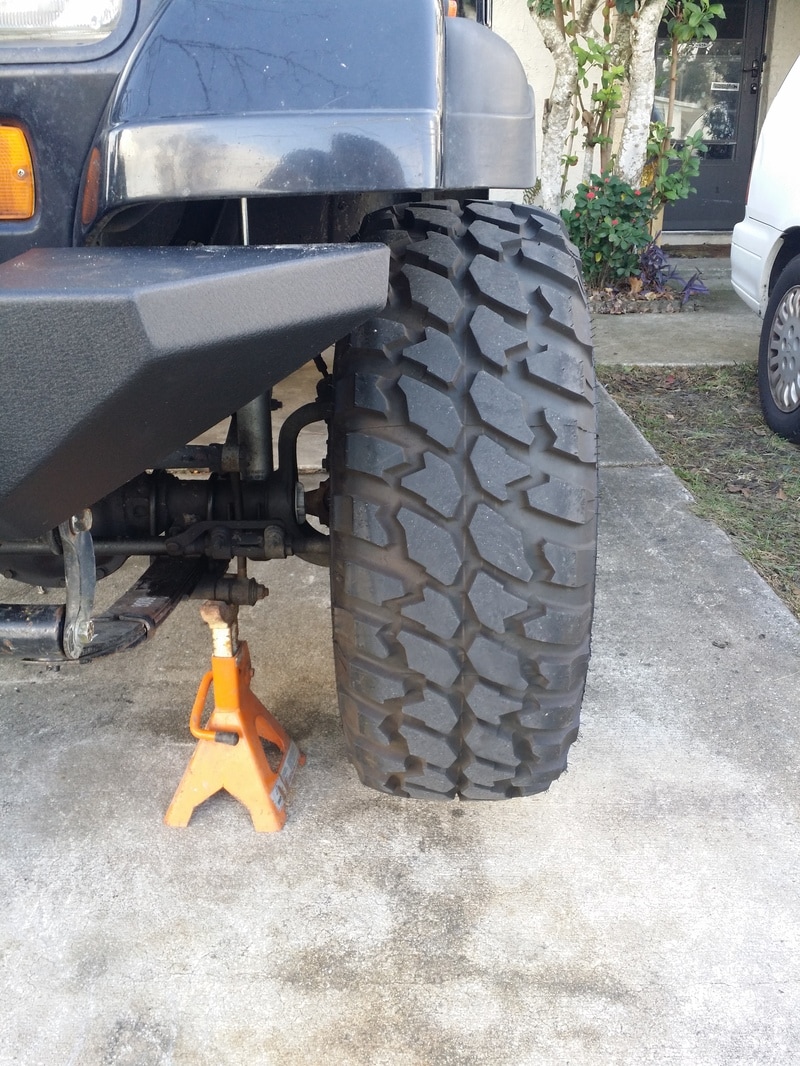
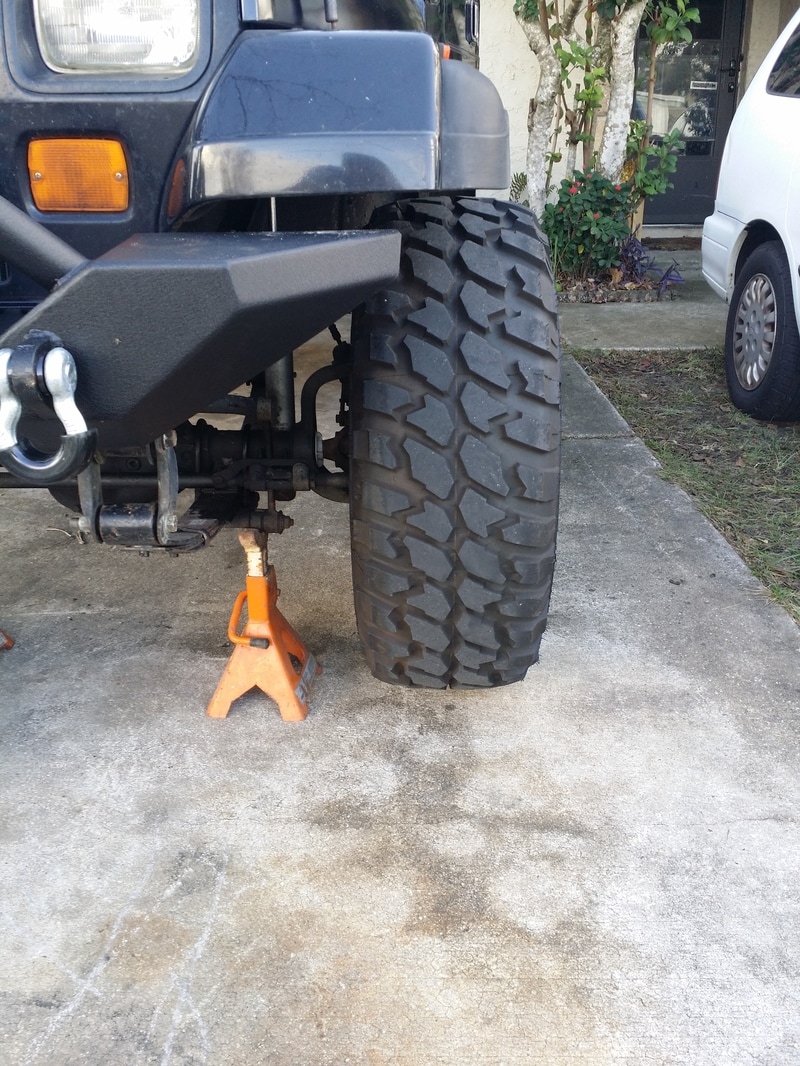
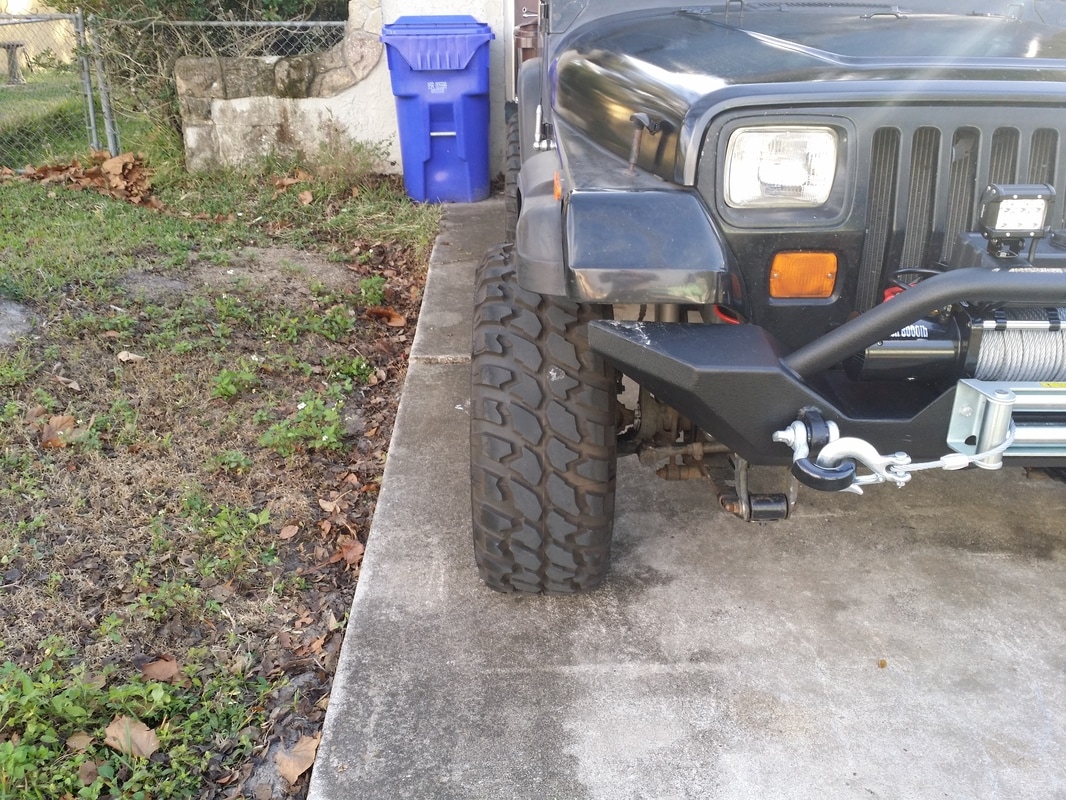
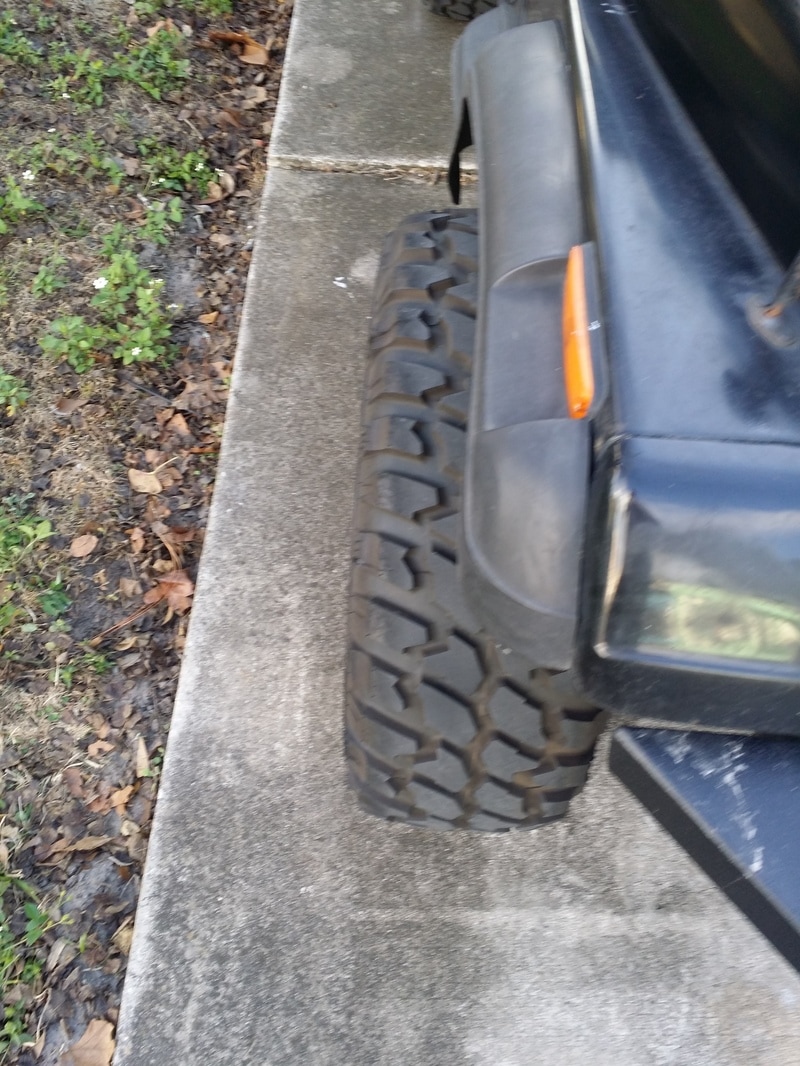
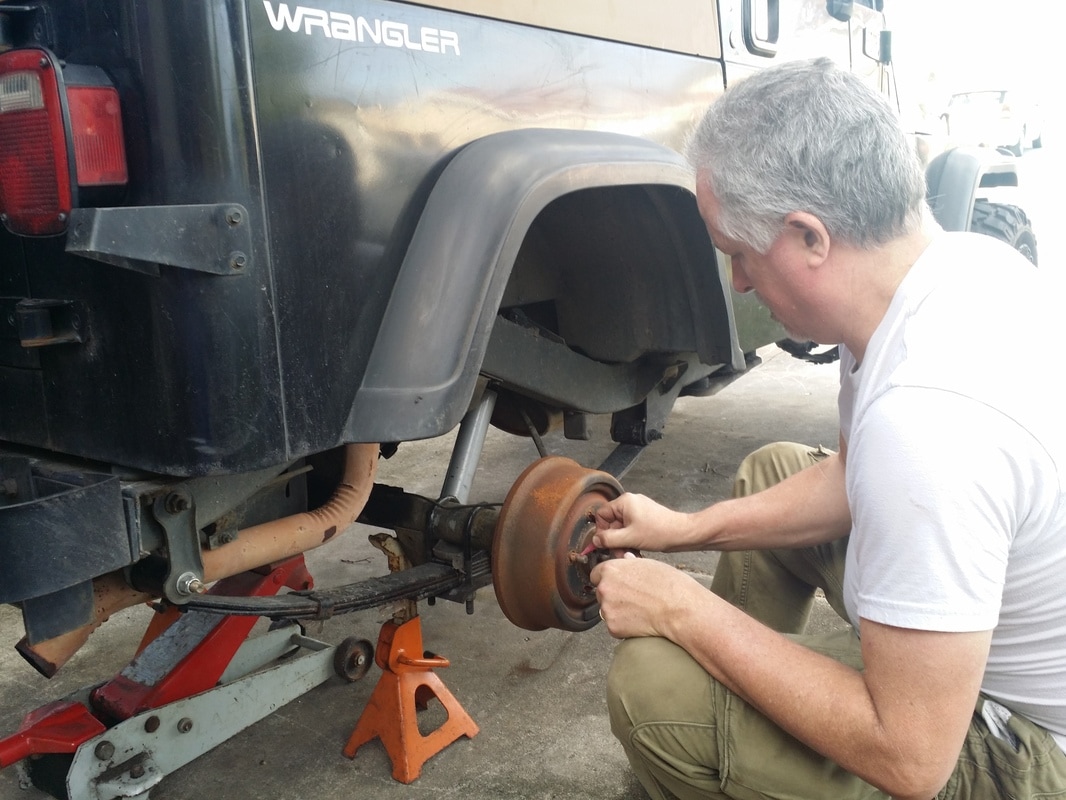
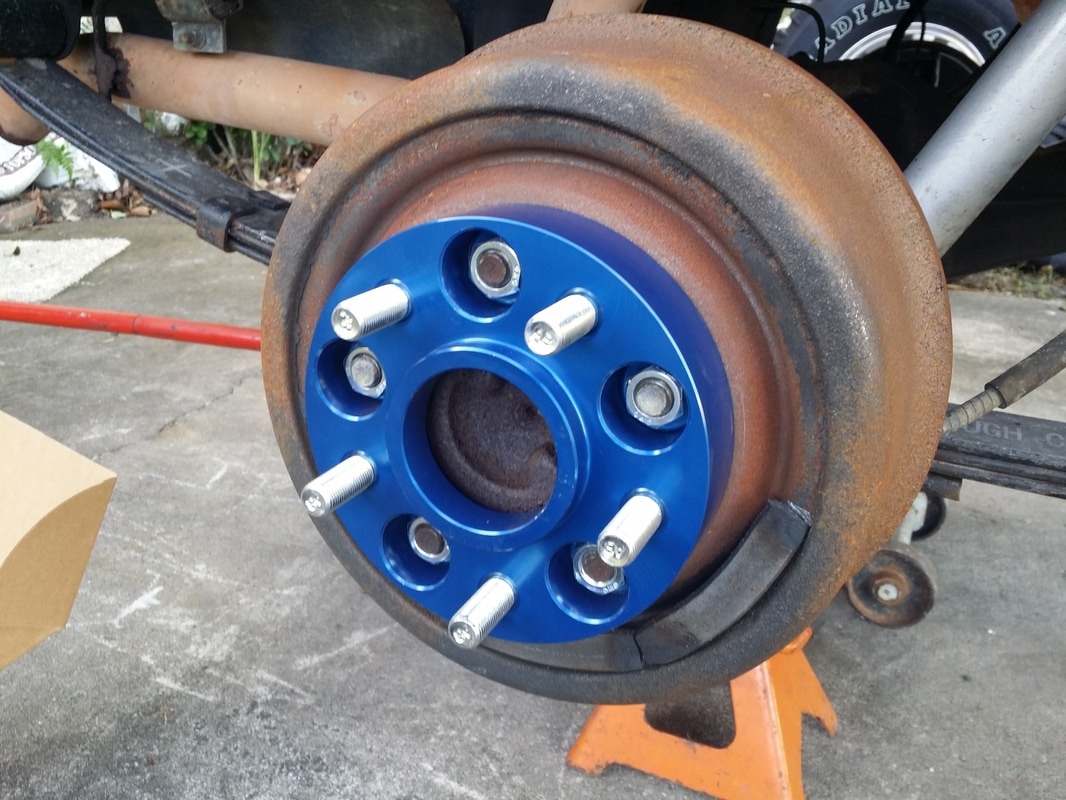
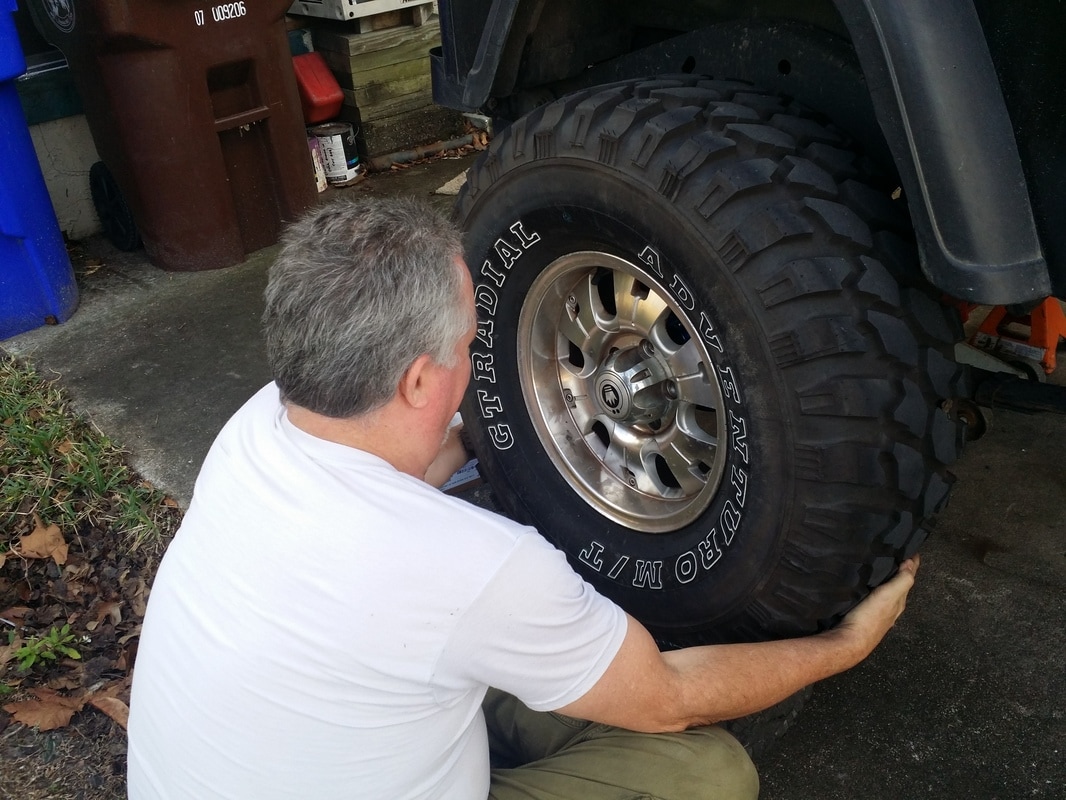
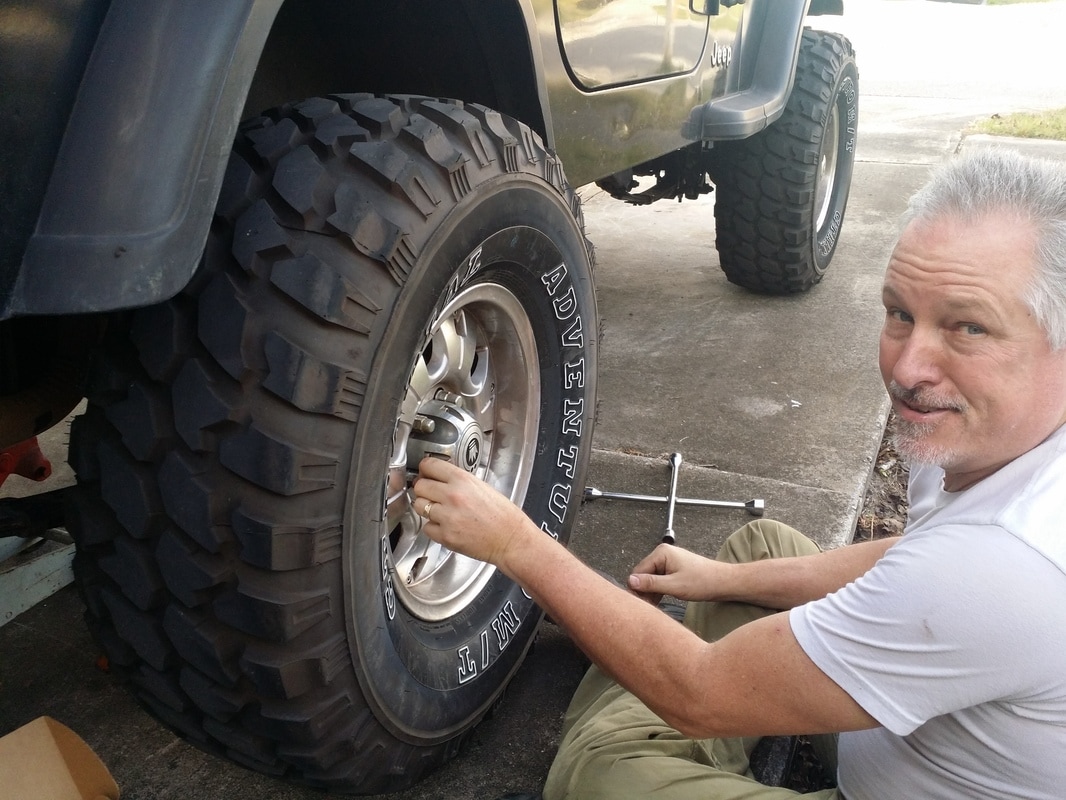
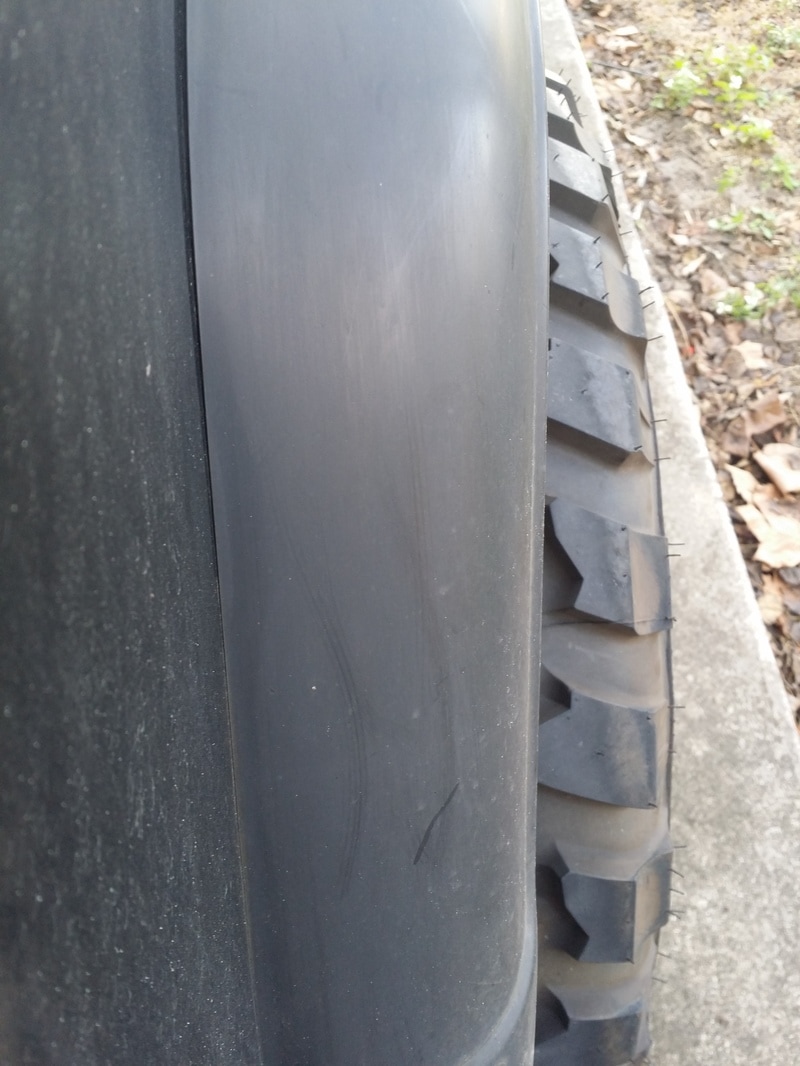
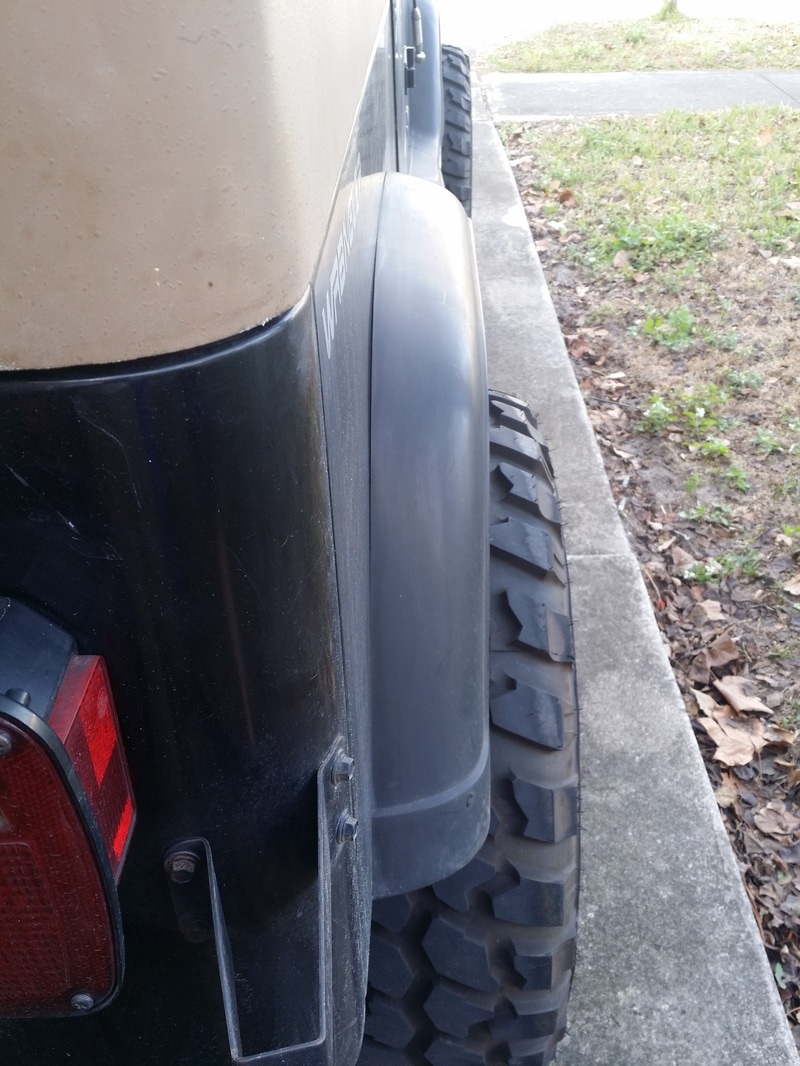
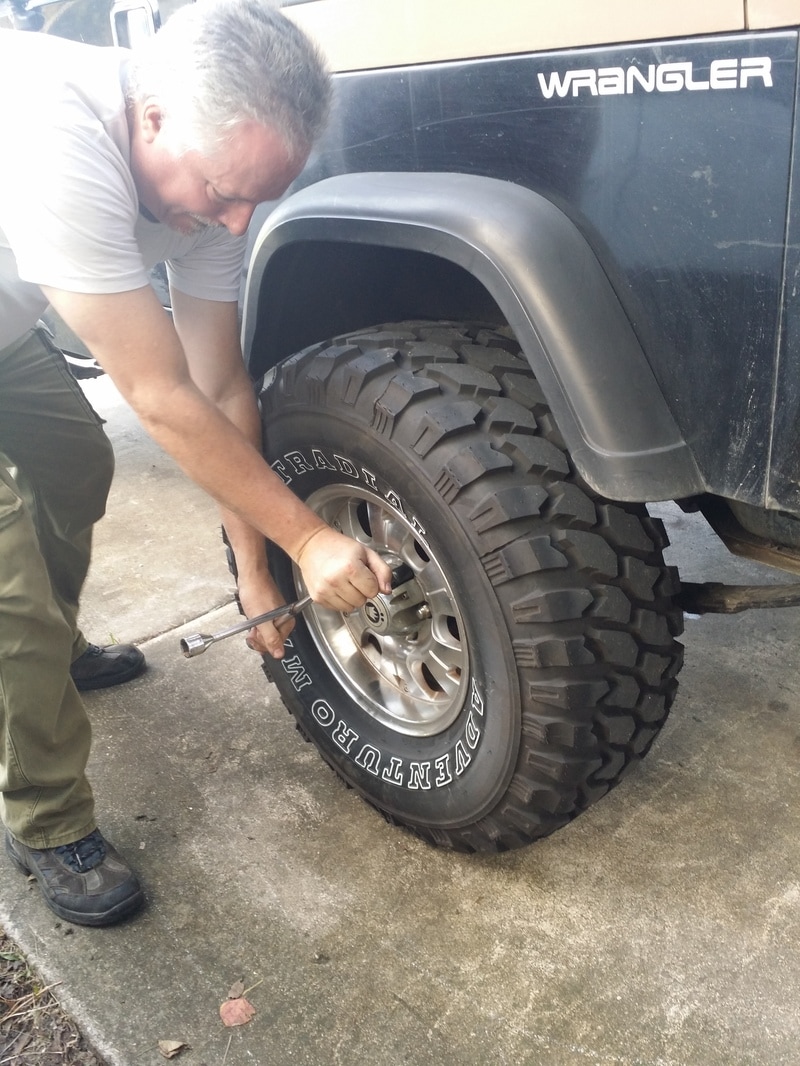
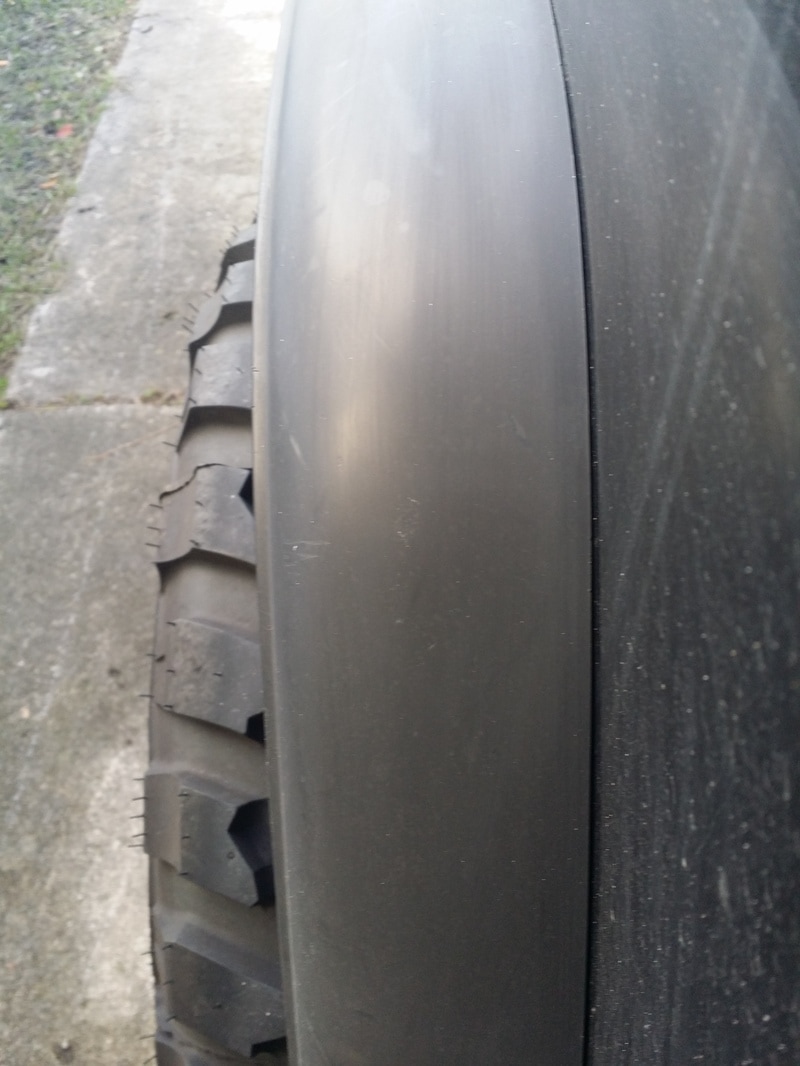
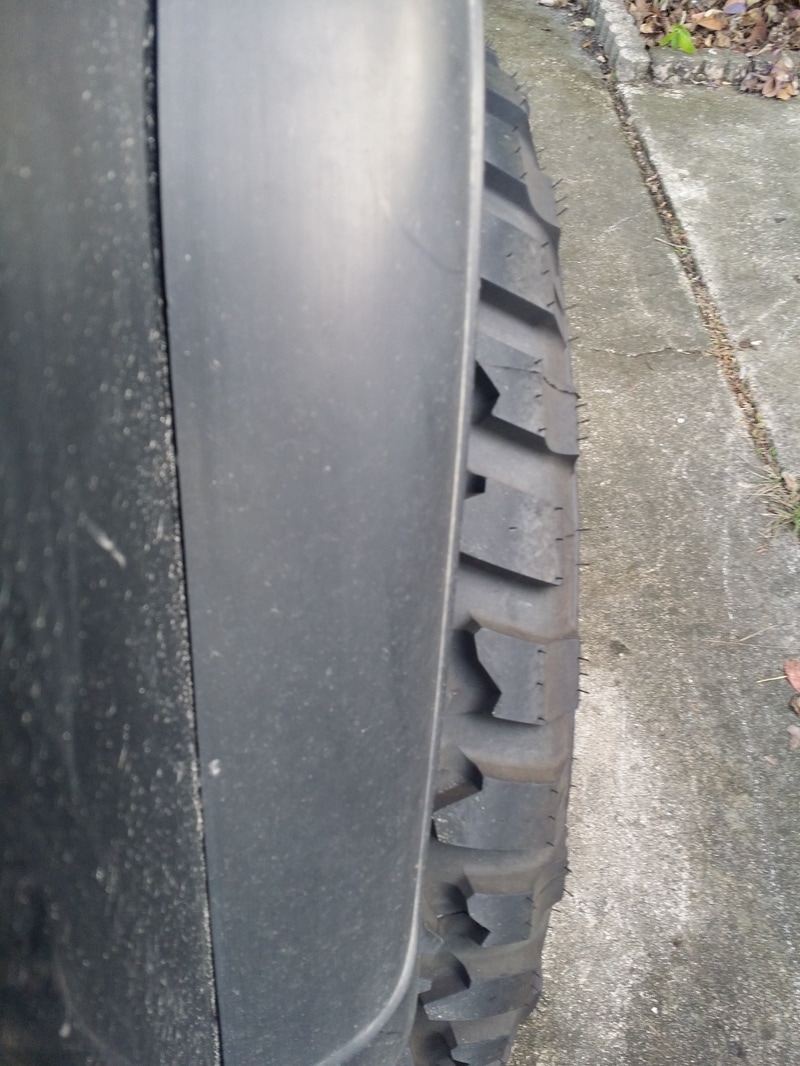
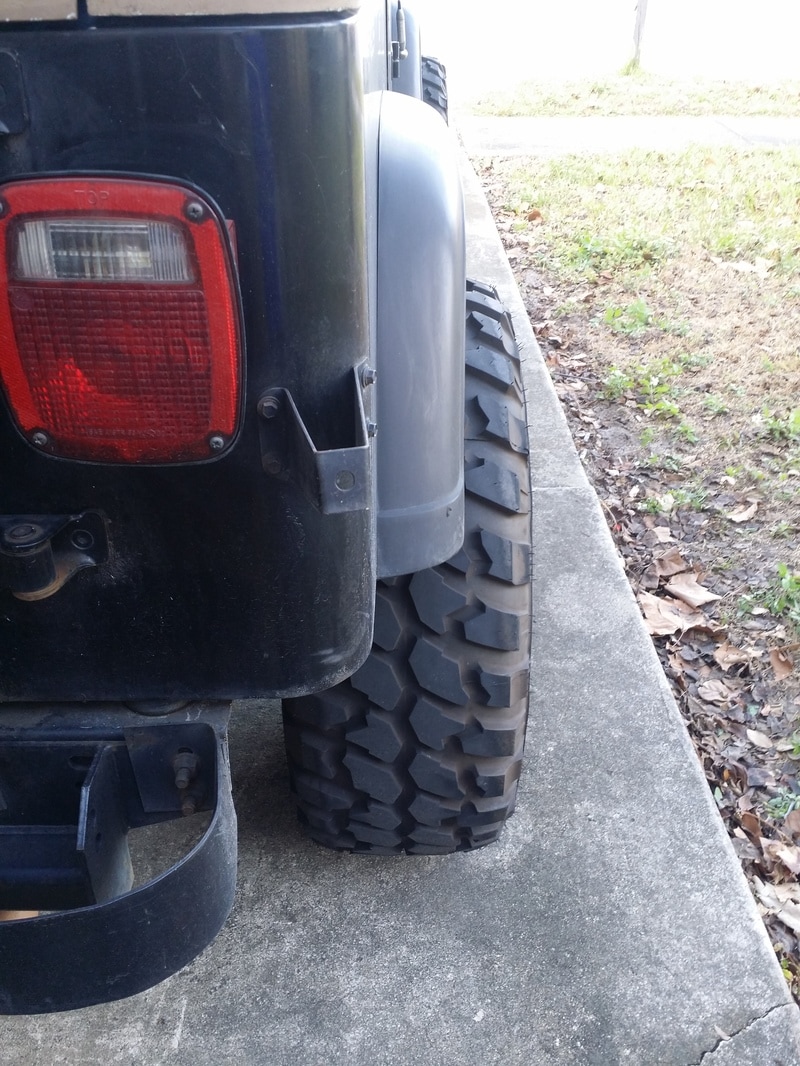
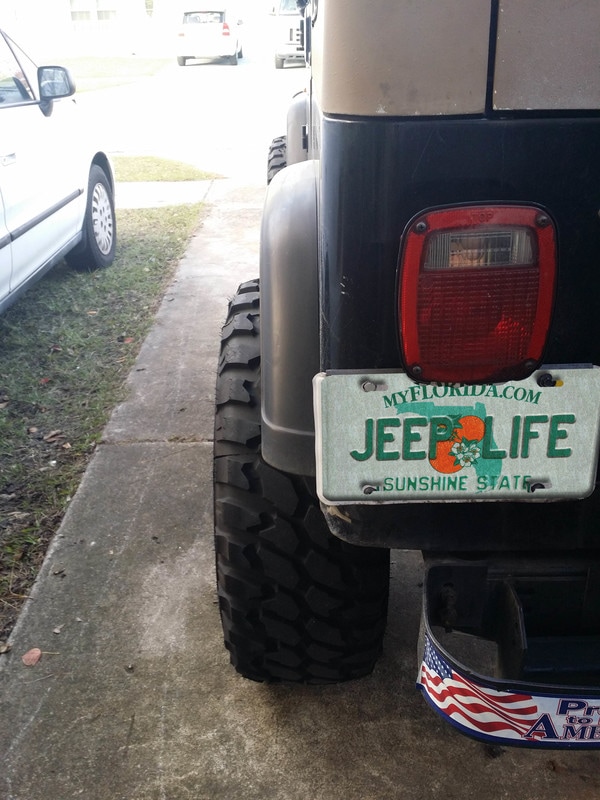
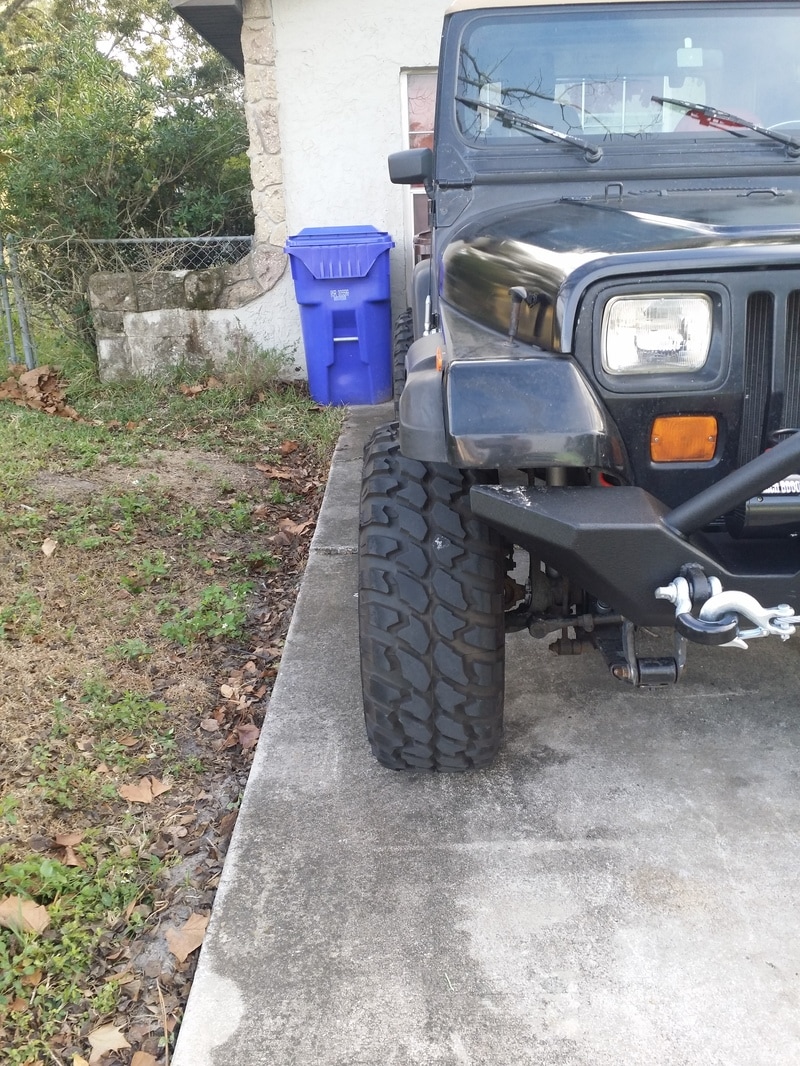
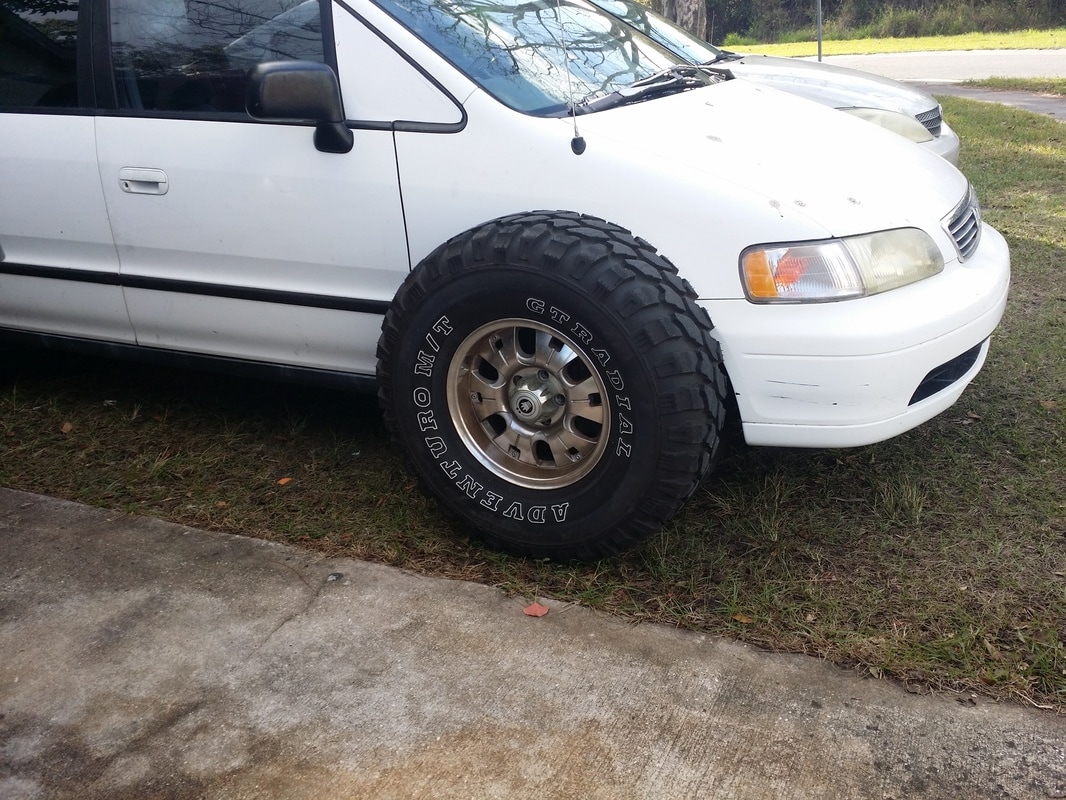
Tools: Phillips Head Screwdriver... That's all. How to: 1- Unscrew the bevel around the head lights. 2- Unscrew the head lights. 3 - Unhook wires and Remove old bulbs. 4- Put in LED headlights. Put some weather stripping on the side to make sure the headlights stay put. 5 - Hook up the wires. The extra red wire is for the Angel lights. Run extra wires. 6 - Adjust headlights. 7- Put the bevels back on. Your done. Pro's Easy plug and play. looks good. better light. Con's Fit a bit lose. Product link below. E-Autogrilles Jeep Wrangler TJ/YJ Off Road Rear Bumper with Tire Carrier Swing Review and install.1/26/2017 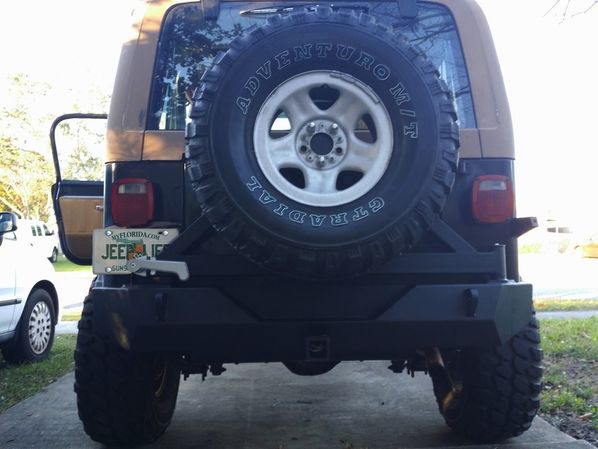 1995 Wrangler Yj Black with E-Autogrilles front and rear bumper Everything you change on a Jeep will require three other things to be changed as well. The new front bumper was put on at the end of December and now it is time for the matching rear bumper. Why a new rear bumper when the old one was just fine? Simple the rear bumper is one of the three thing to follow the new tires. A bigger or oversize tire on a stock tail gate will over time destroy the hinges and latches on your tailgate. The solution was a swing out tire carrier. That required a heavy duty bumper to mount the carrier. My wife recommended this, never argue with you wife when she says buy Jeep parts. Happy now? There were cheaper bumpers and more expensive bumpers, I went with a mid range price. I did want D-Rings and an adjustable spare mount. E-Autogrilles was my choice. I did have some issues with the holes on the front bumper not lining up but, for the rear bumper it turns out it lined up correctly. The shipping was VERY fast, even with ordering on a Saturday. It arrived via UPS on Wednesday. There were two boxes, one large square for the bumper and a second for the tire carrier. With the seat moved forward they fit in the Jeep. I did most of the install myself, the only part that required assistance was lifting the bumper and putting in the bolts. A little lifting to get them all lined up and after the 8 rear bolts were tightened the lower bolts under the frame lined up. (The two under frame bolts were NOT included.) Overall it looks good and I am happy thus far. Time will tell of how good the powder coat is. Thank you E-Autogrilles for quick service. E-Autogrilles 87-06 Jeep Wrangler TJ/YJ Off Road Rear Bumper with Tire Carrier Swing (51-0015) - Manufactured from 3/16" thick plate steel sheet. New design with wheel bearing pivot system. Tiger textured black powder coat for corrosion protection and durability. - Fit for: 1987-2006 Jeep TJ/YJ Wrangler all models. - Two-way adjustable tire mount for tire carrier.3 point tire mounting system supports oversize tires. - High strength D-ring mounts welded both inside and out with two -4.75 ton D-rings included. 2" receiver hitch incorporated into the bumper. - Solid billet aluminum handle with built-in cam lock design keeps tire carrier secure while off-roading. TOOLS: Socket set: (Metric and SAE) Optional: Screw Drivers. To make template and check hole alignment. Drill and step bit. PB8 or WD40 TIME: 2 to 2 ½ Hours. Step One: Remove old bumper and hoops. Step two: Clean area and make sure holes are big enough for new bolts. Step Three: Have help putting new bumper on rear frame. Step four: After ALL bolts are on (Hand tight) tighten them. (Good luck with the inner bolts.) Step five: Remove tail light cover. Step six: Use WD-40 to lube the pole for the tire carrier, then gently work the carrier on the shaft. Make sure that EVERYTHING is clean. NO burrs or it will never go on without a cylinder hone. Step seven: Place top cap cover and tighten. Step eight: Put handle on end of frame near license plate and tighten bolts. Step nine: Adjust spare tire mount to correct depth and desired height, then tighten and mount tire. AFTER THOUGHTS: I would like to drill some lower holes on the tire mount so that it sits lower and closer to the bumper. Even at the lowest point the spare still blocks a lot of the rear view. I also would like to put some spacers on the original gate bumpers to keep some of the shake down. PROS: It looks good and I did it myself. Heavy duty and strong with D- Rings. Easy to assemble and mount. The holes were correct for the 1995 Wrangler. It has an adjustable tire mount, Height and distance. There is room for mounting a Hi-Lift jack. Shipping was super fast and the bumper was well packed. CONS: The lower mount was bent in, nothing a hammer could not fix. The tire carrier is a bit shaky. Spacers on the old spare tire bumper stops will fix that. The tire still sits a bit high so you might want to drill some extra holes to lower the tire down. The license plate is blocked and may require a relocation of the tag. (Gassing up will be tight too.) NO Instructions. Just a picture of each part. They were not really needed though, pretty simple. No D-Ring Islolators like the front bumper? LINK: E-Autogrilles 87-06 Jeep Wrangler TJ/YJ Off Road Rear Bumper with Tire Carrie. 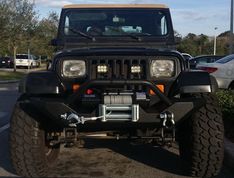 Autogrilles 87-06 Jeep Wrangler TJ/YJ Off Road Front Bumper. One of the first things I did to my jeep was get a new tube bumper. This worked well for the first year and gave the Jeep a good look to the front end. Problem #1 - The bumper would not accommodate the winch. The same bumper with the winch cut out was $100 more. I thought about cutting the bumper so that the winch would fit and even bought end caps for the tubes. Problem #2 – I got a Smittybilt winch plate and it would hold the winch securely to the front frame. But again I would have to cut the bumper out. After some amount of consideration, and checking with the boss, I decided instead to go with the E-Autogrilles front bumper, just over $200 with free shipping. They have several to pick from. And they look just like some of the other brands out there. Shipping was quick and the bumper came well packed. It was quite a feat fitting this box into the back of our Camry, a bit of scrunching. As normal the UPS guy was happy to deliver parts. Tools needed: Socket set. Hex bits. Drill and Step drill bit. Loctite. Hammer. For persuasion. Open end wrenches. Install: The bumper was labeled as good for a TJ / YJ and many of the reviews said that the lower holes would not line up and this was the case with mine. One of the lower brackets was quite bent upon arrival an easy fix. A friend and I took off the old bumper and promptly put it on the front of his Jeep, first lifting the bumper on and doing some adjustments to the mounting brackets to make them fit over the frame was the easy part a little bit of bending and hammering make them fit. Once the bumper was slid on the upper holes went on with no issues, the passenger side seem to fit (upper and lower) the divers side did not. The lower hole has a oval shape to allow forward and backward movement but NO side to side. This made the holes not line up. We tried to drill the holes out using a drill bit, that did not work well. I could not find my grinding stone so we took a trip up to Harbor Freight. I picked up a step bit and that took care of the problem. Measure twice, drill once. This will save you a whole lot of grief. I suggest a total removal of the bumper after you locate the proper places to drill holes. Then the bumper will be a breeze to put on. If you have a TJ the holes line up with no issues, the YJ makes it where you need to drill. The bumper came with all the hardware needed to do the mounts and I used washers to cover the large holes that I had made. Upgrade the nuts and bolts if you can to Grade 8 to give it more strength. The bumper is on and it looks good. The two D-Rings add a recovery point and are welded on front and back. They came with insulators so they don’t rattle while driving. The upper bar has a place to mount lights too. I am not sure how much flexing the mounting area will do when putting the winch under a load. Might weld the SmityBuilt plate under there for strength. Mounting the winch was the next task getting the bolts to go under the bumper was a bit of a task as that the cross member of the frame was in the exact same spot that the holes for the mounting bolts. Follow the instructions on wiring you winch. As always, everything you add will require 3 other things to make it work. The grandkids came by to help. The middle one thanked me for doing all this work on his jeep, that way when I get old I can pass it on to him. (The winch was missing the ground terminal on the lower part of the motor and will need to be found before a full test and review.) PROs: The price. You pay for what you get, if you want more they make a heavy duty version with lights. The look. Beefy and makes the wife feel safe. The packing. It would survive Armageddon. No scratched or dents. Welded hoop protects the front of the Jeep Wrangler TJ/YJ. Two tabs on pre-runner hoop for extra off-road lights. CONs: The holes don’t line up, even though the specs said NO drilling or cutting. Powder coat is a bit thin. Winch area is going to need reinforcement. Would I recommend this to a friend… Yes, yes I would. The jobs done now go get some pizza. 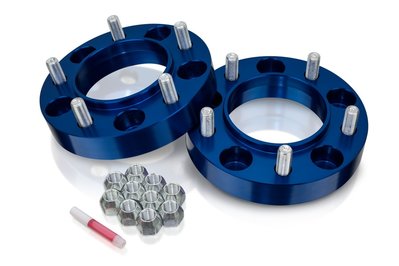 Almost all Jeep owners want bigger tires. Having some tread under the wheel wells is what makes Jeeps look like an off road vehicle, that aggressive look of mud tires not only serves the purpose of better grip off road but also makes a statement. (Insert Tim Allen Home Improvement Grunts now.) Finding the right size tire depends on how much room you have, your lift, your engine, your gears, and where you are driving. With the 2.5 L I went with 33 x 12.5 on 15s. It looks good but when the top is down the drag can slow you down to just under 60mph. With the hard top on it an easy 70. The rims on the other hand were not 12.5s. Mounted on Konig Ruggedroad 15X7.5 5X114.3 means they bubble out from the rim instead of tapering in towards the tread. This results in a turning issue. Before the new tire I could turn 100% and not have any rubbing. After the bigger tires were on I got only around 80%, the tread lugs would hit the leaf springs. Startling me and any passengers. The solution was either to adjust the turn stops, don’t turn past that point, buy new rims or put spacers on. I did a lot of research into the safety of wheel spacers. There are videos about the cheaper spacers cracking or causing a wobble. Too big and the spacer acts like a leaver putting stress on the hub. I settled on SpiderTrax. WHS002 1.25" Wheel Spacers, 5x4.5" Bolt Pattern, Aluminum. Ordered from morris4x4center.com Great packing, good clear instructions, some cool spider stickers, and all the hardware needed. Even some loctite. There are loads of sets online for under $100. The Spidertrax were higher quality but were twice the price. So if you want to take a chance on your wheels falling off while driving, than get the junk. Me, it goes back to what my stepdad always said, “If a job is worth doing, it's worth DOING IT RIGHT.” Easy to do and it took a little over an hour. No pneumatics, just a bit of elbow grease. TOOLS: Two sets of Spacers. 4 way tire iron. Jack stands. Floor Jack. Torque wrench. 1 Socket. Red Loctite. (comes with spacers.) Each Spidertrax Wheel Spacer/Adapter Kit comes complete with 2 wheel spacers/adapters, 1/2-20 grade 8 wheel studs (pre-installed), 1/2-20 lug nuts, and thread locker. All Spidertrax wheel spacers are color anodized, using a double anodizing process for twice the corrosion resistance. Proudly designed & manufactured in Loveland, Colorado. To install the Spidertrax Wheel Spacer/Adapter Kit, follow these steps: 1. Take photos of your Jeep so you can see before and after shots, like you need an excuse to take pics of your Jeep. 2. Jack it up, put jacks under axles and Remove tires. (Remove drum or rotor retainer clips if present.) 3. Clean hub lib of any rust or burrs. Take more pics. 2. Have another person apply brakes to prevent spinning. Apply provided thread locker to factory wheel studs and put the spacer on the drum/rotor face. Torque wheel spacer/adapter lug nuts to 90 ft-lbs. (Once installed, be sure OEM wheel studs DO NOT extend past wheel mounting surface of wheel spacer.) 3. Install factory steel/aluminum wheel to wheel spacer/adapter using existing lug nuts. That’s it, Job done. Take your Jeep out for a test drive and check it after 50 or so miles. See gallery below for picks and thank you Morris 4x4 for outstanding presentation of your products, store, and the Lord.  |
Matt N RandyJeep Enthusiast, Pastor, Photographer, Artist, A husband and wife team that loves going out and seeing God's Creations. Archives
June 2021
Categories |


 RSS Feed