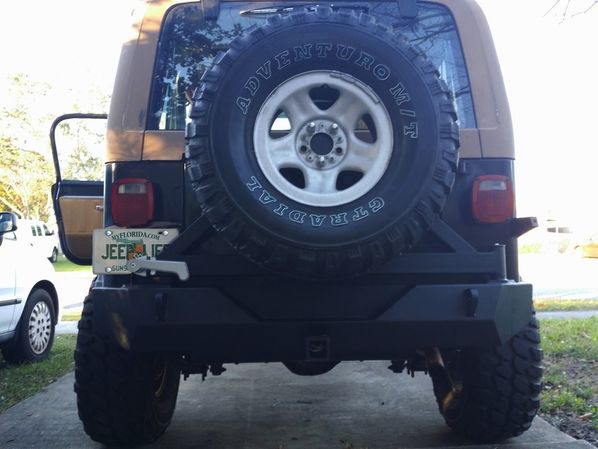
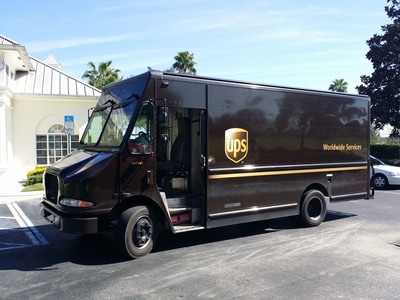
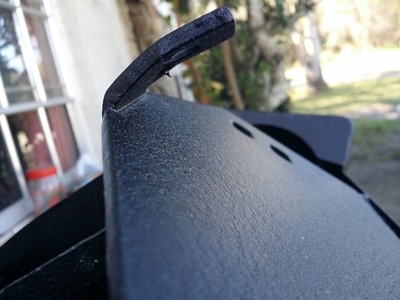
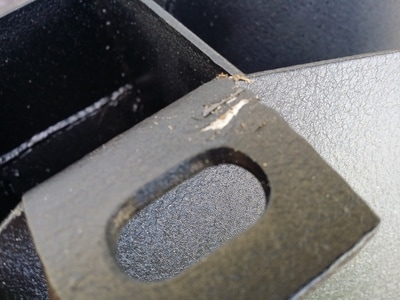
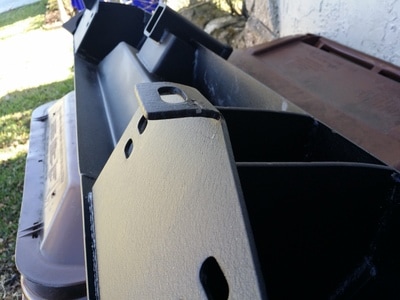
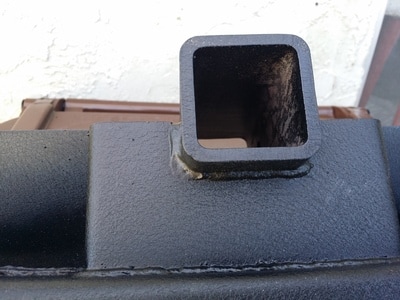
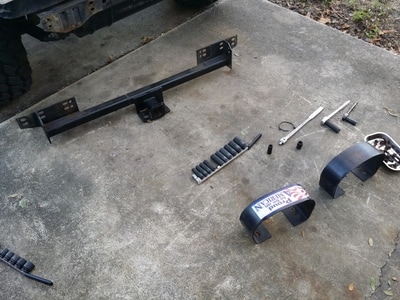
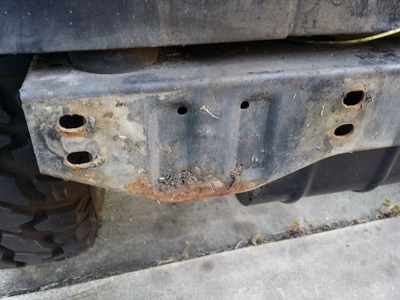
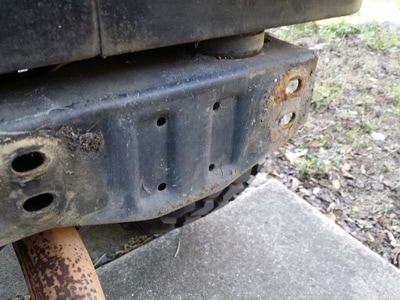
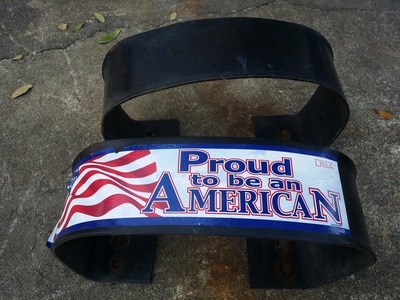
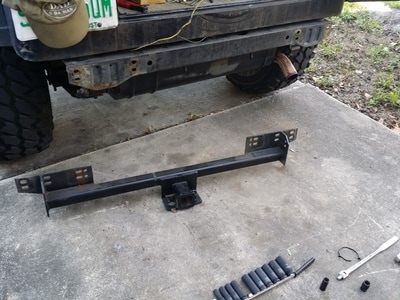
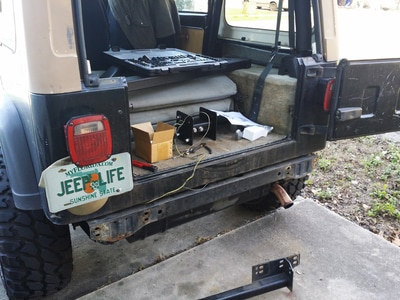
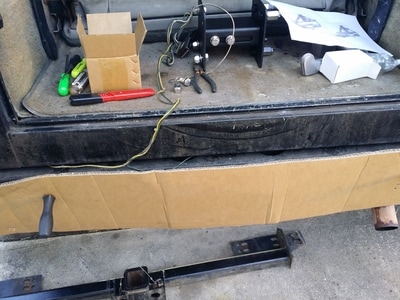
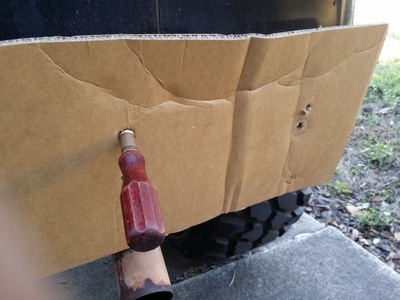
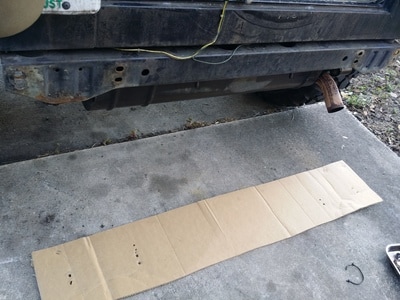
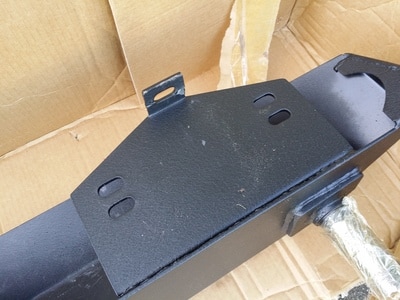
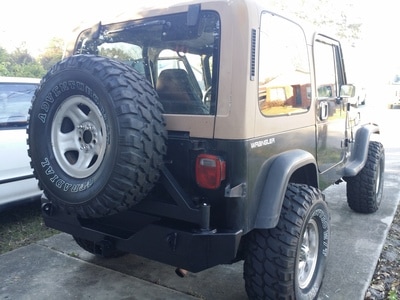
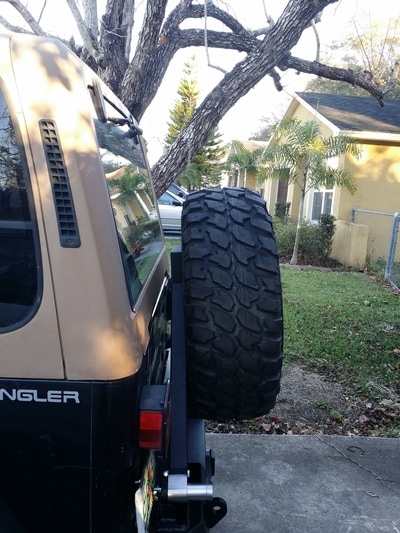
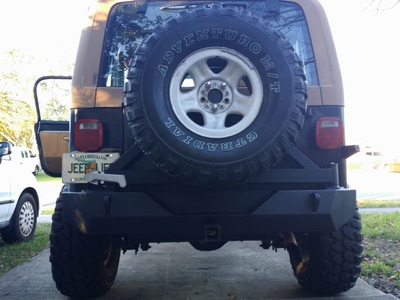
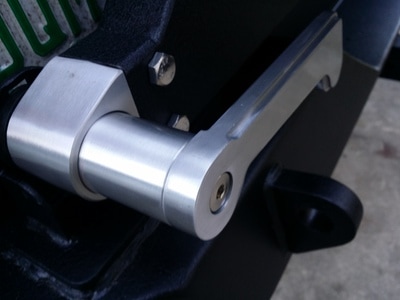
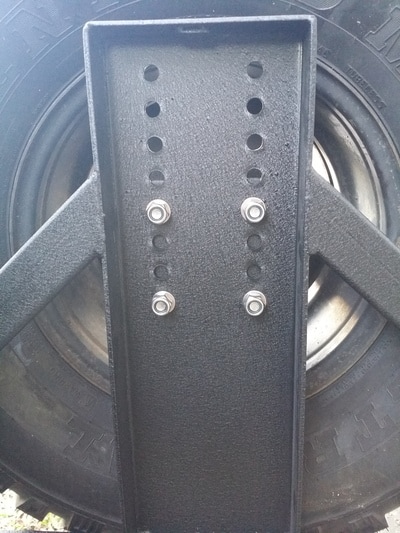
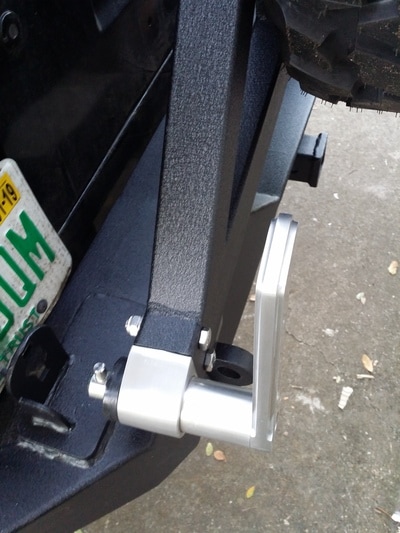
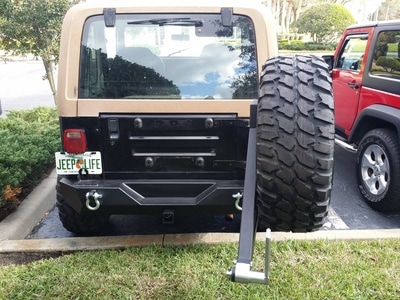
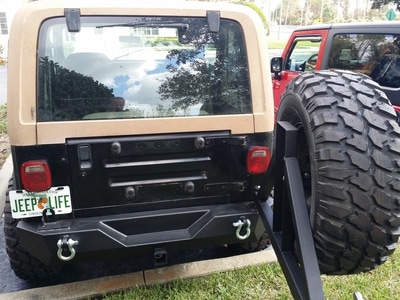
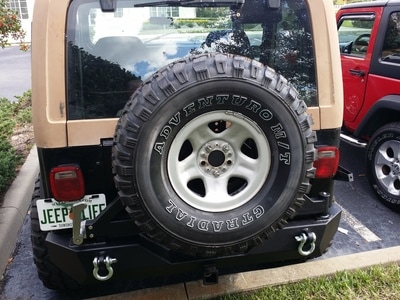
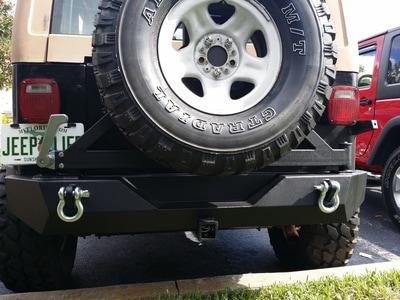
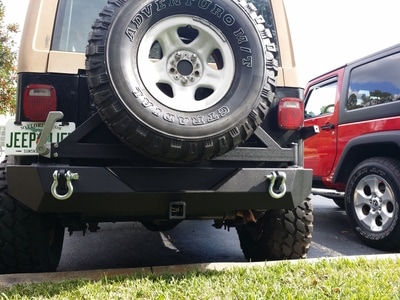
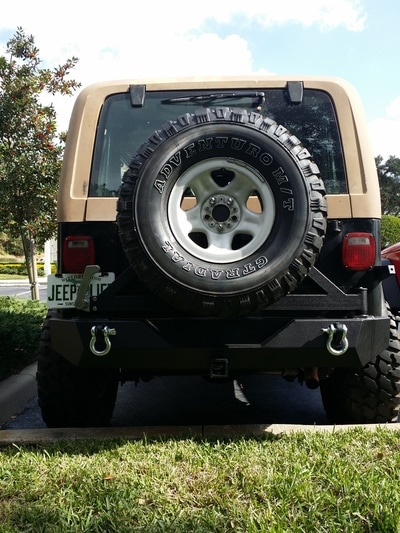
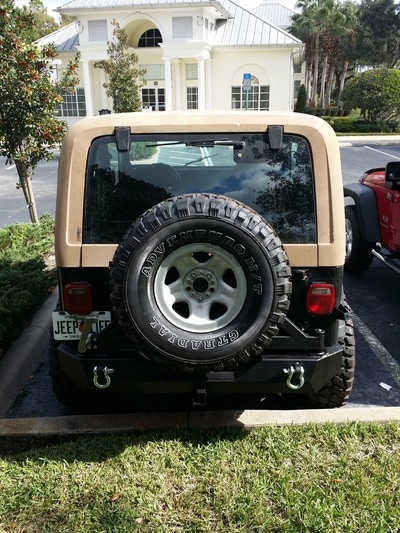
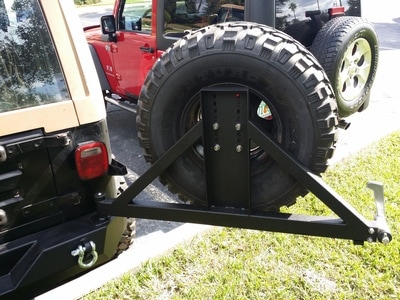
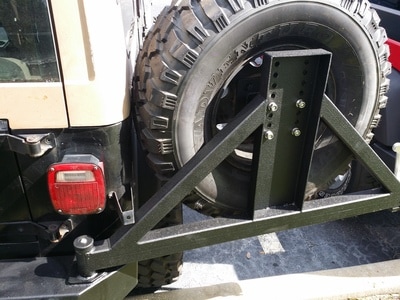
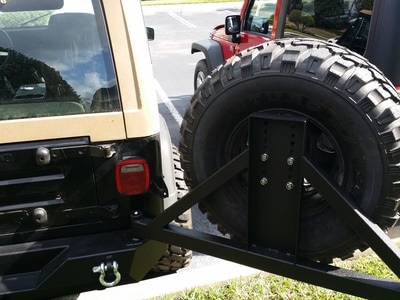
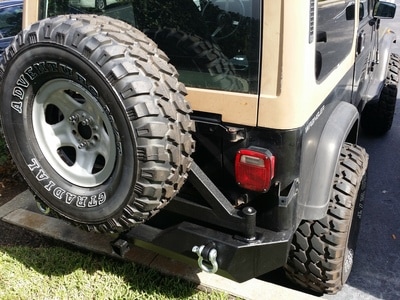
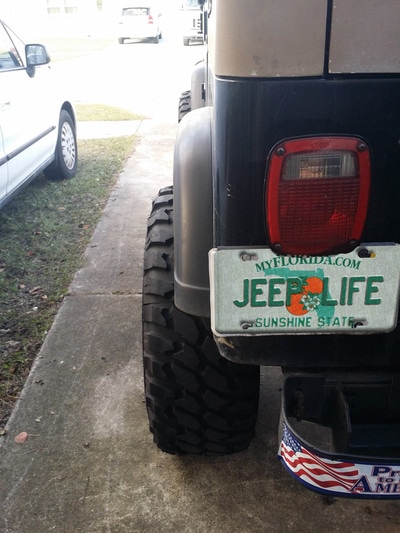
E-Autogrilles Jeep Wrangler TJ/YJ Off Road Rear Bumper with Tire Carrier Swing Review and install.1/26/2017 Everything you change on a Jeep will require three other things to be changed as well. The new front bumper was put on at the end of December and now it is time for the matching rear bumper. Why a new rear bumper when the old one was just fine? Simple the rear bumper is one of the three thing to follow the new tires. A bigger or oversize tire on a stock tail gate will over time destroy the hinges and latches on your tailgate. The solution was a swing out tire carrier. That required a heavy duty bumper to mount the carrier. My wife recommended this, never argue with you wife when she says buy Jeep parts. Happy now? There were cheaper bumpers and more expensive bumpers, I went with a mid range price. I did want D-Rings and an adjustable spare mount. E-Autogrilles was my choice. I did have some issues with the holes on the front bumper not lining up but, for the rear bumper it turns out it lined up correctly. The shipping was VERY fast, even with ordering on a Saturday. It arrived via UPS on Wednesday. There were two boxes, one large square for the bumper and a second for the tire carrier. With the seat moved forward they fit in the Jeep. I did most of the install myself, the only part that required assistance was lifting the bumper and putting in the bolts. A little lifting to get them all lined up and after the 8 rear bolts were tightened the lower bolts under the frame lined up. (The two under frame bolts were NOT included.) Overall it looks good and I am happy thus far. Time will tell of how good the powder coat is. Thank you E-Autogrilles for quick service. E-Autogrilles 87-06 Jeep Wrangler TJ/YJ Off Road Rear Bumper with Tire Carrier Swing (51-0015) - Manufactured from 3/16" thick plate steel sheet. New design with wheel bearing pivot system. Tiger textured black powder coat for corrosion protection and durability. - Fit for: 1987-2006 Jeep TJ/YJ Wrangler all models. - Two-way adjustable tire mount for tire carrier.3 point tire mounting system supports oversize tires. - High strength D-ring mounts welded both inside and out with two -4.75 ton D-rings included. 2" receiver hitch incorporated into the bumper. - Solid billet aluminum handle with built-in cam lock design keeps tire carrier secure while off-roading. TOOLS: Socket set: (Metric and SAE) Optional: Screw Drivers. To make template and check hole alignment. Drill and step bit. PB8 or WD40 TIME: 2 to 2 ½ Hours. Step One: Remove old bumper and hoops. Step two: Clean area and make sure holes are big enough for new bolts. Step Three: Have help putting new bumper on rear frame. Step four: After ALL bolts are on (Hand tight) tighten them. (Good luck with the inner bolts.) Step five: Remove tail light cover. Step six: Use WD-40 to lube the pole for the tire carrier, then gently work the carrier on the shaft. Make sure that EVERYTHING is clean. NO burrs or it will never go on without a cylinder hone. Step seven: Place top cap cover and tighten. Step eight: Put handle on end of frame near license plate and tighten bolts. Step nine: Adjust spare tire mount to correct depth and desired height, then tighten and mount tire. AFTER THOUGHTS: I would like to drill some lower holes on the tire mount so that it sits lower and closer to the bumper. Even at the lowest point the spare still blocks a lot of the rear view. I also would like to put some spacers on the original gate bumpers to keep some of the shake down. PROS: It looks good and I did it myself. Heavy duty and strong with D- Rings. Easy to assemble and mount. The holes were correct for the 1995 Wrangler. It has an adjustable tire mount, Height and distance. There is room for mounting a Hi-Lift jack. Shipping was super fast and the bumper was well packed. CONS: The lower mount was bent in, nothing a hammer could not fix. The tire carrier is a bit shaky. Spacers on the old spare tire bumper stops will fix that. The tire still sits a bit high so you might want to drill some extra holes to lower the tire down. The license plate is blocked and may require a relocation of the tag. (Gassing up will be tight too.) NO Instructions. Just a picture of each part. They were not really needed though, pretty simple. No D-Ring Islolators like the front bumper? LINK: E-Autogrilles 87-06 Jeep Wrangler TJ/YJ Off Road Rear Bumper with Tire Carrie.
1 Comment
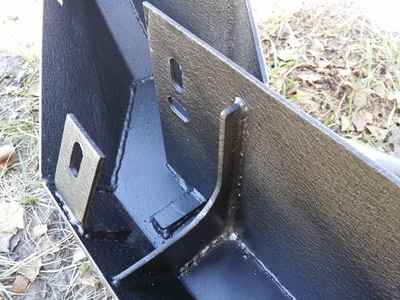
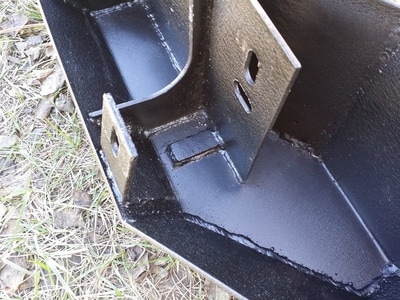
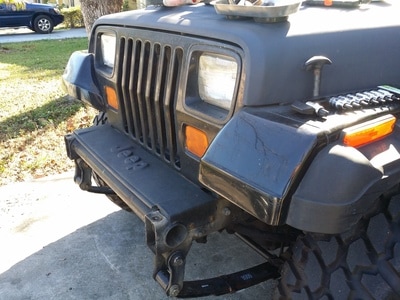
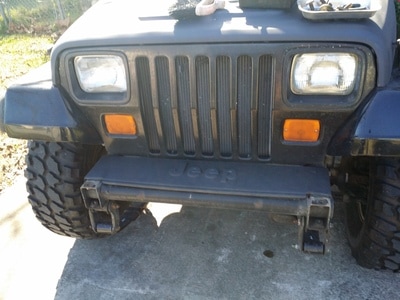
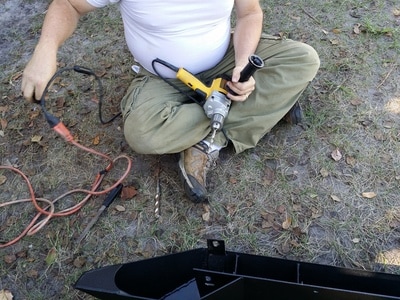
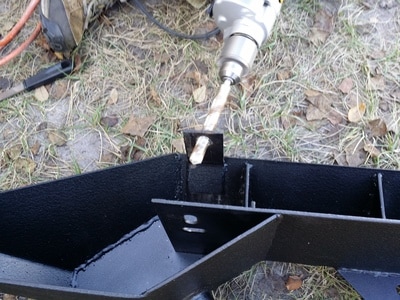
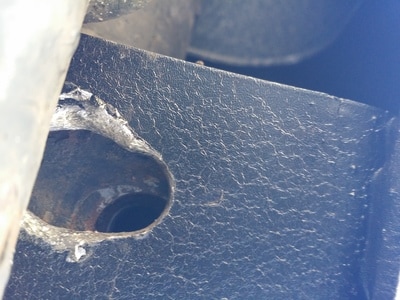
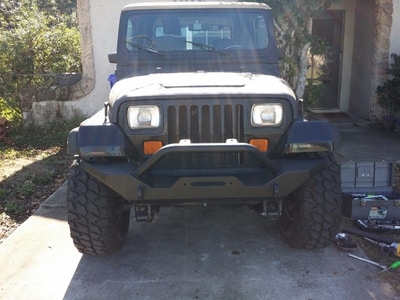
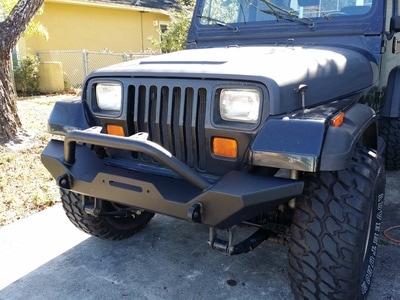
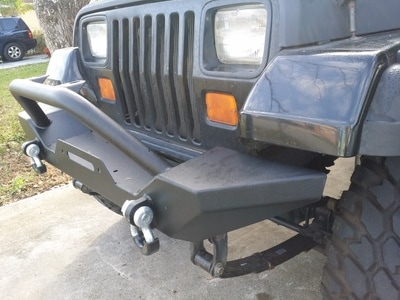
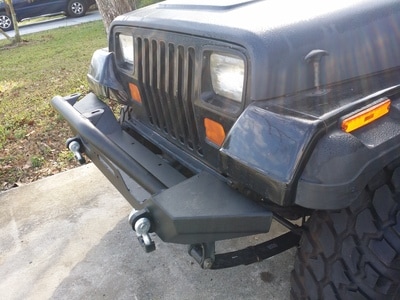
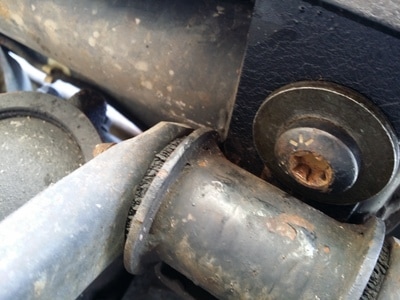
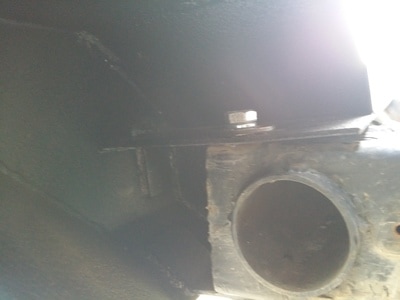
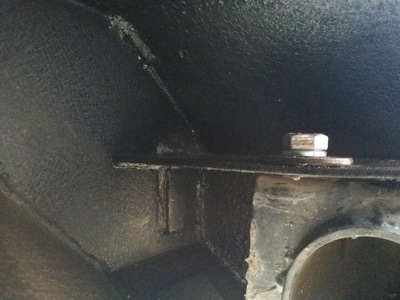
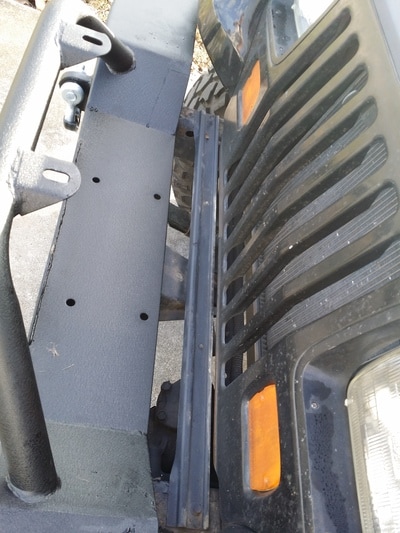
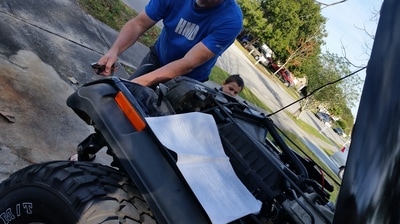
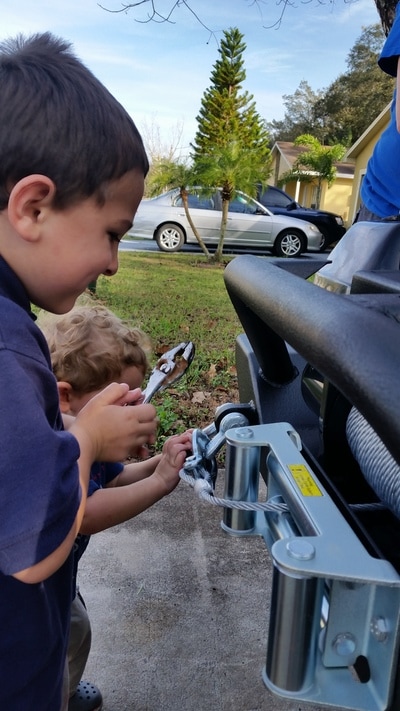
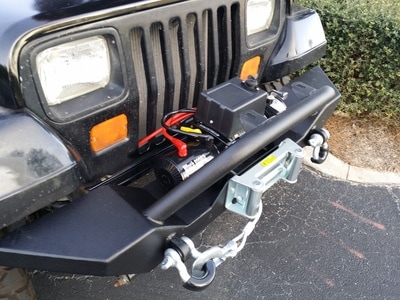
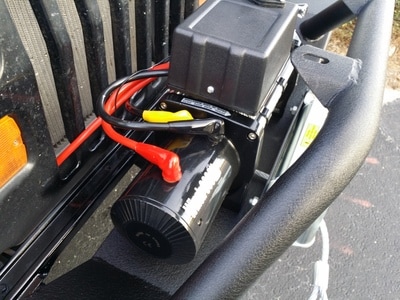
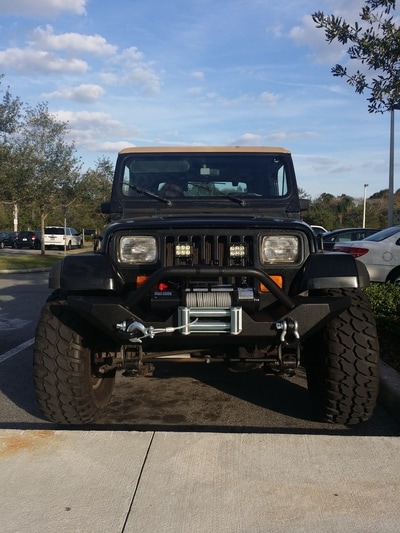
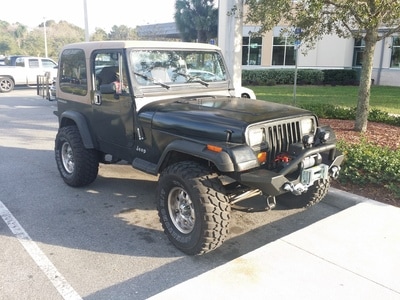
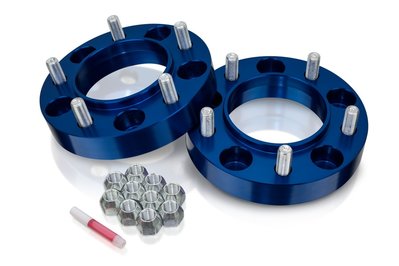
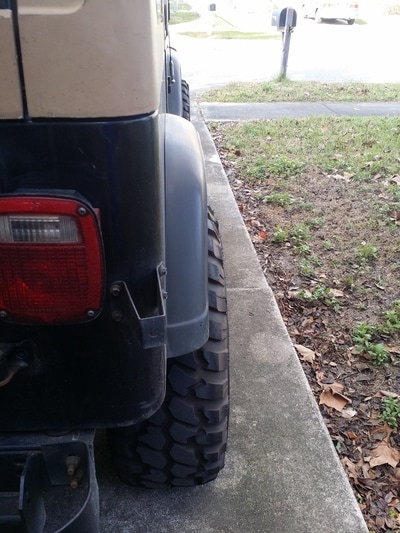
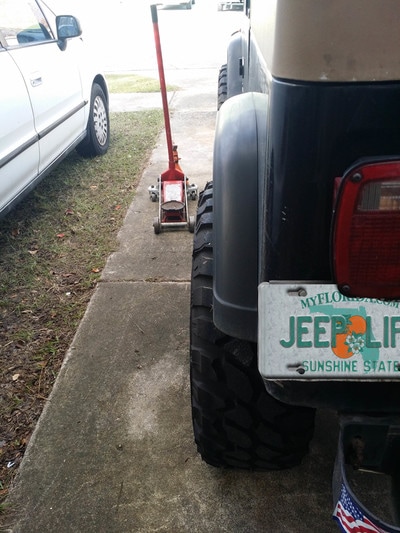
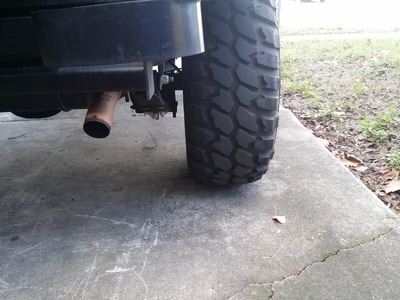
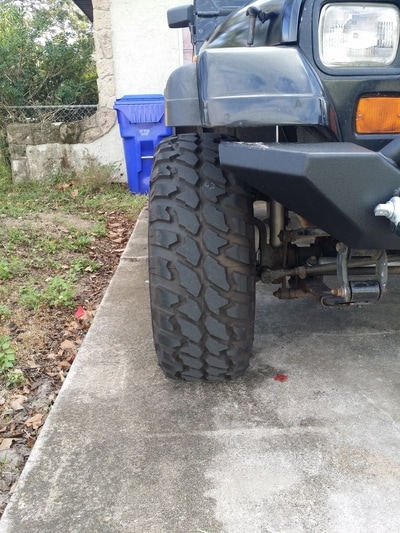
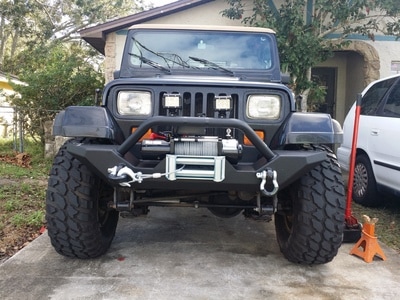
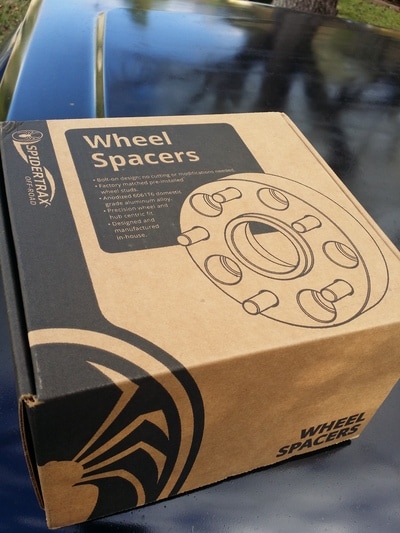
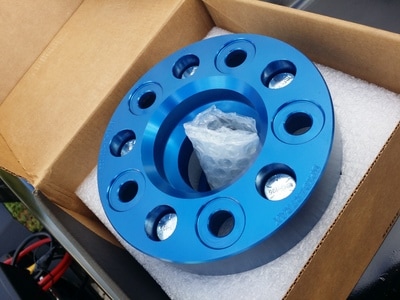
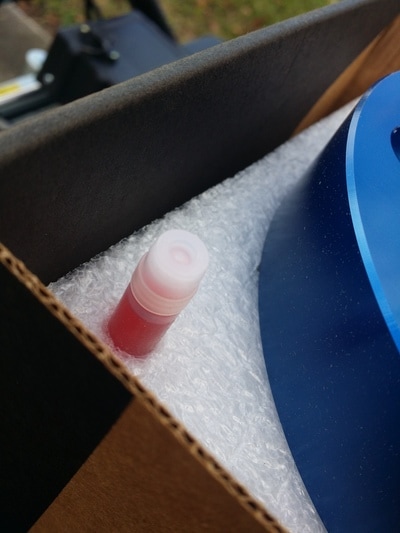
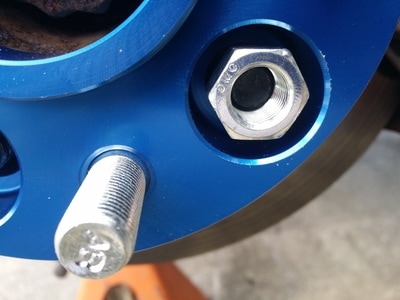
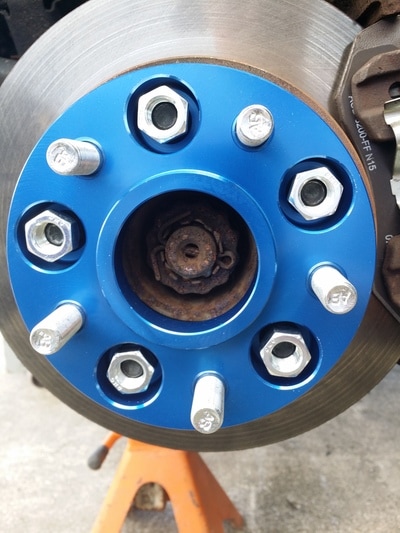
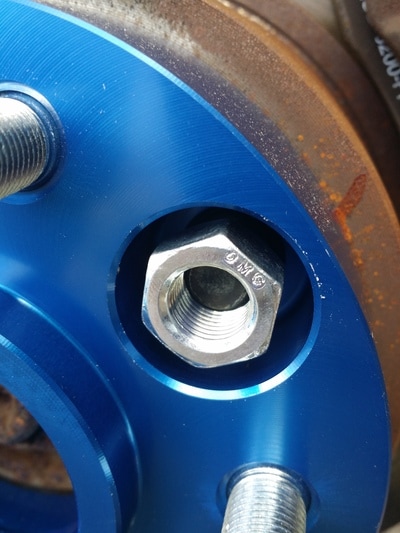
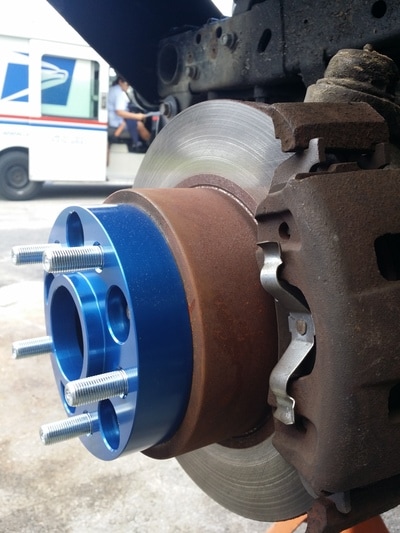
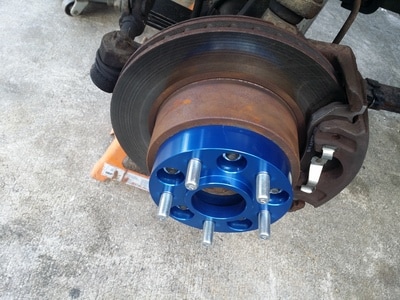
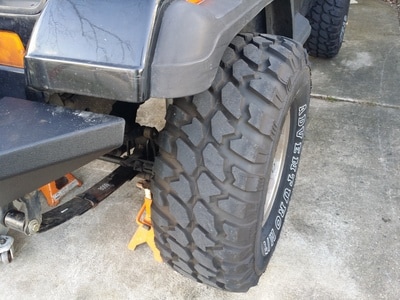
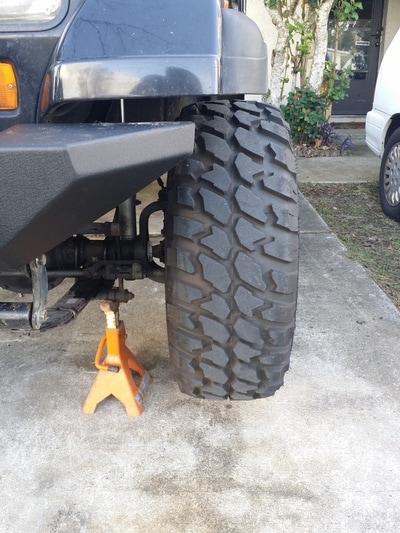
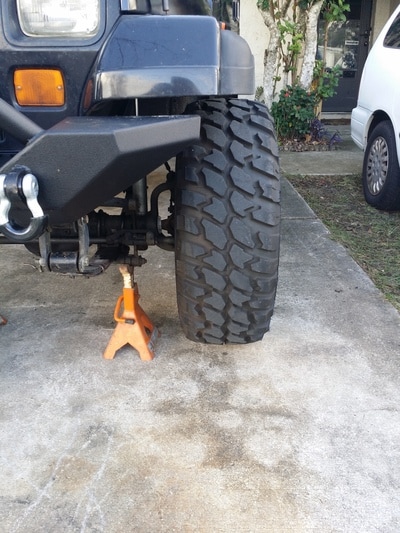
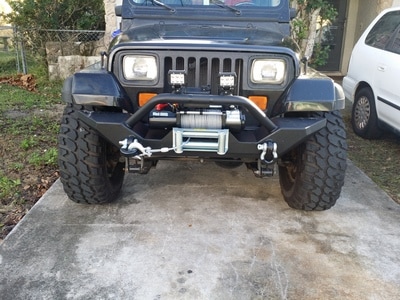
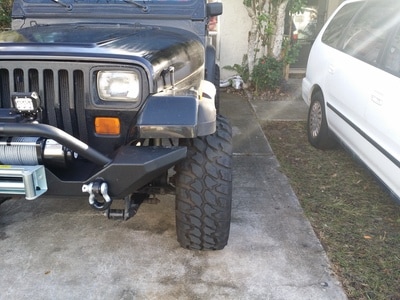
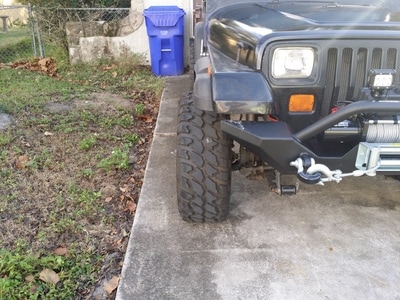
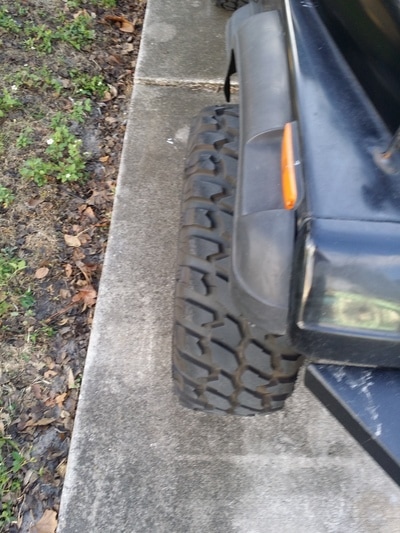
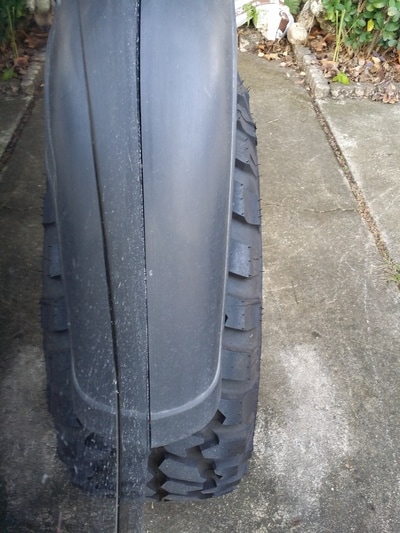
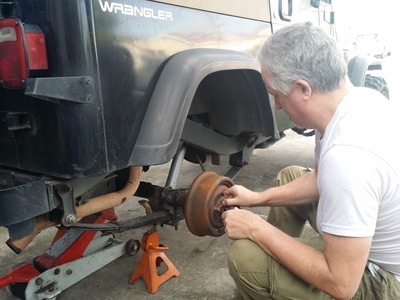
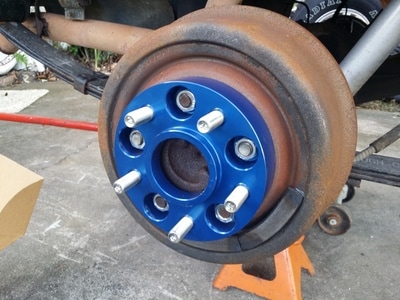
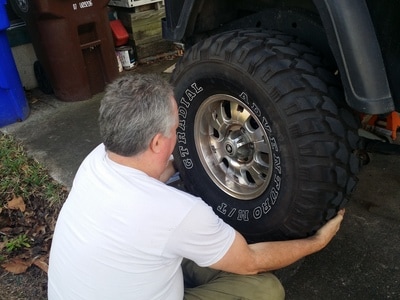
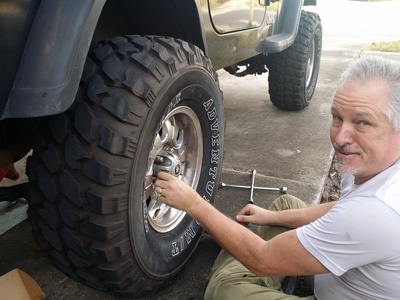
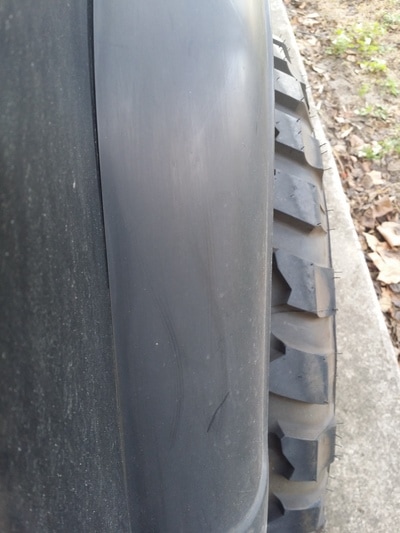
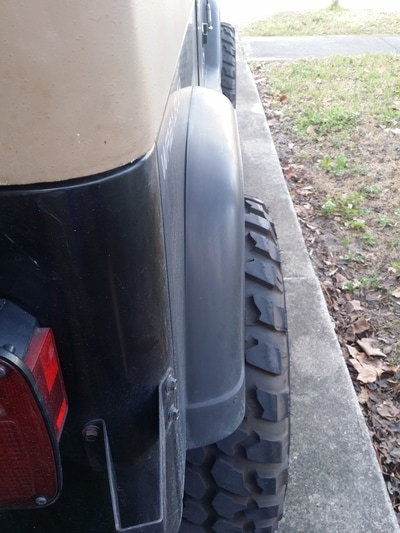
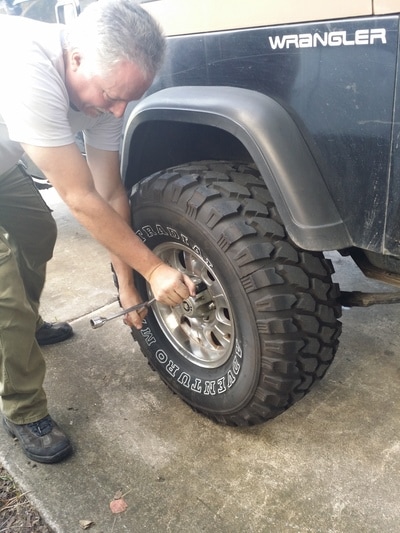
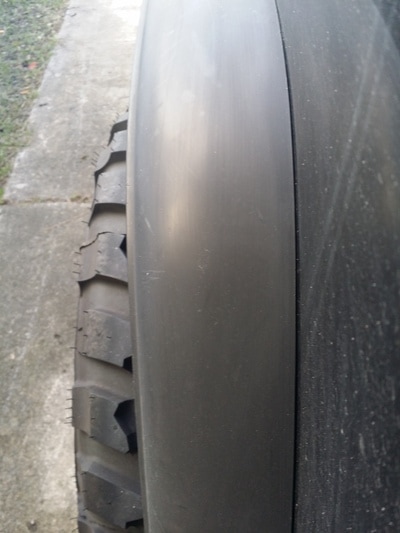
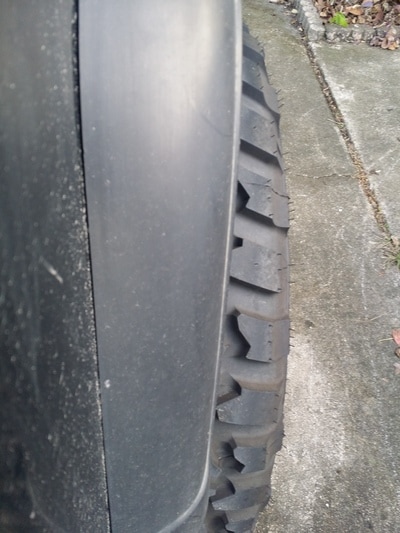
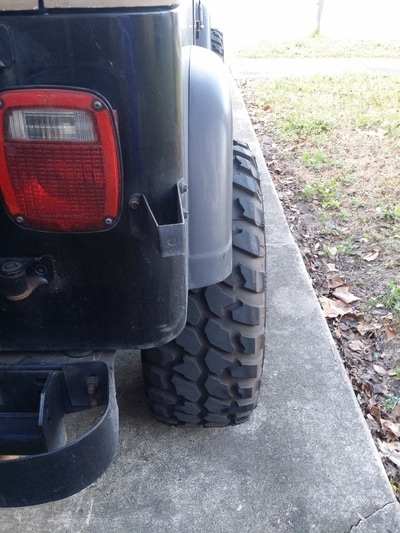
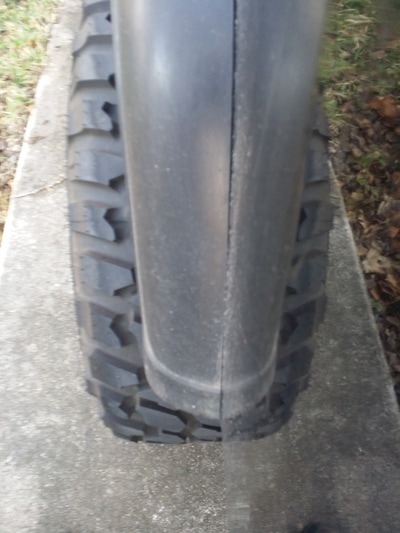
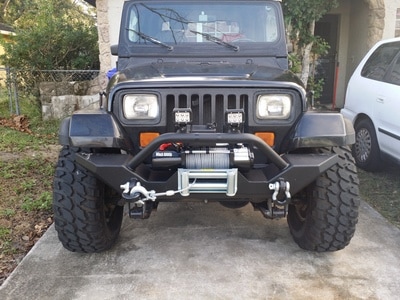
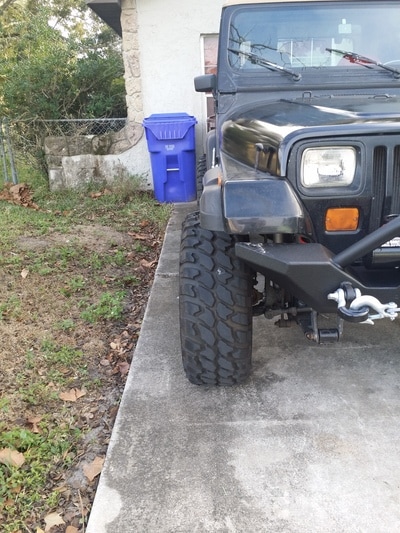
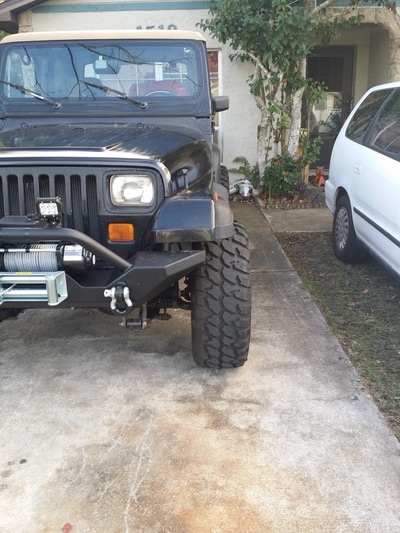
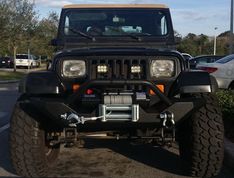 Autogrilles 87-06 Jeep Wrangler TJ/YJ Off Road Front Bumper. One of the first things I did to my jeep was get a new tube bumper. This worked well for the first year and gave the Jeep a good look to the front end. Problem #1 - The bumper would not accommodate the winch. The same bumper with the winch cut out was $100 more. I thought about cutting the bumper so that the winch would fit and even bought end caps for the tubes. Problem #2 – I got a Smittybilt winch plate and it would hold the winch securely to the front frame. But again I would have to cut the bumper out. After some amount of consideration, and checking with the boss, I decided instead to go with the E-Autogrilles front bumper, just over $200 with free shipping. They have several to pick from. And they look just like some of the other brands out there. Shipping was quick and the bumper came well packed. It was quite a feat fitting this box into the back of our Camry, a bit of scrunching. As normal the UPS guy was happy to deliver parts. Tools needed: Socket set. Hex bits. Drill and Step drill bit. Loctite. Hammer. For persuasion. Open end wrenches. Install: The bumper was labeled as good for a TJ / YJ and many of the reviews said that the lower holes would not line up and this was the case with mine. One of the lower brackets was quite bent upon arrival an easy fix. A friend and I took off the old bumper and promptly put it on the front of his Jeep, first lifting the bumper on and doing some adjustments to the mounting brackets to make them fit over the frame was the easy part a little bit of bending and hammering make them fit. Once the bumper was slid on the upper holes went on with no issues, the passenger side seem to fit (upper and lower) the divers side did not. The lower hole has a oval shape to allow forward and backward movement but NO side to side. This made the holes not line up. We tried to drill the holes out using a drill bit, that did not work well. I could not find my grinding stone so we took a trip up to Harbor Freight. I picked up a step bit and that took care of the problem. Measure twice, drill once. This will save you a whole lot of grief. I suggest a total removal of the bumper after you locate the proper places to drill holes. Then the bumper will be a breeze to put on. If you have a TJ the holes line up with no issues, the YJ makes it where you need to drill. The bumper came with all the hardware needed to do the mounts and I used washers to cover the large holes that I had made. Upgrade the nuts and bolts if you can to Grade 8 to give it more strength. The bumper is on and it looks good. The two D-Rings add a recovery point and are welded on front and back. They came with insulators so they don’t rattle while driving. The upper bar has a place to mount lights too. I am not sure how much flexing the mounting area will do when putting the winch under a load. Might weld the SmityBuilt plate under there for strength. Mounting the winch was the next task getting the bolts to go under the bumper was a bit of a task as that the cross member of the frame was in the exact same spot that the holes for the mounting bolts. Follow the instructions on wiring you winch. As always, everything you add will require 3 other things to make it work. The grandkids came by to help. The middle one thanked me for doing all this work on his jeep, that way when I get old I can pass it on to him. (The winch was missing the ground terminal on the lower part of the motor and will need to be found before a full test and review.) PROs: The price. You pay for what you get, if you want more they make a heavy duty version with lights. The look. Beefy and makes the wife feel safe. The packing. It would survive Armageddon. No scratched or dents. Welded hoop protects the front of the Jeep Wrangler TJ/YJ. Two tabs on pre-runner hoop for extra off-road lights. CONs: The holes don’t line up, even though the specs said NO drilling or cutting. Powder coat is a bit thin. Winch area is going to need reinforcement. Would I recommend this to a friend… Yes, yes I would. The jobs done now go get some pizza. Almost all Jeep owners want bigger tires. Having some tread under the wheel wells is what makes Jeeps look like an off road vehicle, that aggressive look of mud tires not only serves the purpose of better grip off road but also makes a statement. (Insert Tim Allen Home Improvement Grunts now.) Finding the right size tire depends on how much room you have, your lift, your engine, your gears, and where you are driving. With the 2.5 L I went with 33 x 12.5 on 15s. It looks good but when the top is down the drag can slow you down to just under 60mph. With the hard top on it an easy 70. The rims on the other hand were not 12.5s. Mounted on Konig Ruggedroad 15X7.5 5X114.3 means they bubble out from the rim instead of tapering in towards the tread. This results in a turning issue. Before the new tire I could turn 100% and not have any rubbing. After the bigger tires were on I got only around 80%, the tread lugs would hit the leaf springs. Startling me and any passengers. The solution was either to adjust the turn stops, don’t turn past that point, buy new rims or put spacers on. I did a lot of research into the safety of wheel spacers. There are videos about the cheaper spacers cracking or causing a wobble. Too big and the spacer acts like a leaver putting stress on the hub. I settled on SpiderTrax. WHS002 1.25" Wheel Spacers, 5x4.5" Bolt Pattern, Aluminum. Ordered from morris4x4center.com Great packing, good clear instructions, some cool spider stickers, and all the hardware needed. Even some loctite. There are loads of sets online for under $100. The Spidertrax were higher quality but were twice the price. So if you want to take a chance on your wheels falling off while driving, than get the junk. Me, it goes back to what my stepdad always said, “If a job is worth doing, it's worth DOING IT RIGHT.” Easy to do and it took a little over an hour. No pneumatics, just a bit of elbow grease.
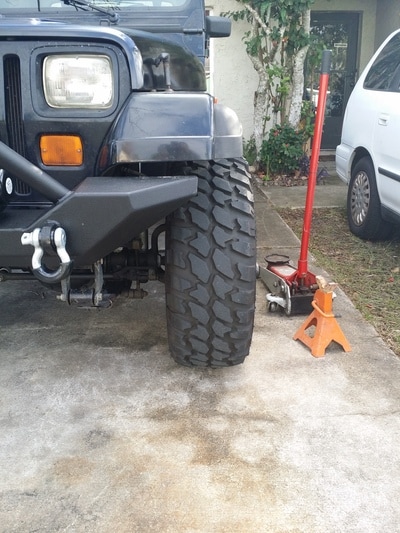
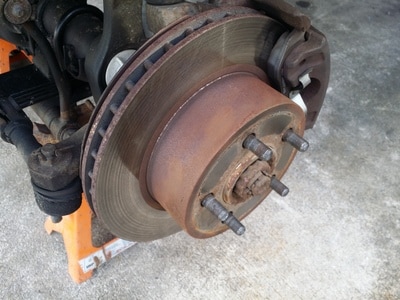
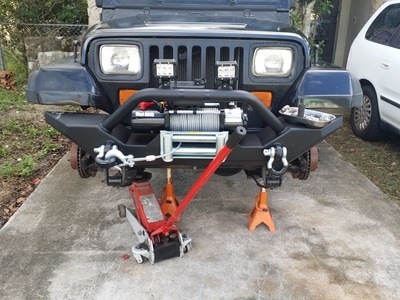
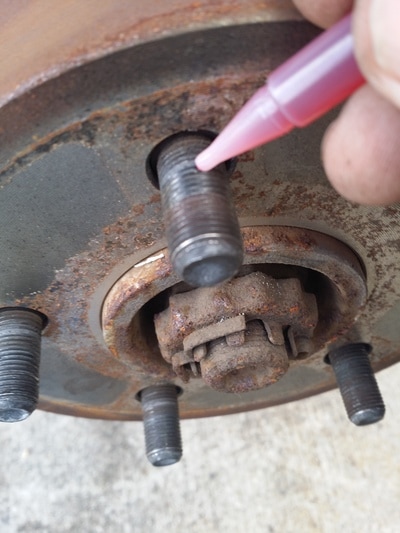
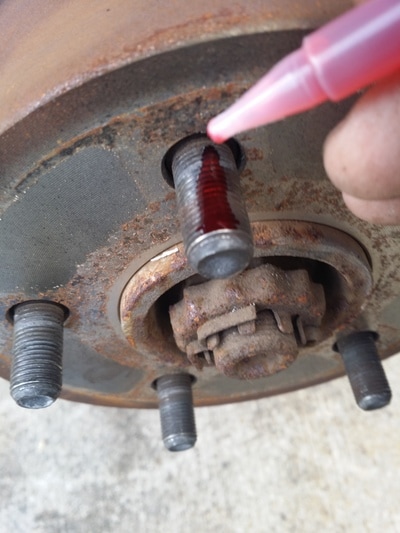
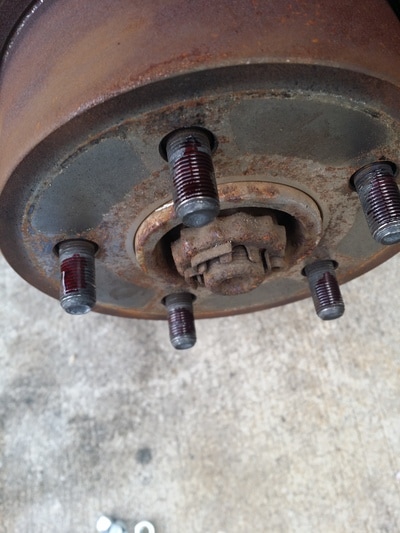
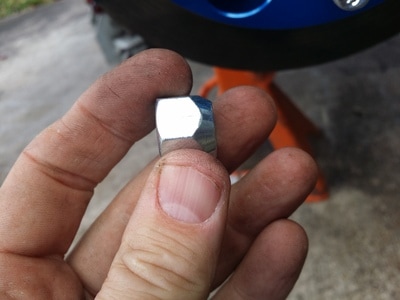
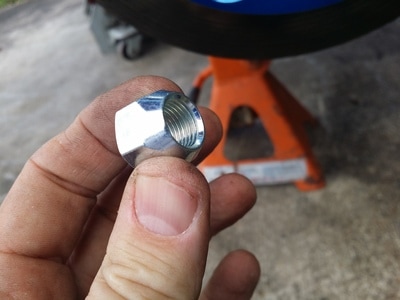
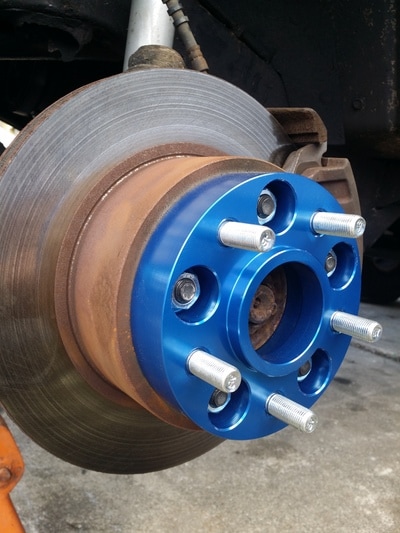
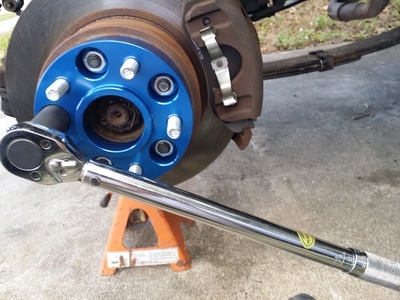
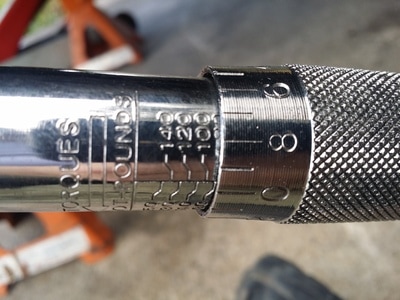
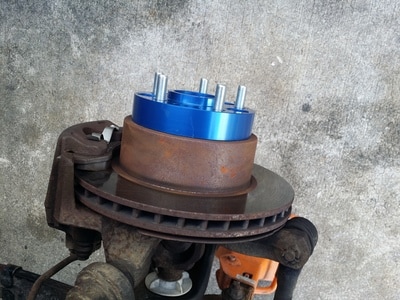
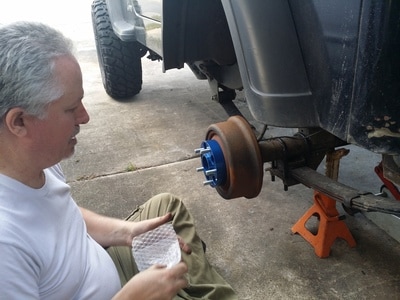
TOOLS: Two sets of Spacers. 4 way tire iron. Jack stands. Floor Jack. Torque wrench. 1 Socket. Red Loctite. (comes with spacers.) Each Spidertrax Wheel Spacer/Adapter Kit comes complete with 2 wheel spacers/adapters, 1/2-20 grade 8 wheel studs (pre-installed), 1/2-20 lug nuts, and thread locker. All Spidertrax wheel spacers are color anodized, using a double anodizing process for twice the corrosion resistance. Proudly designed & manufactured in Loveland, Colorado. To install the Spidertrax Wheel Spacer/Adapter Kit, follow these steps: 1. Take photos of your Jeep so you can see before and after shots, like you need an excuse to take pics of your Jeep. 2. Jack it up, put jacks under axles and Remove tires. (Remove drum or rotor retainer clips if present.) 3. Clean hub lib of any rust or burrs. Take more pics. 2. Have another person apply brakes to prevent spinning. Apply provided thread locker to factory wheel studs and put the spacer on the drum/rotor face. Torque wheel spacer/adapter lug nuts to 90 ft-lbs. (Once installed, be sure OEM wheel studs DO NOT extend past wheel mounting surface of wheel spacer.) 3. Install factory steel/aluminum wheel to wheel spacer/adapter using existing lug nuts. That’s it, Job done. Take your Jeep out for a test drive and check it after 50 or so miles. See gallery below for picks and thank you Morris 4x4 for outstanding presentation of your products, store, and the Lord. |
Matt N RandyJeep Enthusiast, Pastor, Photographer, Artist, A husband and wife team that loves going out and seeing God's Creations. Archives
June 2021
Categories |



 RSS Feed